Billing & Old Dues Handling
This document provides a step-by-step overview of how to create a lease, generate invoices, and process payments within the ERP. It is designed for business users and property managers to streamline tenant onboarding and ensure accurate billing and payment tracking.
- Automatically capture unbilled or unpaid invoices as Old Dues.
- Ensure tenants always see the accurate Net Payable.
- Regenerate monthly reports.
Missed Invoicing
- ERP auto-detects missed/unpaid invoices.
- It is added as Old Dues to the next bill.
Example: Monthly Billing with Unpaid Rent
Period 1
- Rent: 20,000
- Status: Not billed or paid
Period 2
- Current Rent: 20,000
- Old Dues: 20,000 (from Period 1)
- Total Payable: 40,000
Period 3
- Current Rent: 20,000
- Old Dues: 40,000 (Periods 1 & period 2)
- Total Payable: 60,000
Period 4
- Current Rent: 20,000
- Old Dues: 60,000 (Periods 1–3)
- Total Payable: 80,000
System Behavior Requirements
- Auto-detects unpaid periods
- Shows a clear invoice breakdown:
- Current Rent
- Old Dues (by month)
- Total Payable
"Pay Now" Button Behavior
- Only active on the latest invoice
- Older invoices are not directly payable
Upon Payment
- Earlier invoices marked as "Settled"
- Latest invoice marked as "Paid"
Login To Your Account
- Log in to your account.
- Upon successful login, the system will redirect you to the Dashboard, where you can begin the lease creation process.
Move To Rental Units
- Navigate to the Leasing section and select Rental Units.
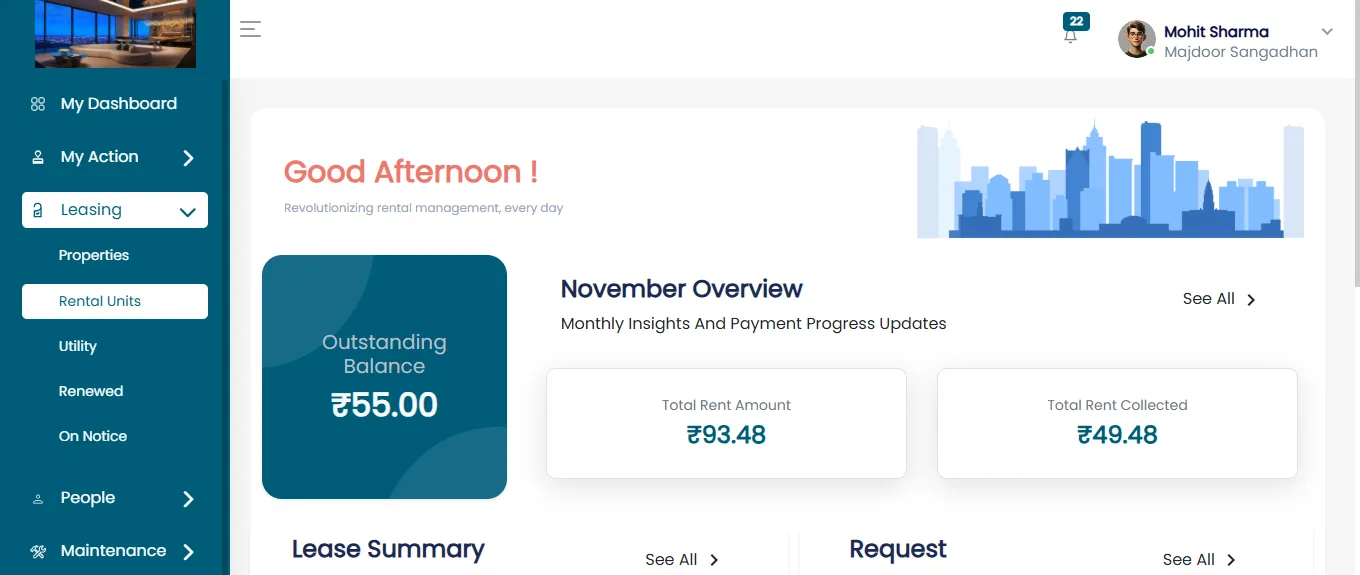
You will see three categories:
- Active lease
- Vacant Rental Units
- Reserved Rental Units
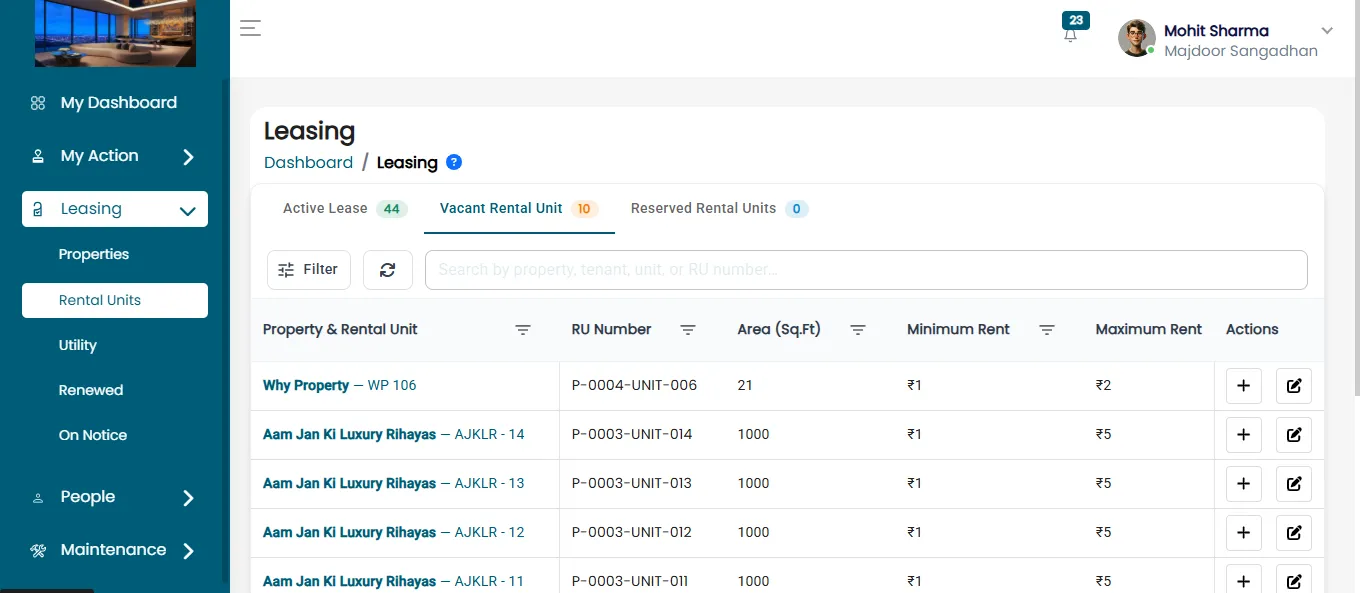
Select the Vacant Rental Unit tab to see all units currently available for lease.
Add A New Lease
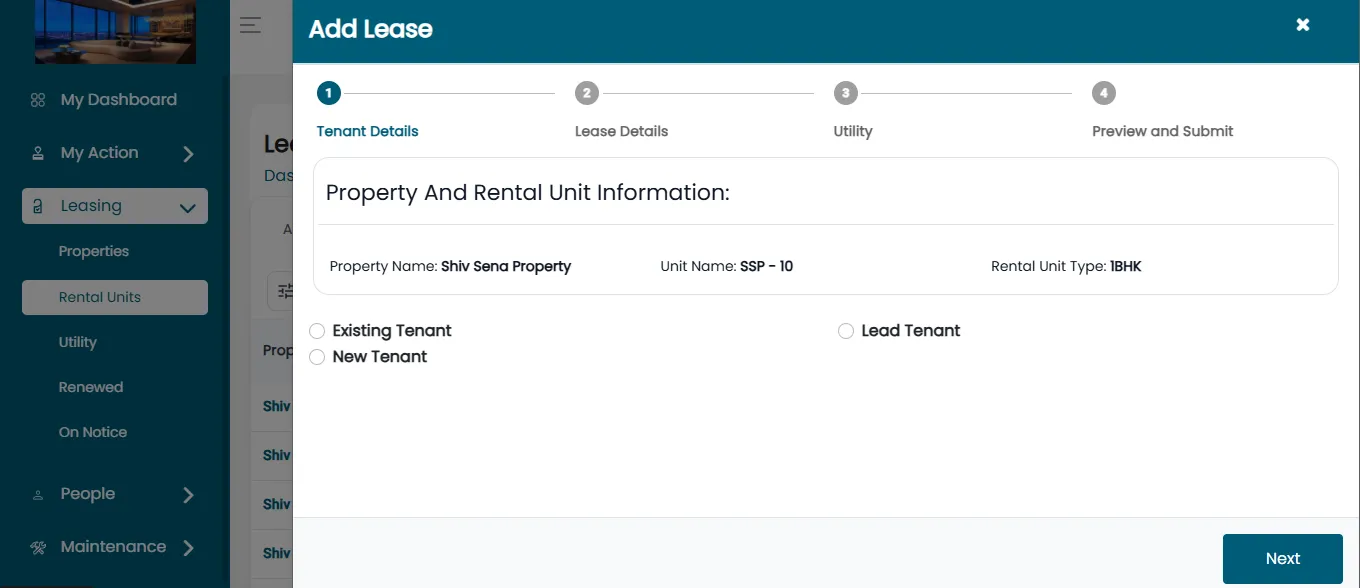
- Click on Add Lease.
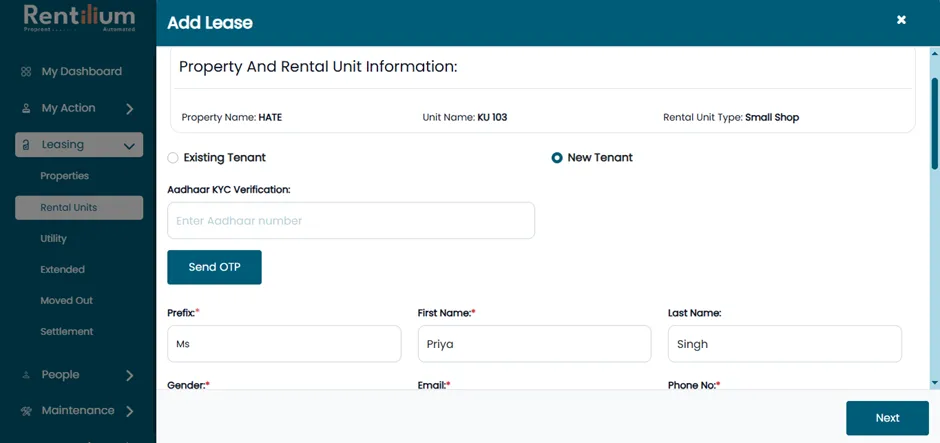
- You will be directed to the Tenant Details section.
- Two options will appear: Existing Tenant and New Tenant.
- Click on New Tenant.
Enter Tenant Details
Fill in the new tenant’s personal information:
- Prefix (Mr./Ms./Mrs.)
- First Name & Last Name
- Gender
- Email Address
- Phone Number
Enter Lease Details
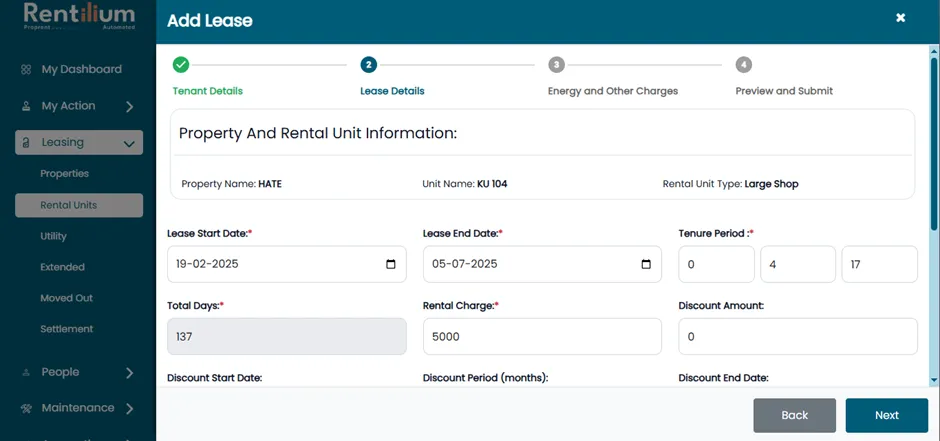
- Open the Add Lease page section
Fill in all the required details:
- Lease Start Date and End Date: Specify the lease duration.
- Tenure Period (Months): Total lease term.
- Discount Period (Months): Indicate the duration of the discount in months.
- Security Deposit Amount: Enter the refundable deposit amount.
- Late Fine (Per Day): Define the daily penalty for overdue payments.
- Monthly Rental Charge: Monthly rent amount.
- Discount Amount: Enter if applicable.
- Lock-In Period (Months): Minimum required duration of stay.
- Upload the Lease Agreement.
Add Energy & Other Charges
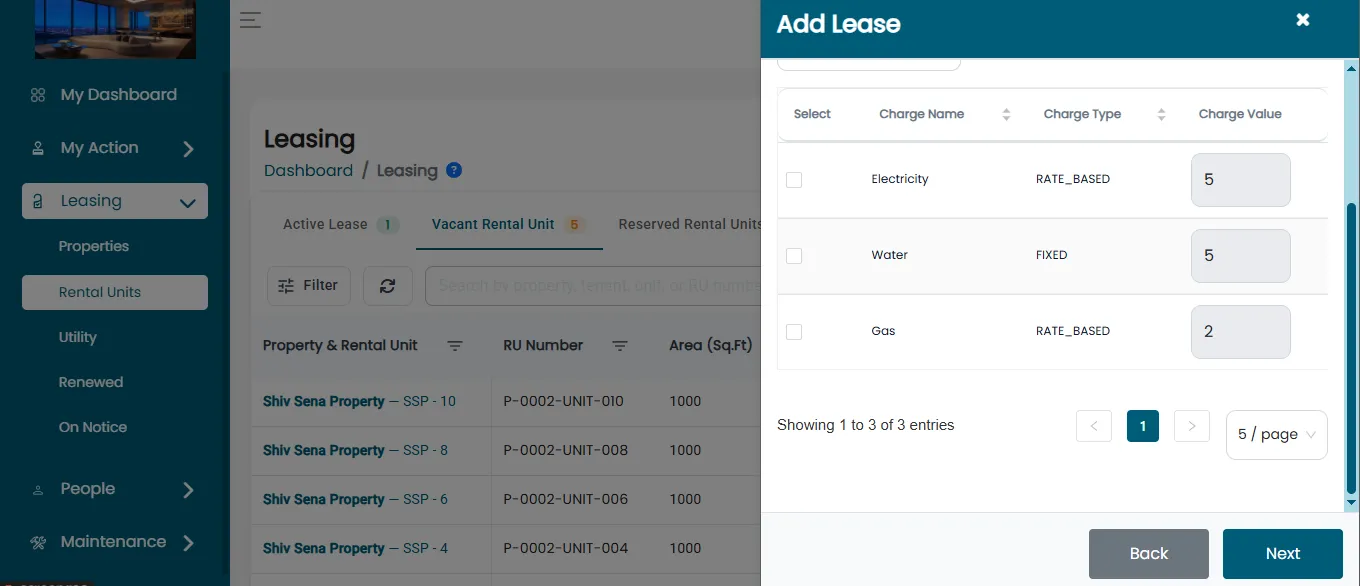
- Clicking Next will open the Add Energy & Other Charges page.
Enter the required utility or service charges:
- Charge Name: E.g., Power Backup.
- Charge Type: Fixed or Rate-Based.
- Default Value: Rate per unit of usage.
Review & Submit
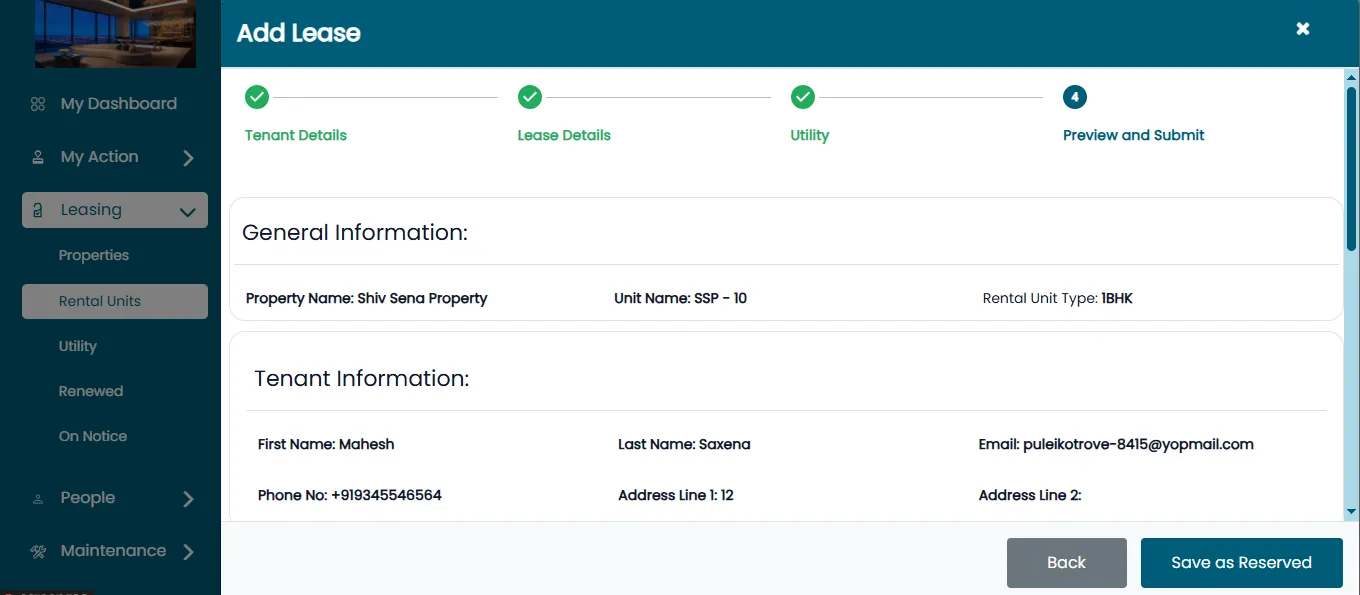
- Clicking Next will take you to the Preview and Submit page.
Carefully review all the entered information:
- General Information: Property Name, Unit Name
- Tenant Information: Includes First Name, Last Name, Contact Number, and Email Address.
- Lease Information: Duration, rent, discounts and other terms.
- Lease Agreement: Review uploaded agreement.
- Energy and Other Charges: Review all added charges.
Lease Created Successfully
After verifying everything, click the Submit button. The lease is now successfully created.

Invoice Generation & Payment Processing
- Log in to your Rentilium account.
- Go to the Accounting section.
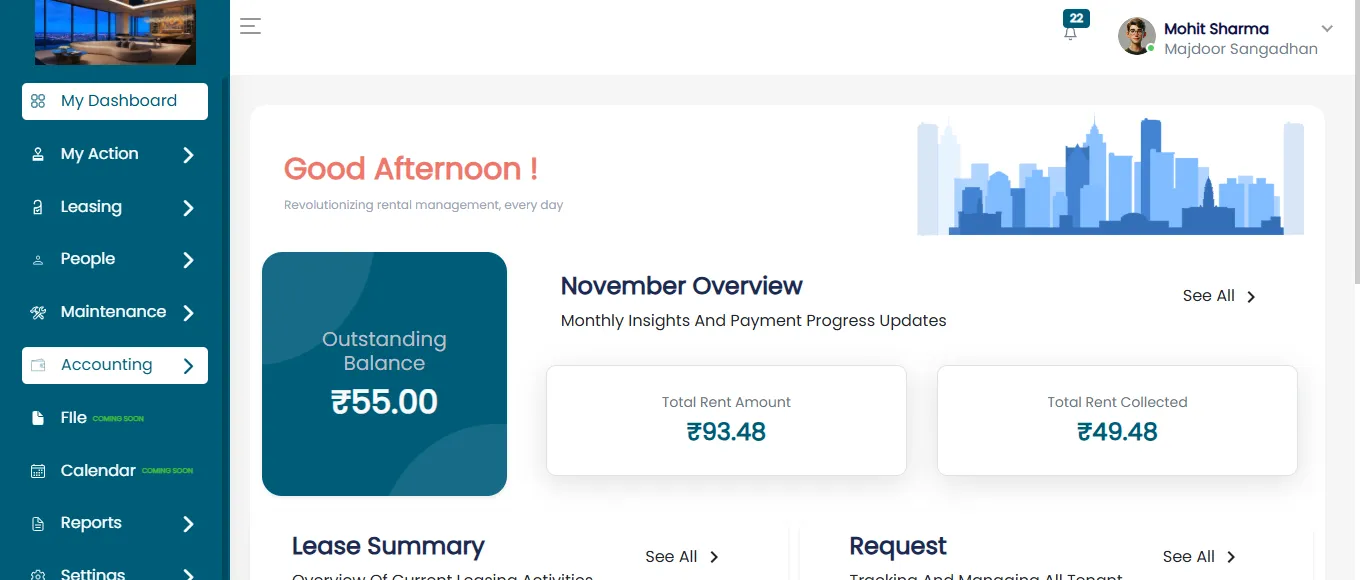
Move To Invoice
Click to expand the Accounting section. You will see the following options:
- Invoice
- Payment History
- Settlement
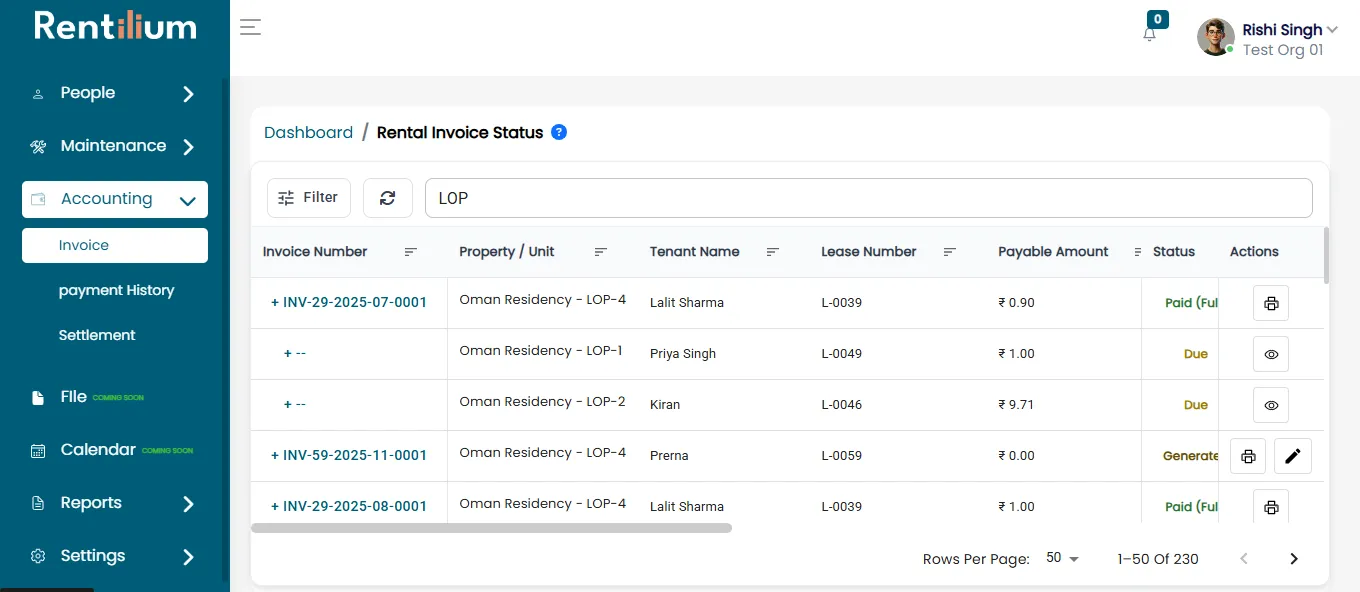
Generate An Invoice
- Go to the Invoice section.
- Locate the tenant. If no invoice has been generated, the Invoice Status will show as Due.
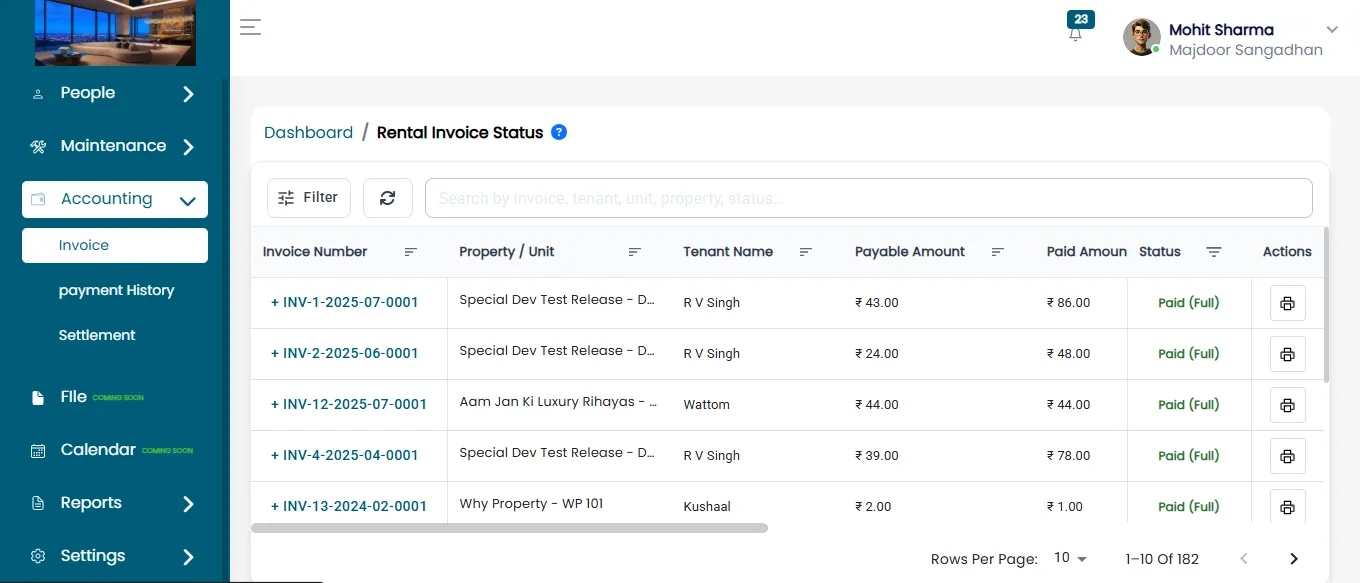
- Click on Preview and Generate. The invoice page will open.
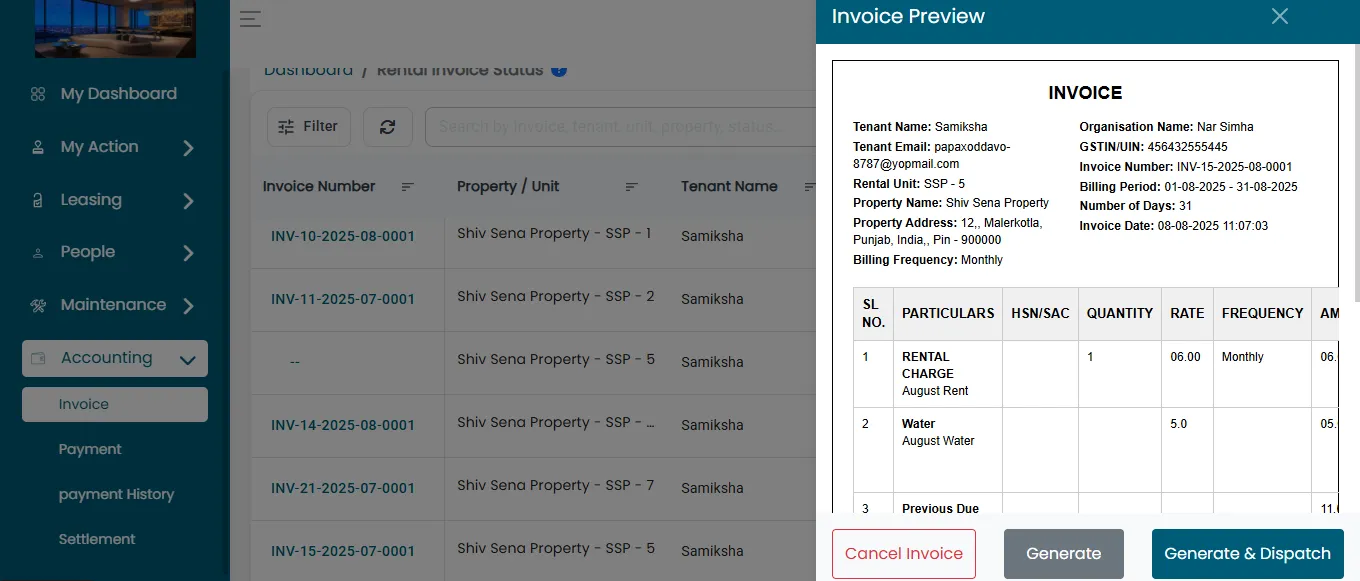
- Click the Generate button. The invoice will be generated successfully.

Processing A Payment
- Now click on pencil icon to update payment section.

- Locate the tenant (Prerna) whose status is showing as Due.
- Click on the Update button.

- The Update Payment page will open.
- Fill in all required payment information.
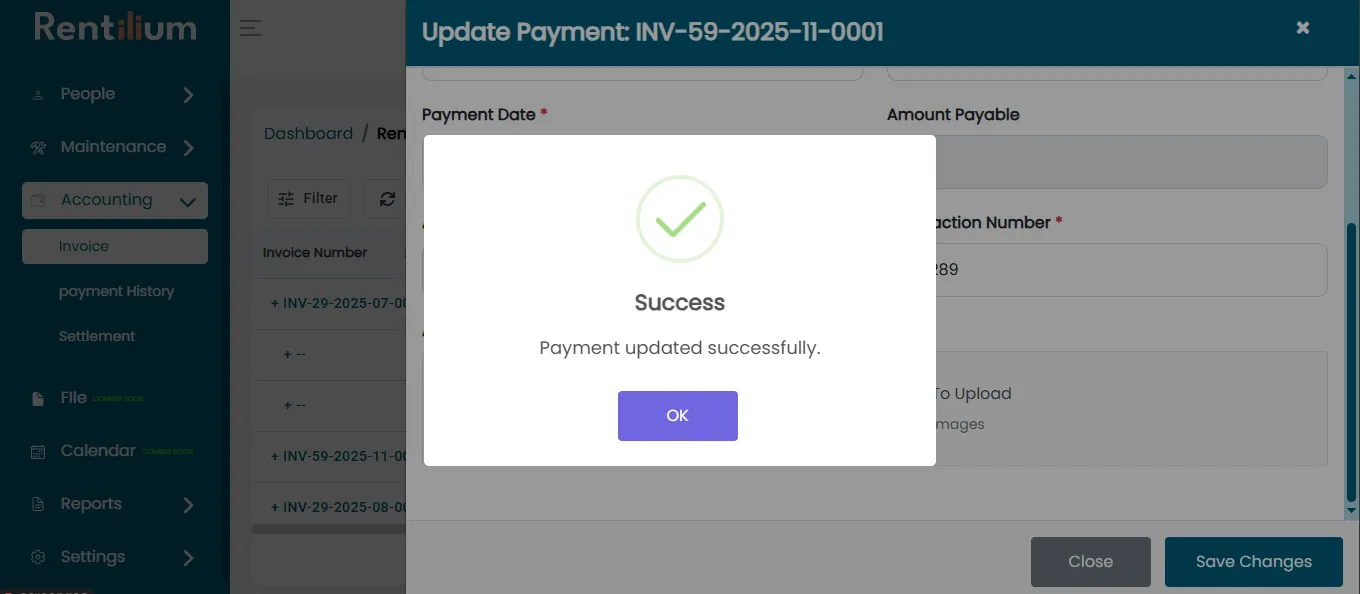
- Click on Save Changes.
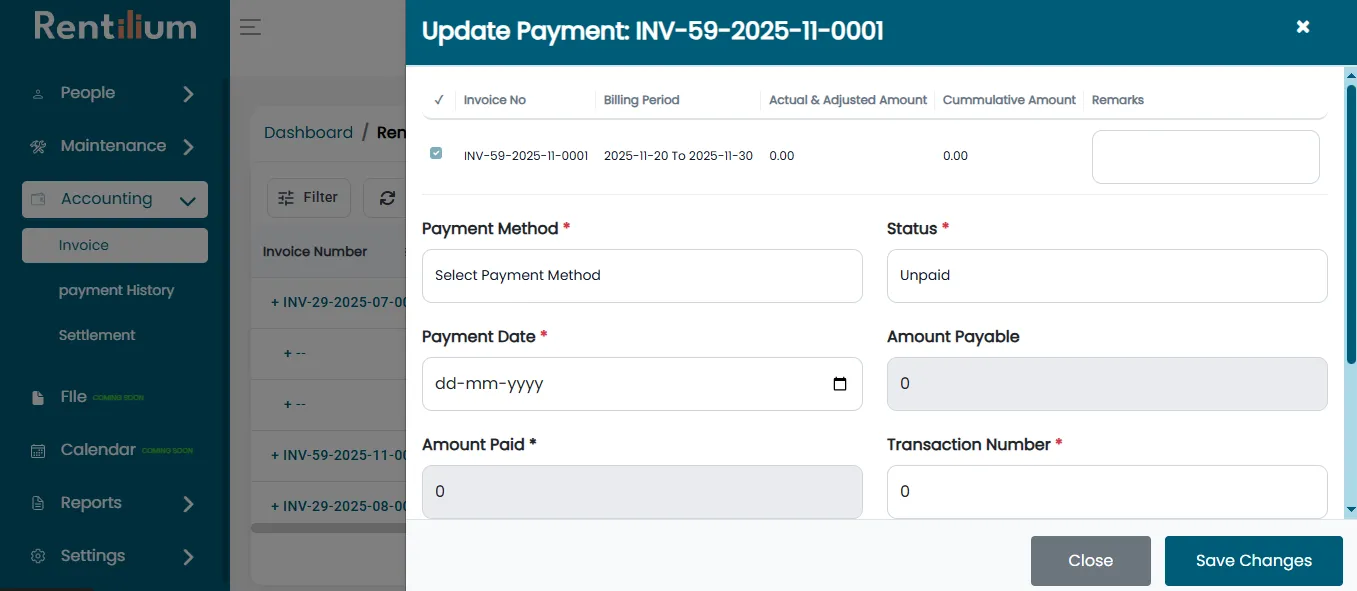
- The payment will be updated successfully.
- The status for tenant Priya Singh will change to paid.