Property Creation
Move To The Property Section
Log in to Rentilium ERP account using your credentials.
From the dashboard, click on the Leasing tab located on the left sidebar.
Under the Leasing section, select Properties.
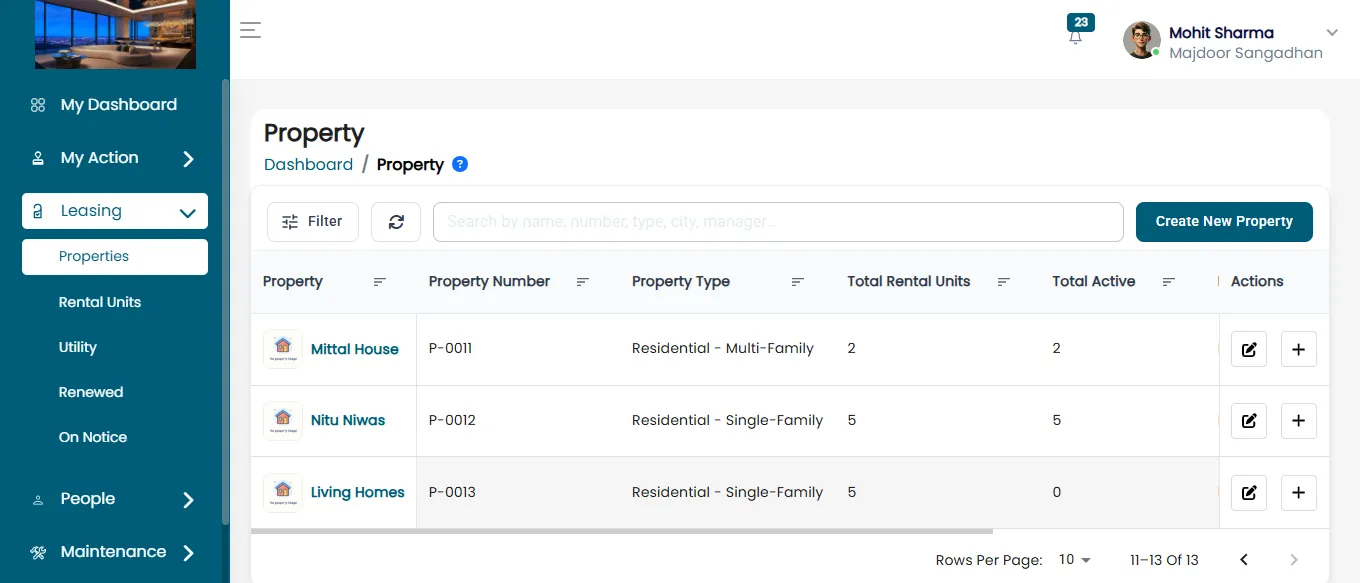
You will be directed to the Property Management page, where you can view, create, and manage properties.

Starting Property Creation Process
On the Property Management page, click on the Create New Property button located on the top right corner.
This action opens the property creation space, which is divided into multiple steps:
- Property Details
- Property Amenities
- Property Owners
- Property Units
- Preview & Submit
In this page admin can edit the property or add rental unit.
By clicking the pencil icon, you can edit the property, and by clicking the ‘+’ icon, you can add a rental unit.
Adding Property Details
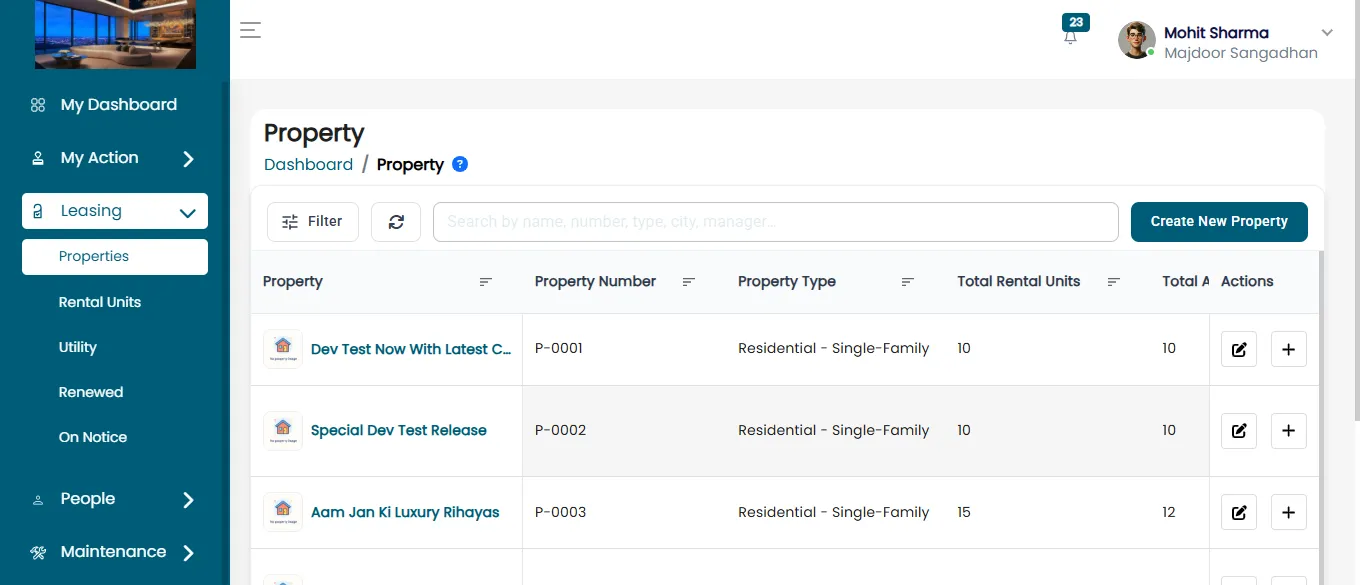
In the Property Details section, fill in the following fields:
- Property Name: Enter the name of the property.
- Property Type: Select from options like Residential, Commercial, etc.
- Property Subtype: Choose the specific subtype (e.g., Multi-Family, Office Space).
- Address: Provide address details including Address Line 1, Address Line 2, Locality Name, Zip Code, State, and City.
- Latitude & Longitude: Enter geographic coordinates if required.
- Billing Method: Select between Prepaid and Postpaid.
- Property Image: Upload property images if available.
After entering all required information, click Next to proceed.
Adding Property Amenities
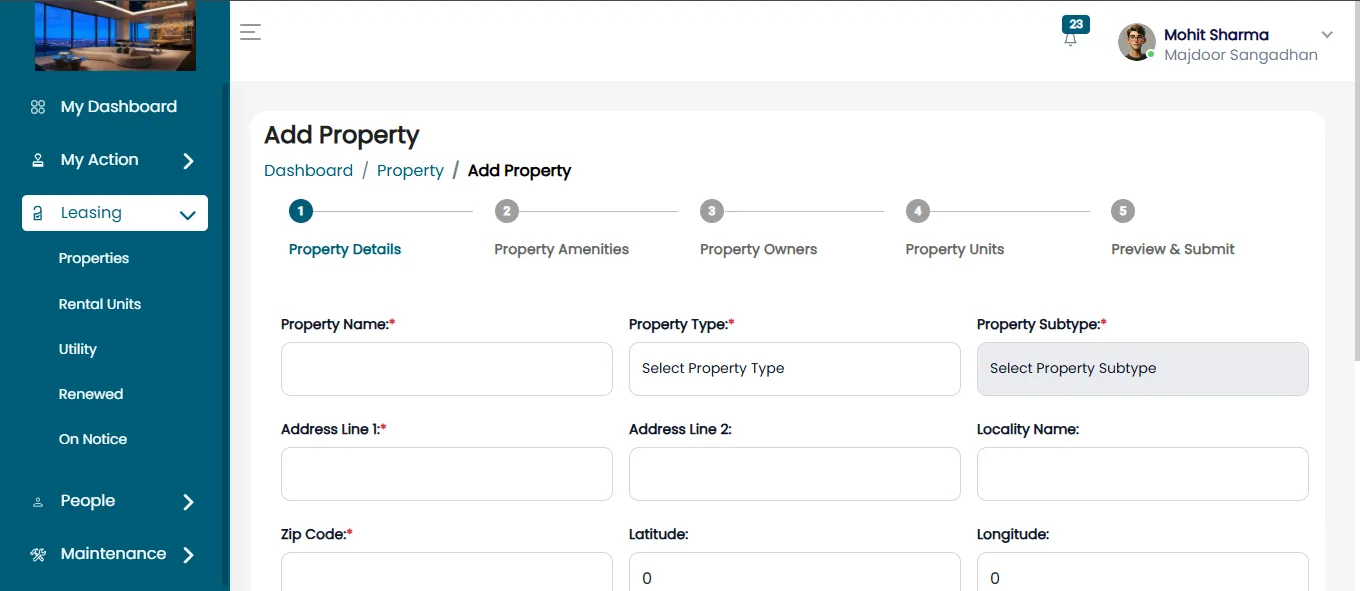
In the Property Amenities section, you can add amenities provided in the property:
- Select Amenities: Check the box for amenities like Pool Table, Car Parking, Swimming Pool, Community Hall, Gym, etc.
- Quantity: Enter the quantity for each amenity if applicable.
Once all amenities are added, click Next to proceed.
Adding Property Owner
In the Property Owners section, specify owner details:
- Owner Type: Choose from Self, Existing Owner, or New Owner.
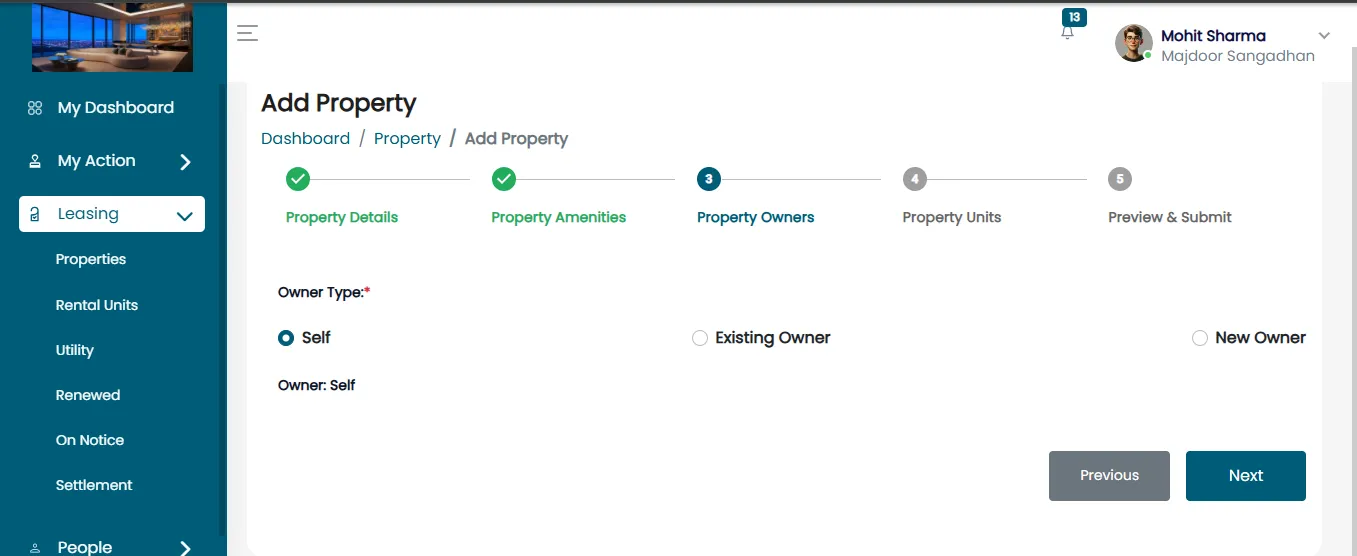
If we continue with New owner, then we need the following details
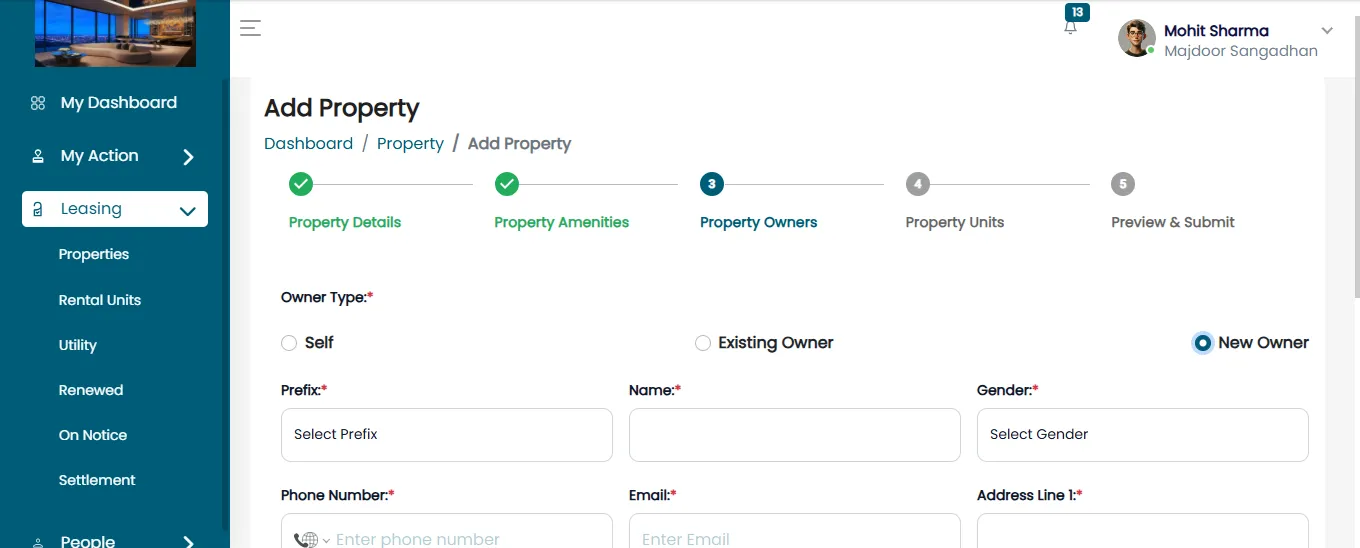
- Owner Details: Fill in details such as Name, Gender, Phone Number, Email, Address, Zip Code, State, City, and Country.
- If adding a new owner, complete all mandatory fields before proceeding.
Click Next once the details are filled.
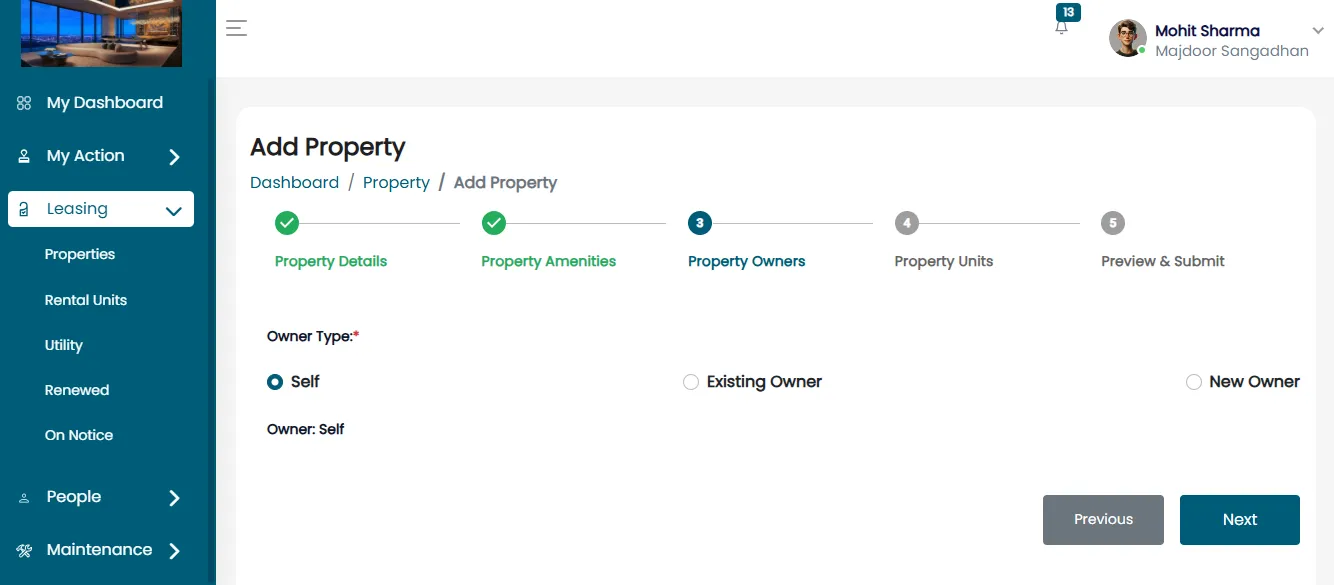
Adding Property/Rental Units
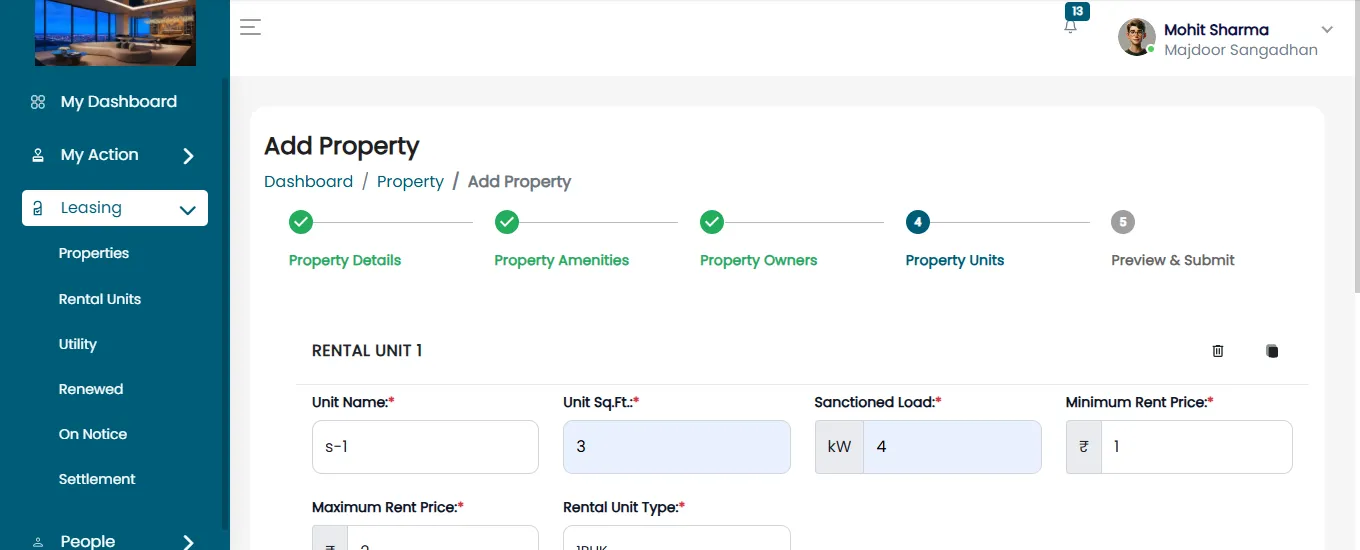
In the Property Units section, define the rental units within the property:
- Unit Name: Enter the unique name/number for each unit.
- Unit Size: Specify the sqft. of each unit.
- Sanctioned Load: Enter the electrical load capacity in KW.
- Minimum and Maximum Rent Price: Define the rent range for each unit.
- Rental Unit Type: Choose from options like 2BHK, 3BHK, Studio, etc.
- For each unit, you can select all associated assets.
- Click Add Rental Unit to include more units as required.
After adding all units, click Next to proceed.
Adding Multiple Units Automatically
Use the Copy Option to save time when adding multiple rental units:
- If an owner has multiple rental units with similar configurations (e.g., size, rent price, type), enable the copy feature.
For Example:
Rental Unit 1: Unit Name = RU1, Size = 1000 Sq.Ft., Rent = ₹10,000.
When the copy feature is applied, subsequent units (RU2, RU3, etc.) will inherit the same details while automatically updating the unit’s name in sequential order till RU5.
RU2: Unit Name = RU2, Size = 1000 Sq.Ft., Rent = ₹10,000.
RU3: Unit Name = RU3, Size = 1000 Sq.Ft., Rent = ₹10,000.
This ensures consistency and reduces manual input errors.
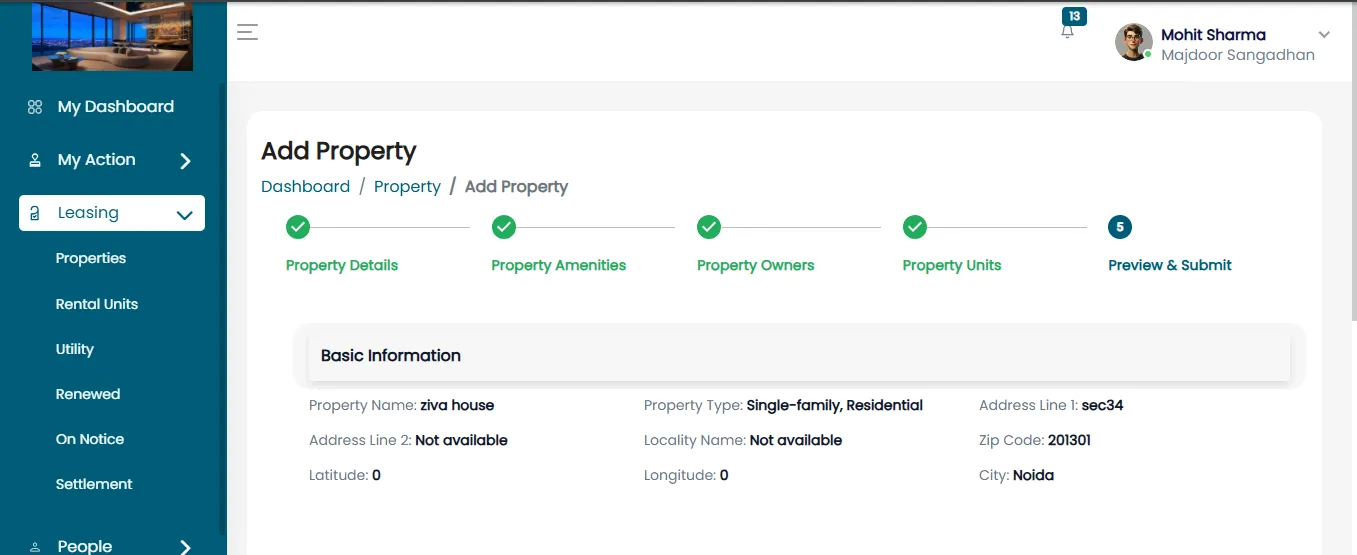
Preview & Submit
In the Preview & Submit section:
- Review all the information entered, including property details, amenities, owners, and units.
- Verify for any missing or incorrect information.
- If changes are needed, use the Previous button to navigate back and update the details.
- Once verified, click Submit to finalize the property creation.
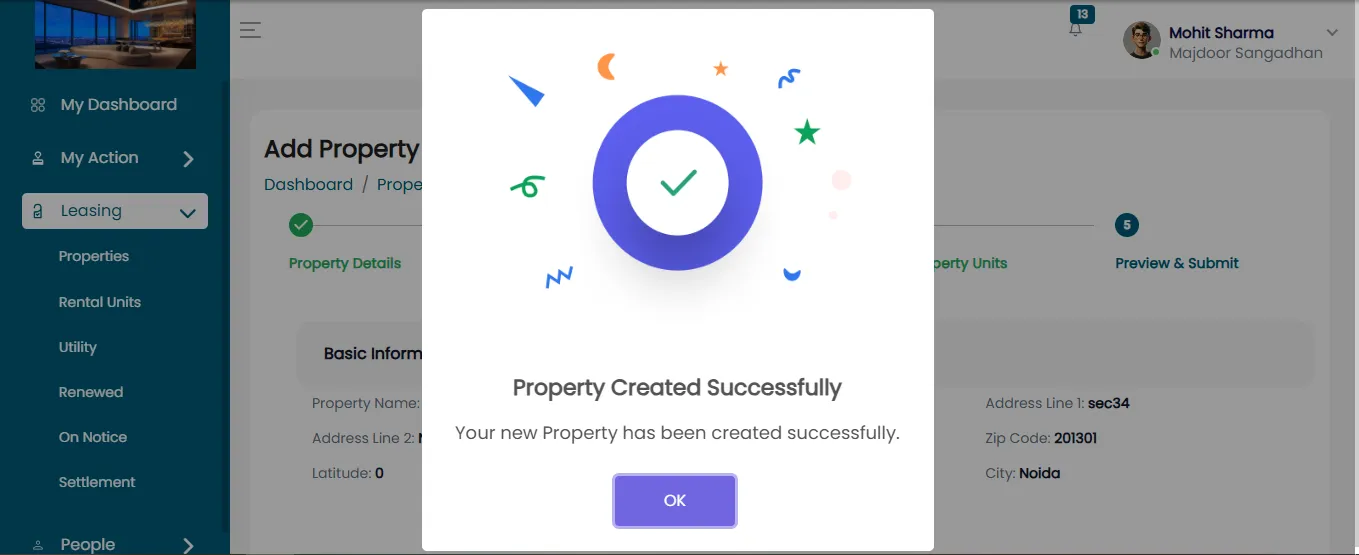
- A confirmation message will appear, stating "Property created successfully".
Updated Property List
Now in the Property section, you will see a list of existing properties including the newly added one.