QR Code
A QR code is a type of two-dimensional barcode that can store information such as text, URLs, contact details, or other data. It consists of black and white squares arranged in a grid, which can be scanned by a smartphone or QR reader.
Key Features
- Fast scanning — designed for quick reading by cameras.
- High data capacity — can store more information than traditional barcodes.
- Error correction — still readable even if part of the code is damaged.
- Versatile usage — used for payments, websites, tickets, authentication, product tracking, etc.
Login to Your Account
- Log in to your account.
- Upon successful login, the system will redirect you to the Dashboard, where you can begin the lease creation process.
Move to My Organisation
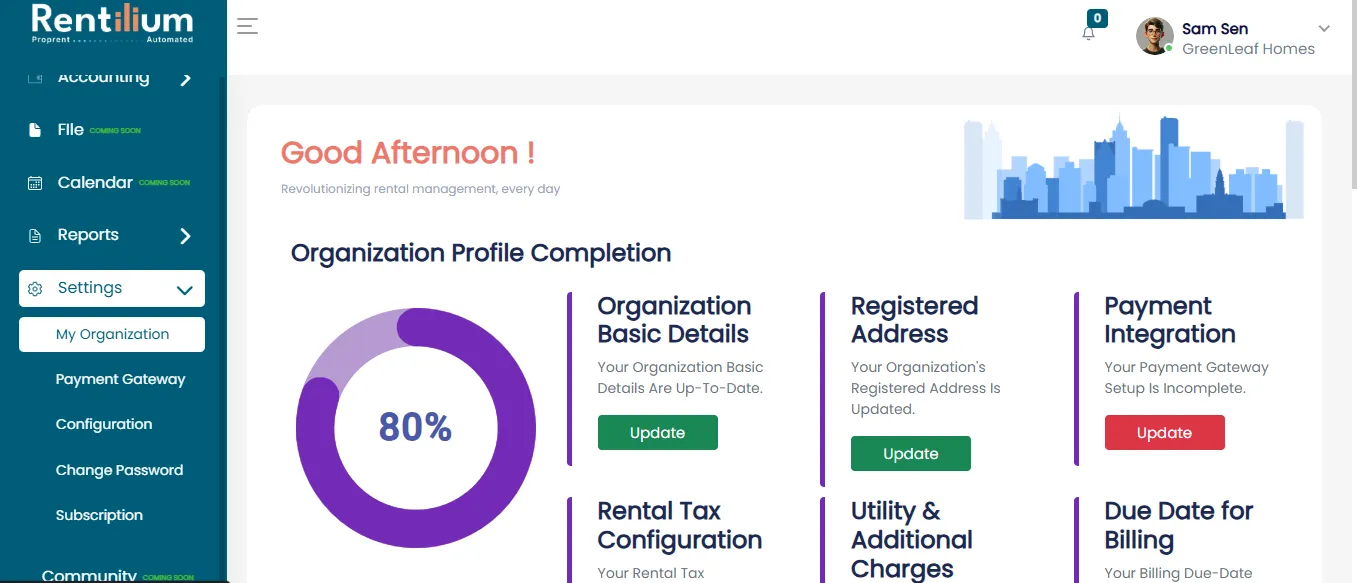
- Navigate to the Setting section and select My Organisation.
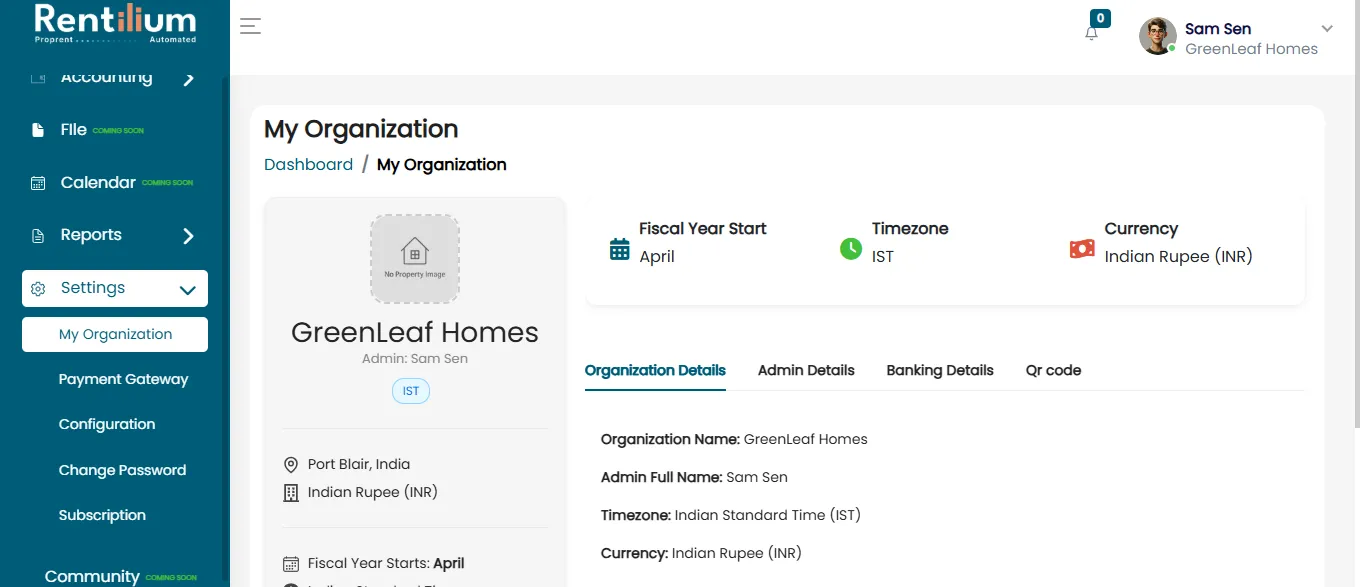
Organization Details
This section includes basic details about your organization:
- Organization Name
- Admin Full Name
- Time Zone
- Currency
- Location
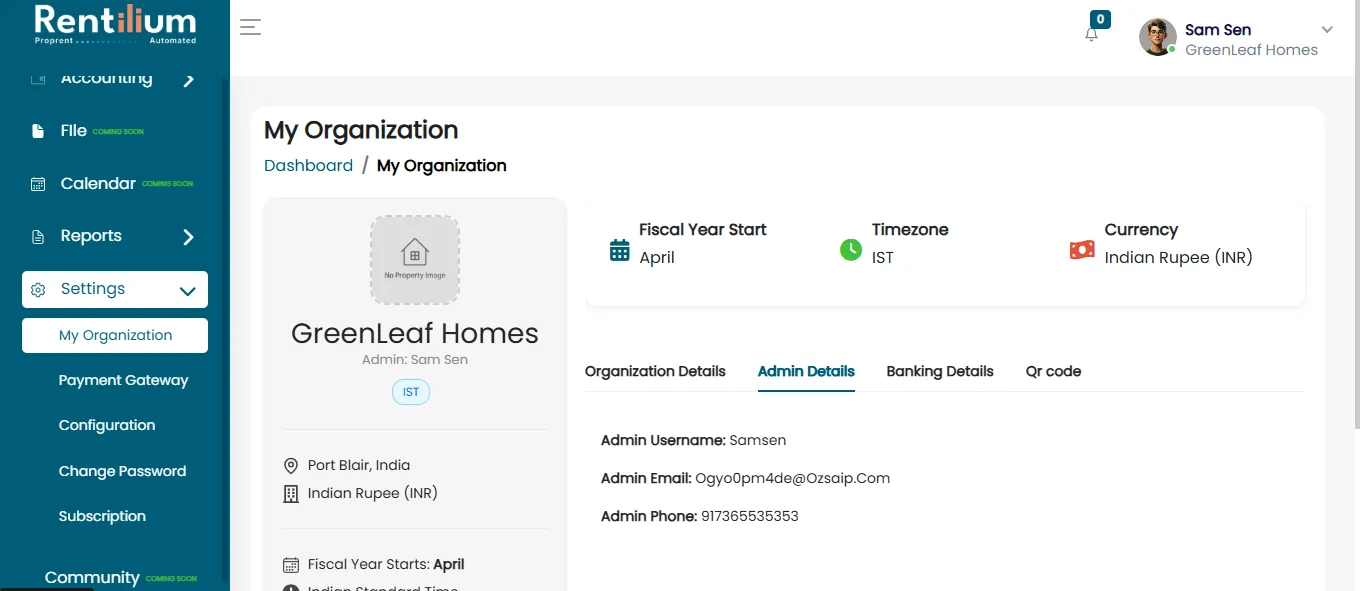
Admin Details
Here you can view information related to the admin user:
- Admin Username
- Admin Name
- Admin Email Address
- Admin Phone Number
- Location
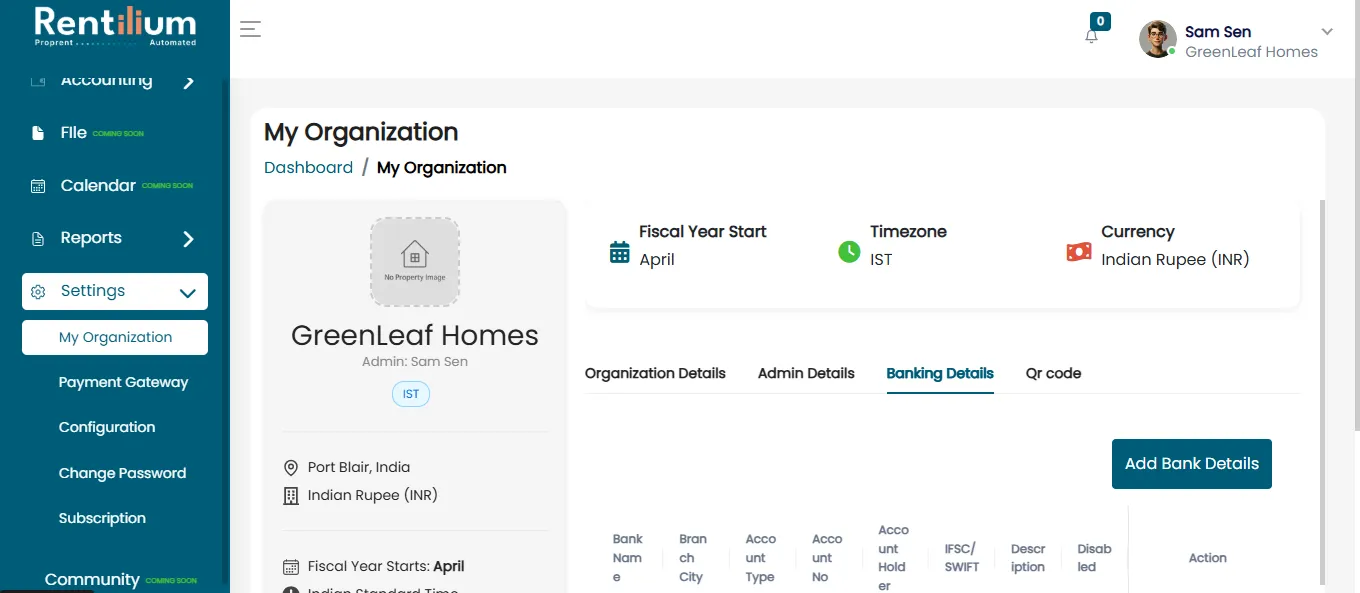
Banking Details
This section is where you manage your organization's bank accounts. The information displayed for each account includes:
- Bank Name
- Branch City
- Account Type (e.g., Savings, Current)
- Account Number
- IFSC/SWIFT Code
- Description
- Disable (Toggle to deactivate an account)
- Action (Edit/Delete options)
From here admin can upload QR Bar for future payment.
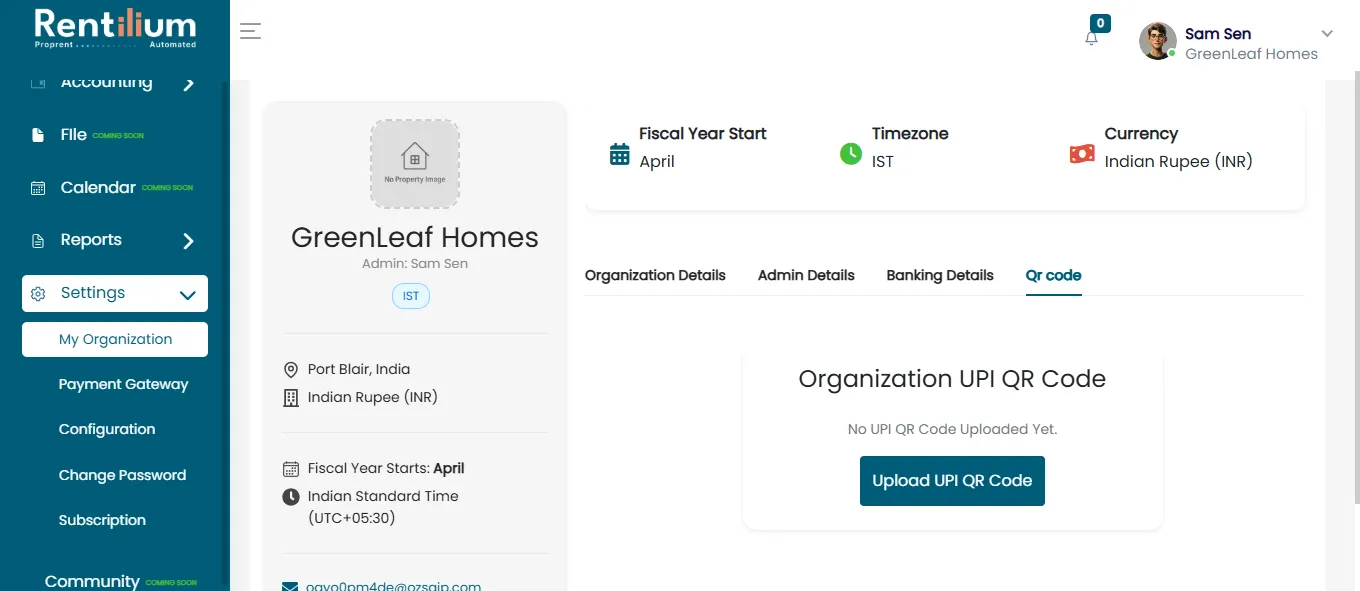
Click on upload UPI QR Code tab.
After clicking on Upload QR Code tab, Upoload UPI QR Code page will open.
Click on the arrow button to upload the QR Code.
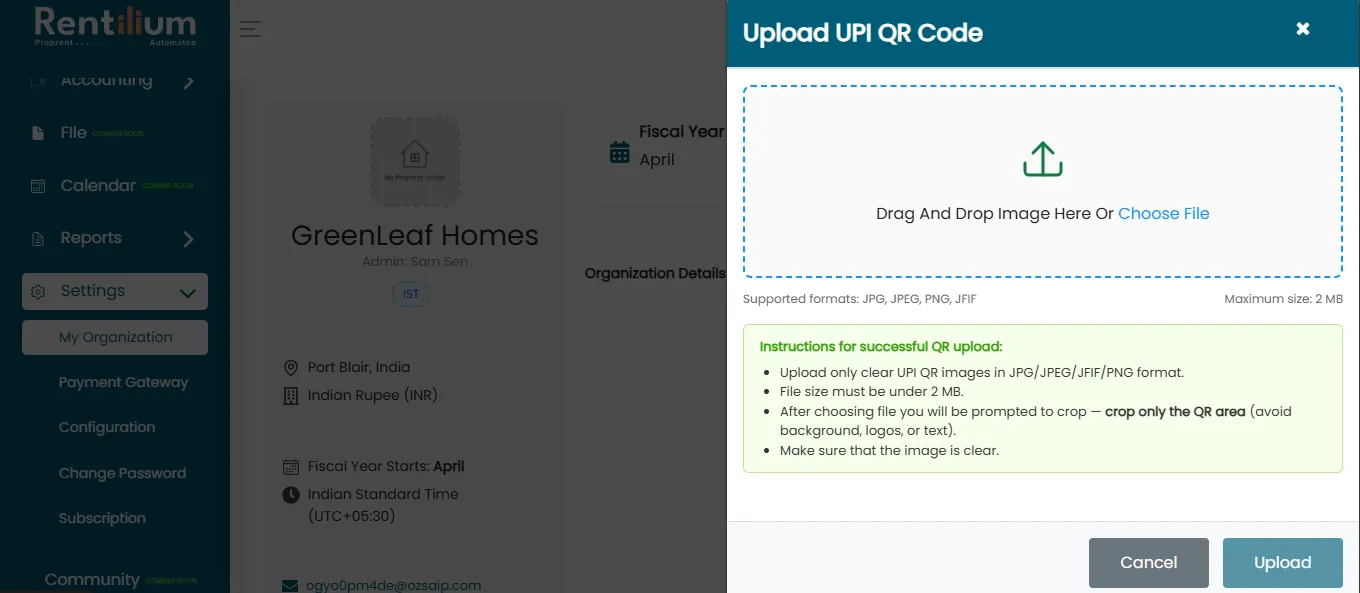
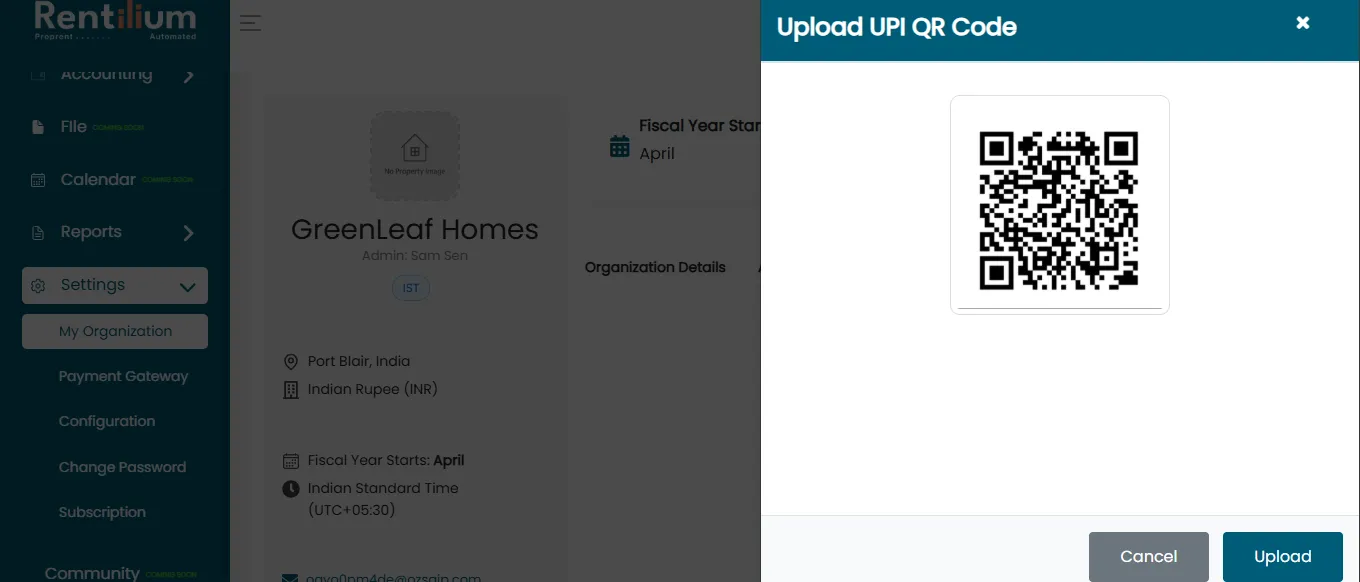
After selecting the file, click on the Upload button.
After uploading, click on Apply Crop.
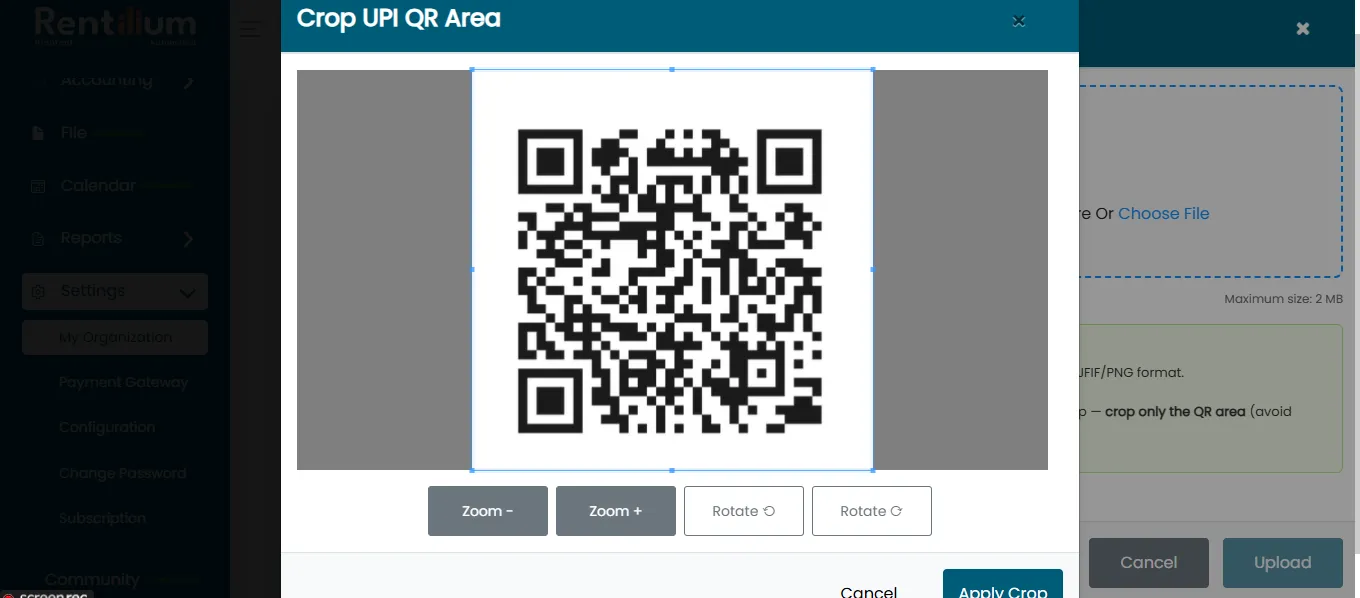
Your QR Code has been successfully applied. Now click on Upload.
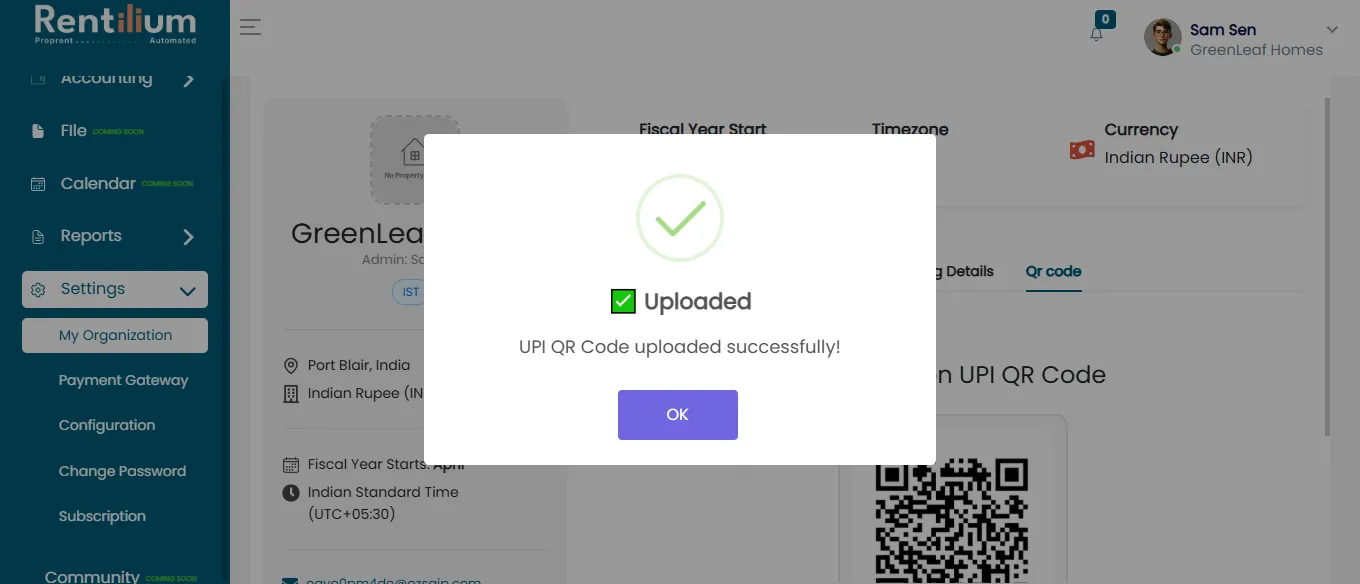
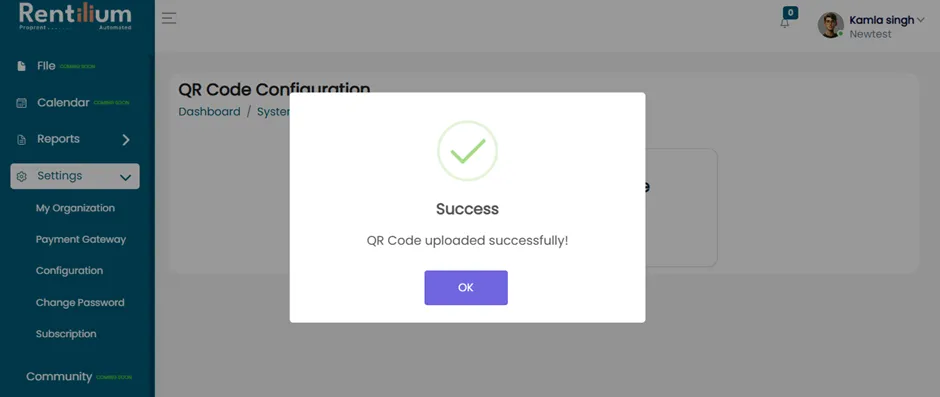
After uploading the QR Code admin will get a successful notification that “ UPI QR Code uploaded successfully”.
Now in the main dashboard you can view that your QR Code uploaded successfully.
From here you can view your QR Code or replace it.
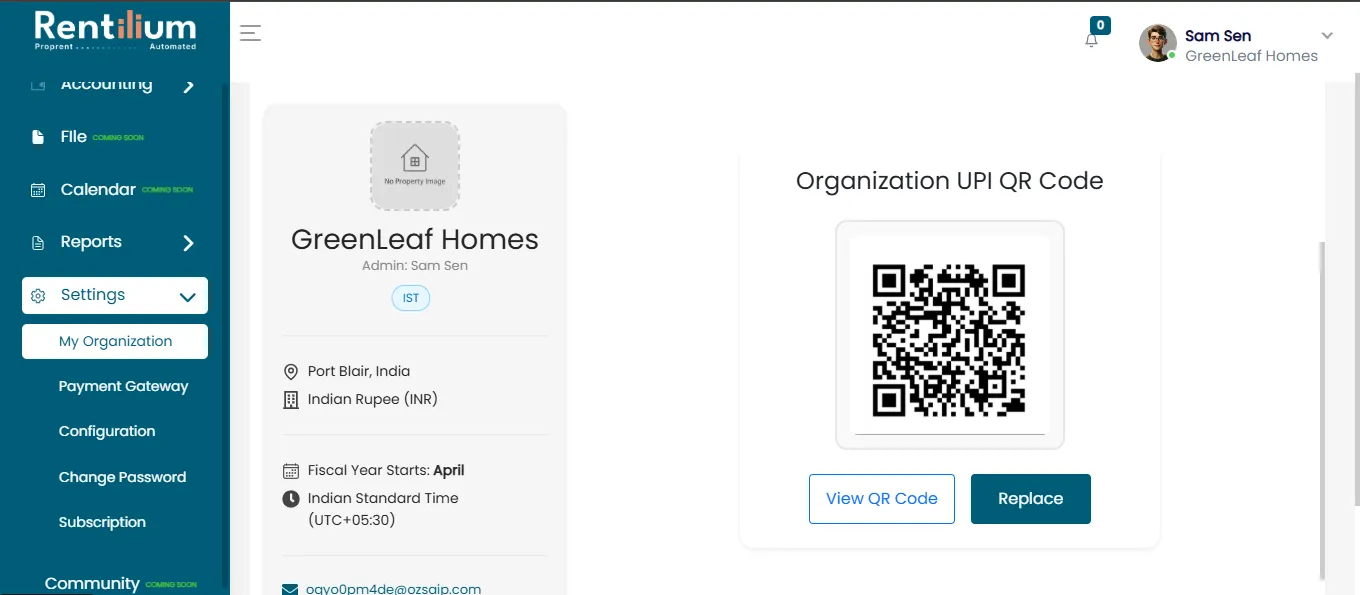
In the above image, you can see two options below the QR Code: View QR Code and Replace.
If the admin wants to replace the QR code, they should click on the Replace button.
After clicking on it, the Replace UPI QR Code page will open.
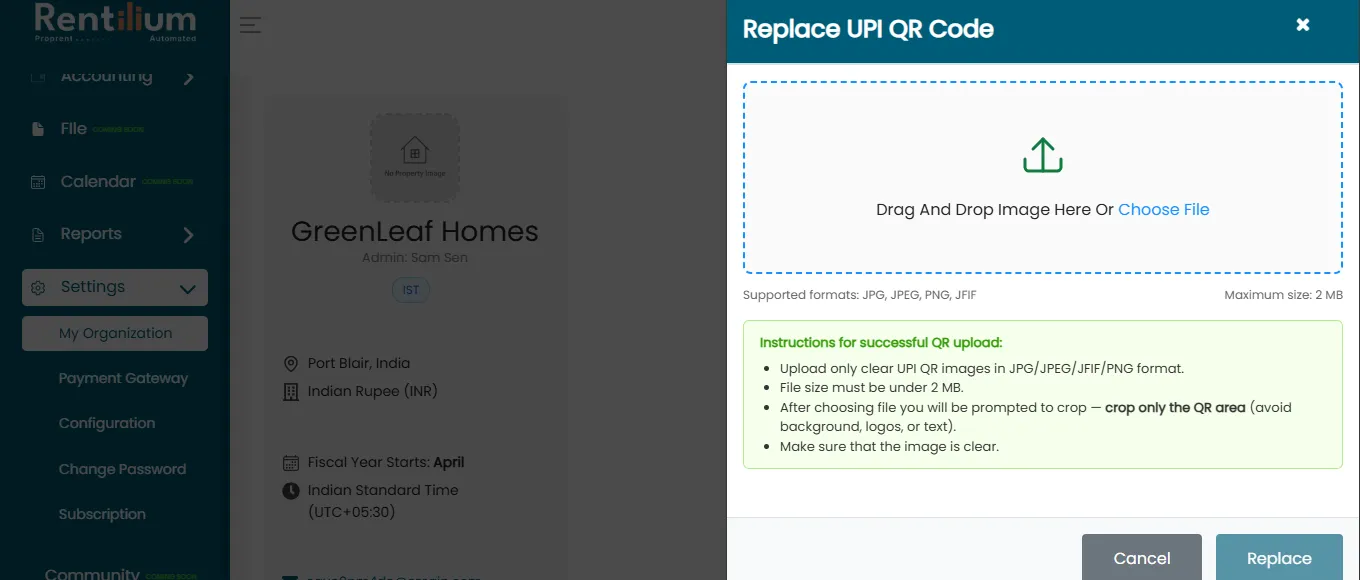
To replace the image, click on the arrow button to upload the new QR Code.
After uploading, click on Apply Crop.
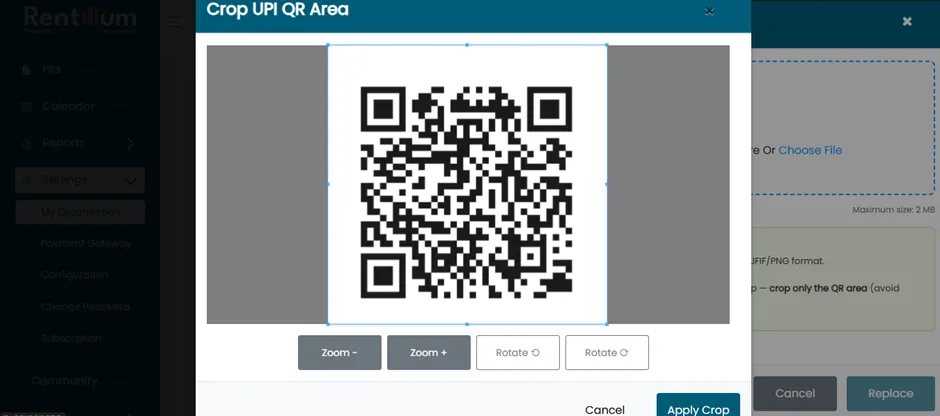
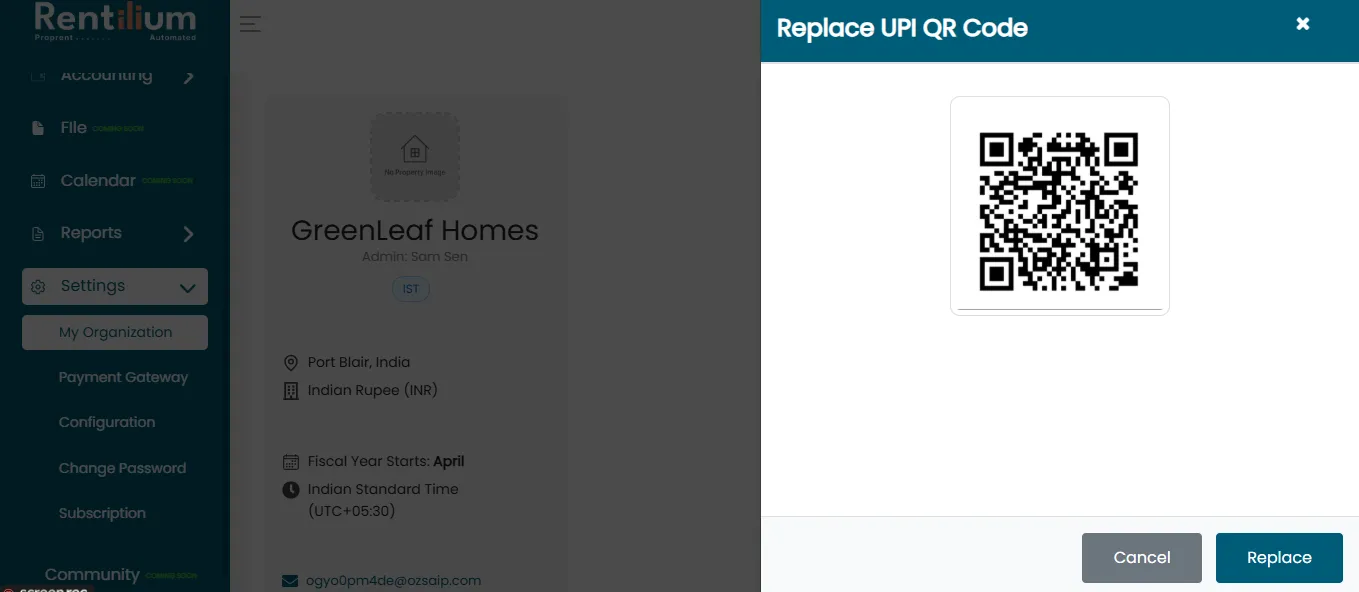
Your QR Code has been successfully applied. Now click on the Replace button.
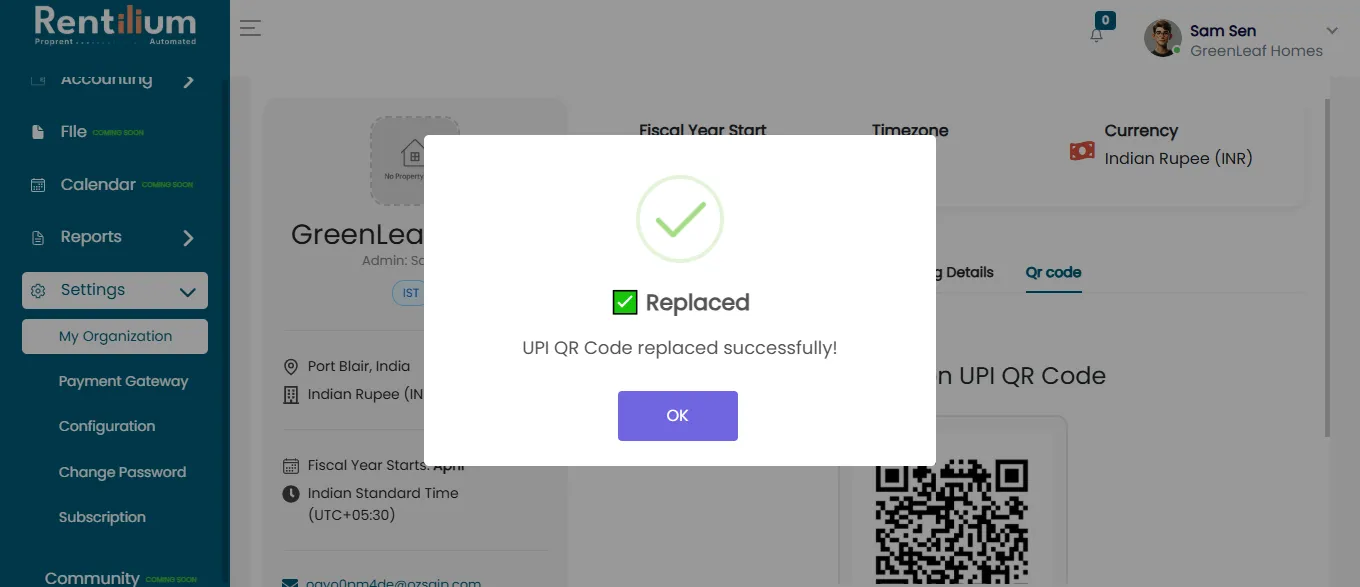
After clicking the Replace button, the UPI QR Code will be successfully updated.
If the admin wants to disable the QR Code, they can do so.
Move to The Configuration Tab
- From the Admin Dashboard, locate and click on the Settings section in the main navigation menu.
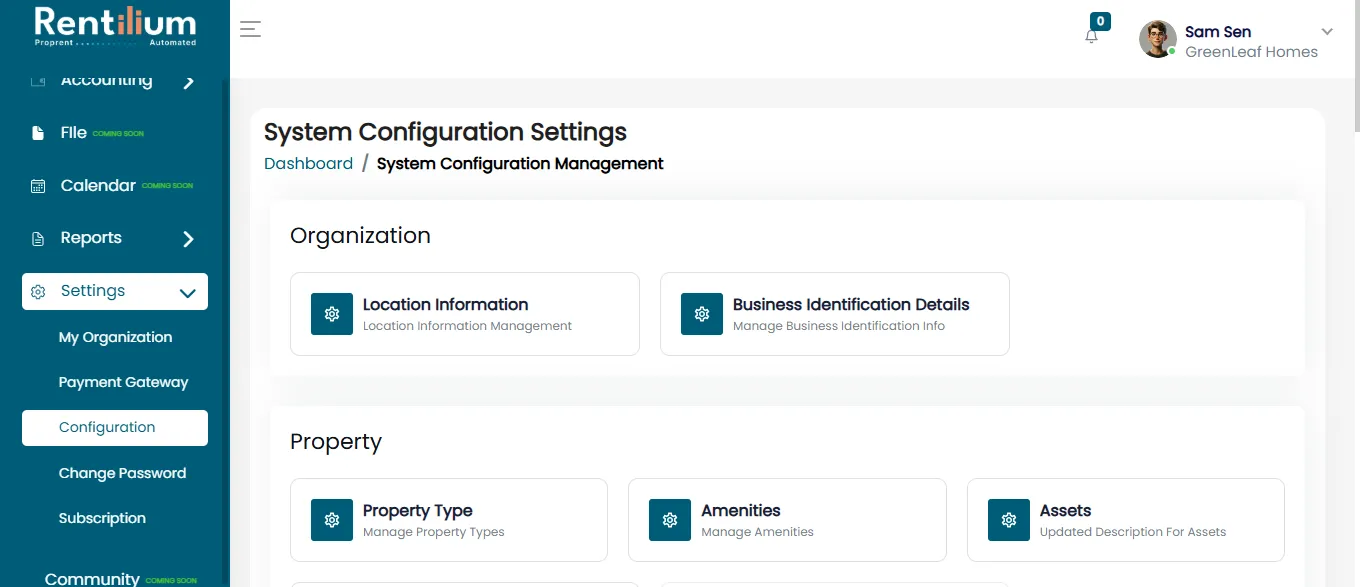
In System Configuration setting in Billing and Taxation you can view invoice QR Option.
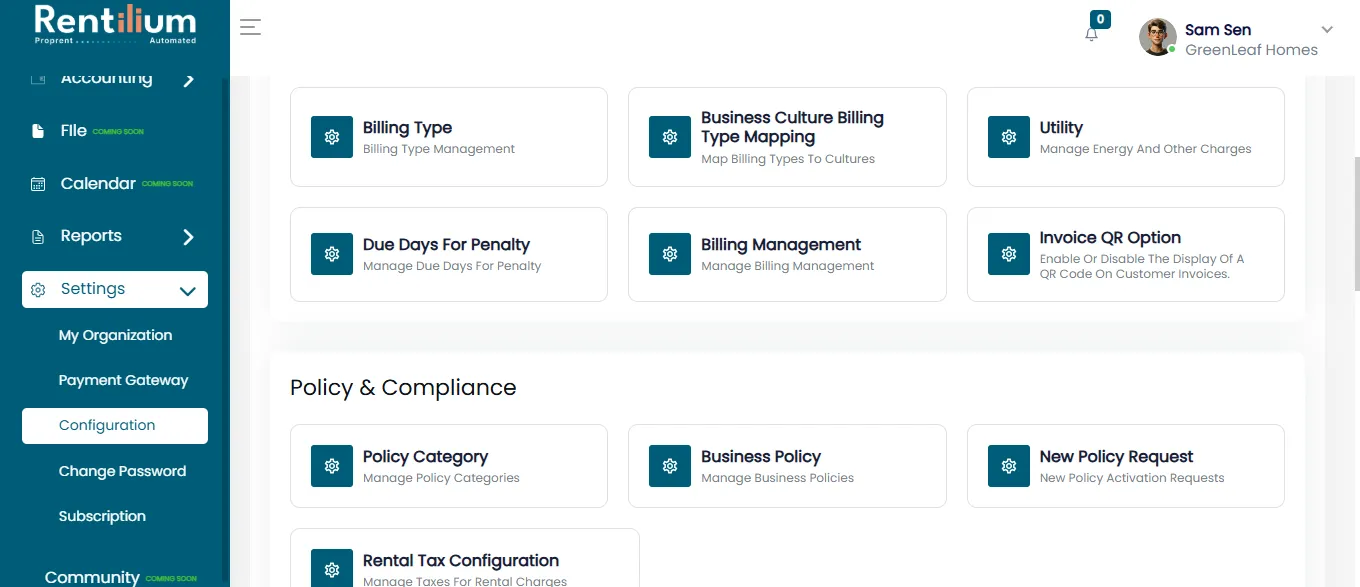
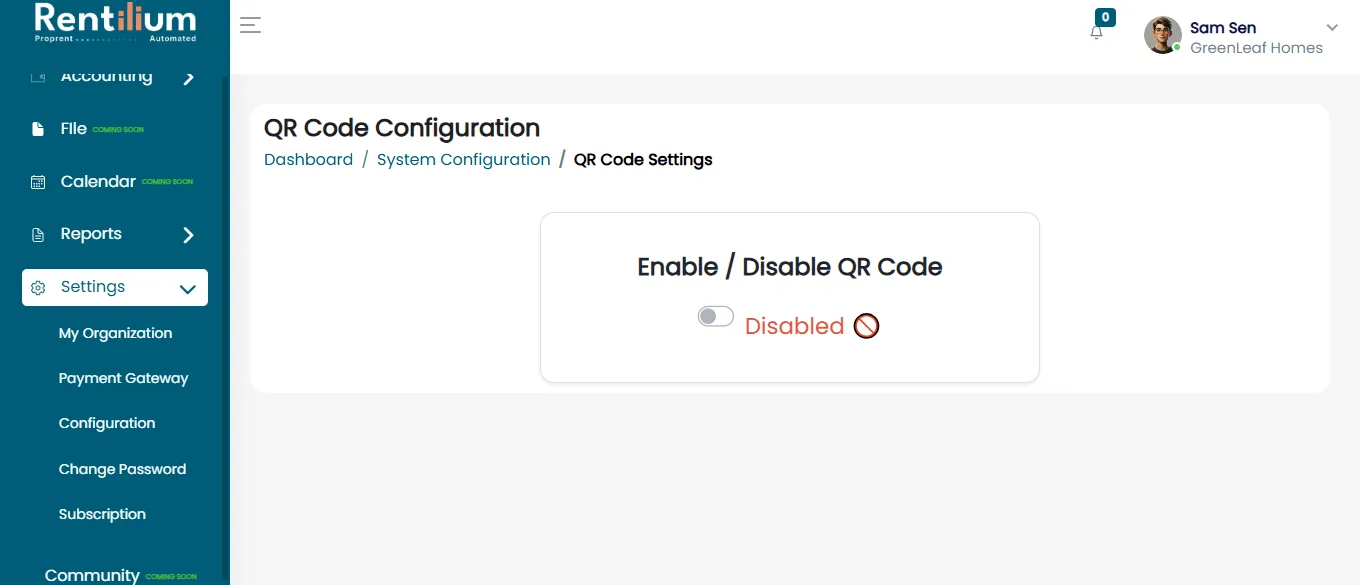
After clicking on the invoice QR Option, QR Code Configuration page will open
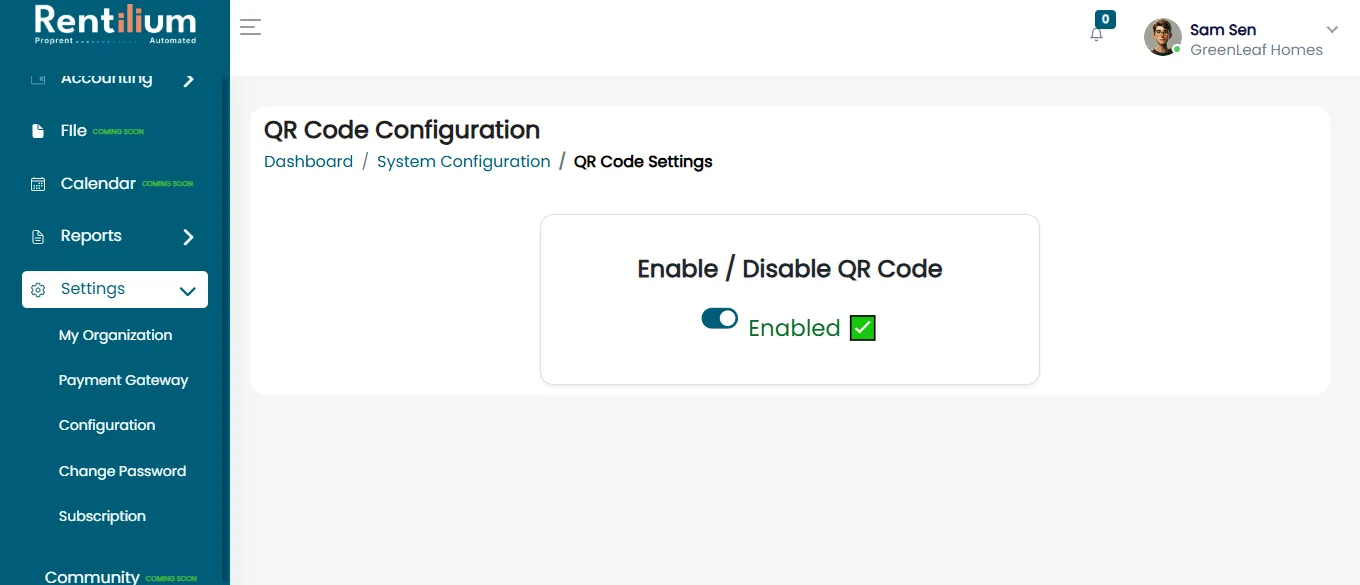
From here admin can enable or disable the feature.
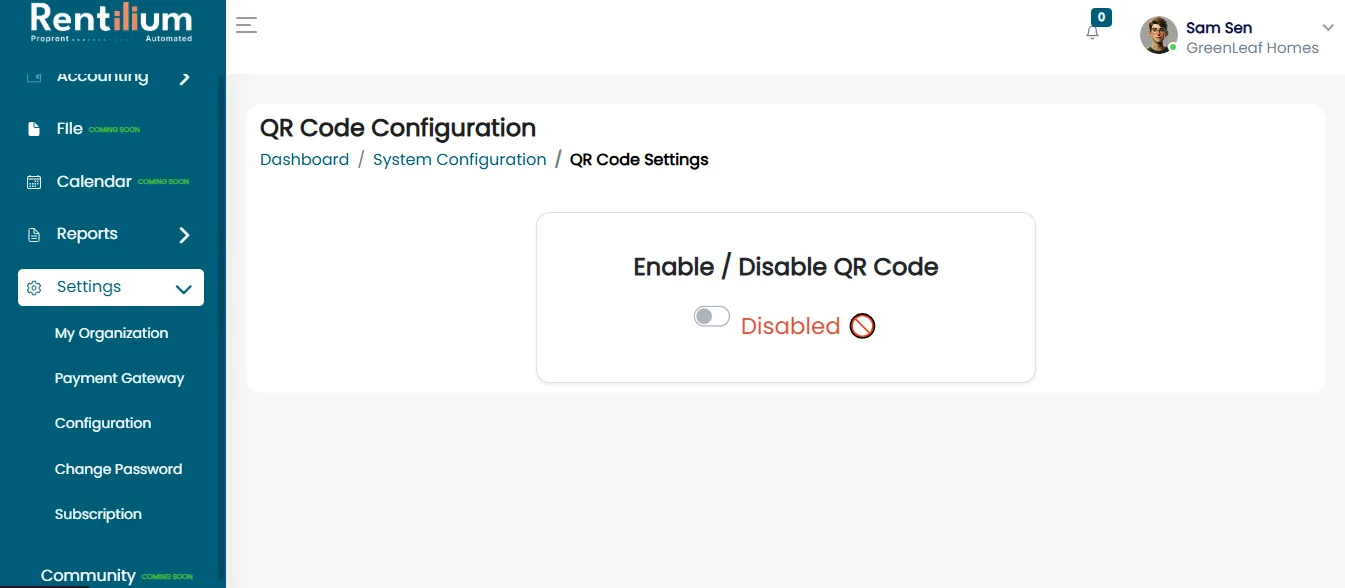
When the admin clicks the Disable button for the first time, the Upload UPI QR Code page will open, where they can upload a valid QR Code.
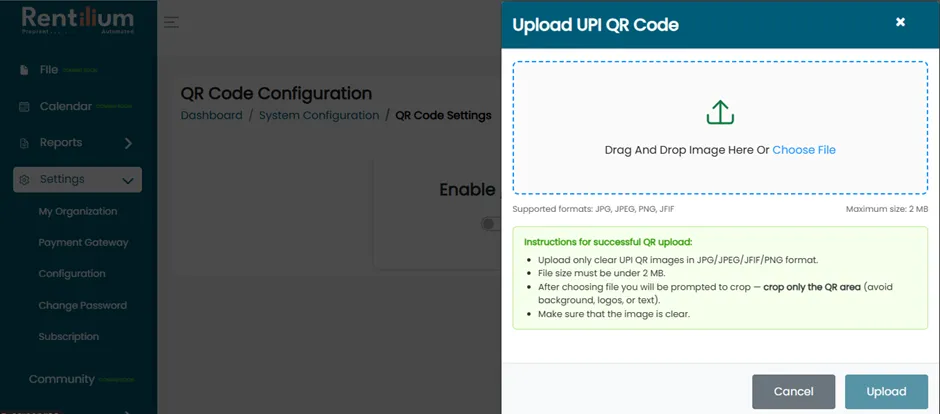
Click the arrow button to upload the QR Code. After selecting the file, click on the Apply button.
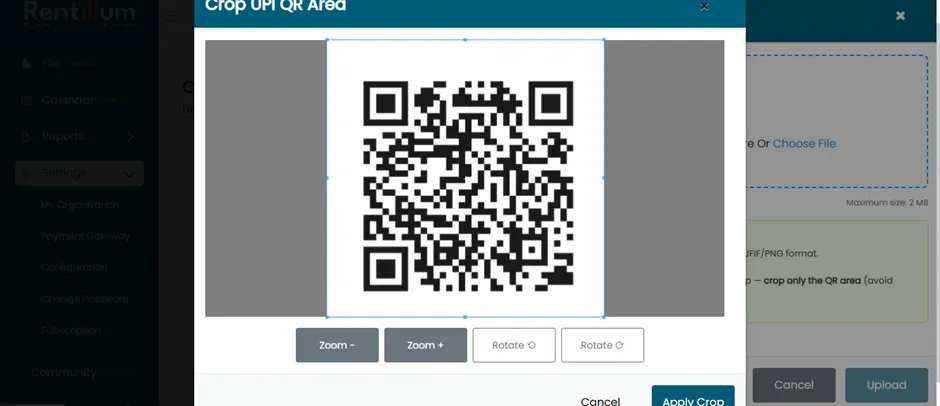
Your QR Code has been successfully applied. Now, click the Upload button.
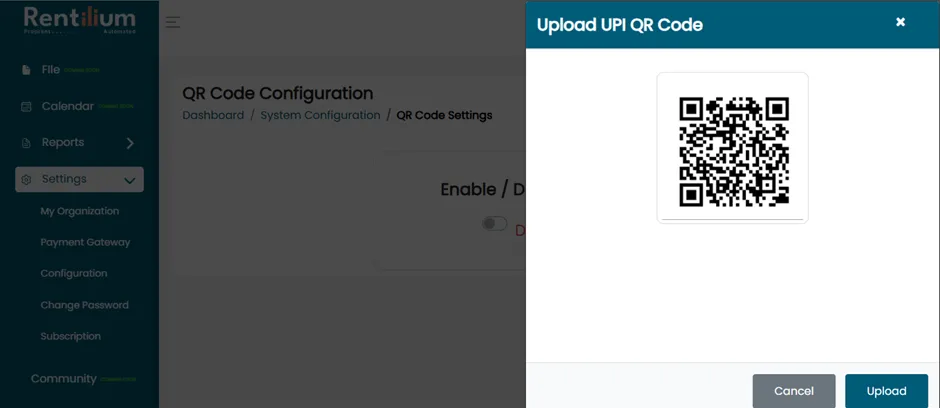
After clicking the Upload button, your QR Code will be successfully added.
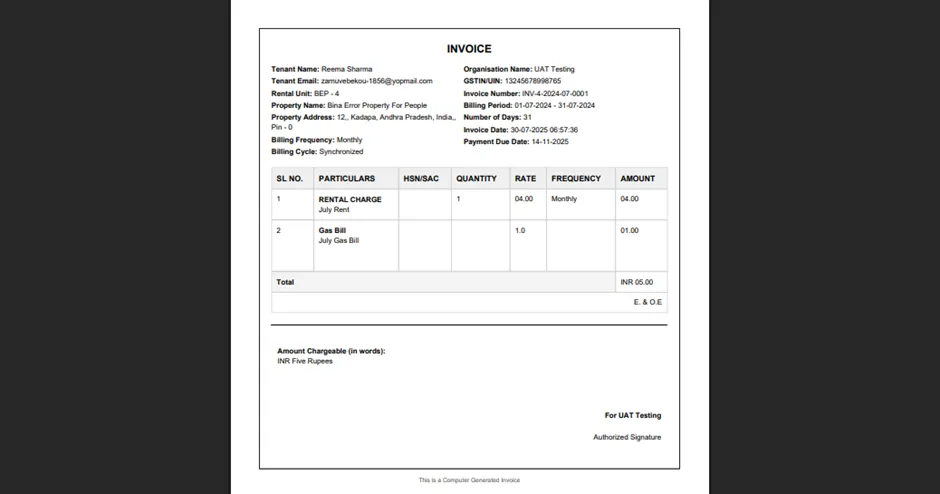
If admin enable the QR Code they can view that code in the each invoice.
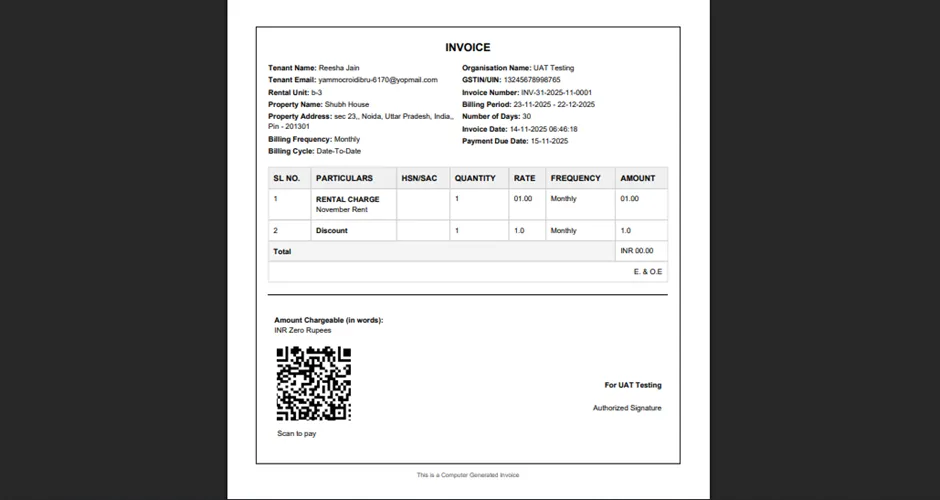
If the admin disables the QR Code then invoice which tenant will get will be without QR code.