Billing Frequency
The Yearly Billing Frequency feature in Rentilium helps property managers and admins streamline rental payment management. By setting billing cycles to monthly or yearly, users can offer flexible lease terms, improve invoice accuracy, and enhance the experience for both tenants and owners.
This guide provides step-by-step instructions on configuring billing frequencies, creating properties, adding tenants, managing units, and generating invoices—ensuring a smooth and transparent billing process.
Billing Frequencies
- Monthly (1 Month)
- Yearly (12 Months)
- Quarterly (3 Months)
- Half-Yearly (6 Months)
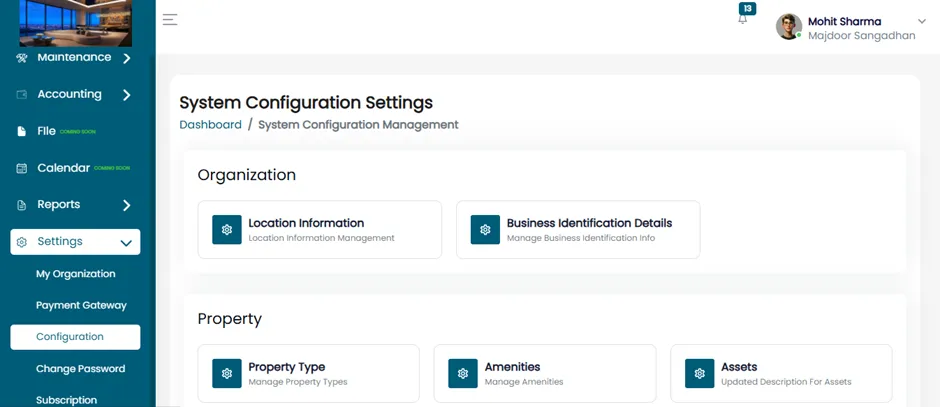
Open Configuration Tab
- Inside the Settings menu, click on the Configuration tab.
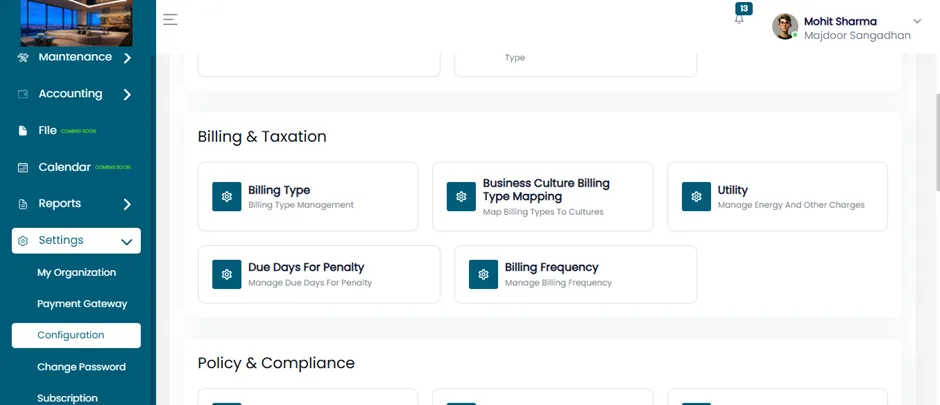
Select “Billing Management”
- Go to Configuration, then click on Billing Management.
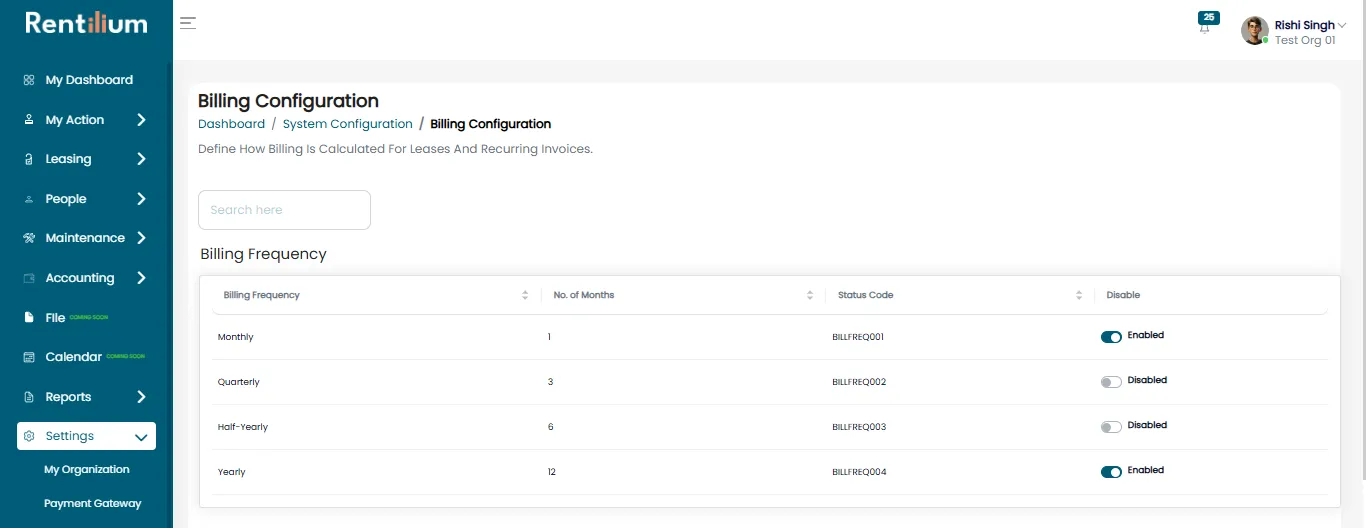
- The Billing Management page will open.
- From here, the admin can enable or disable billing frequencies and set them to either Yearly or Monthly.
On Property Creation
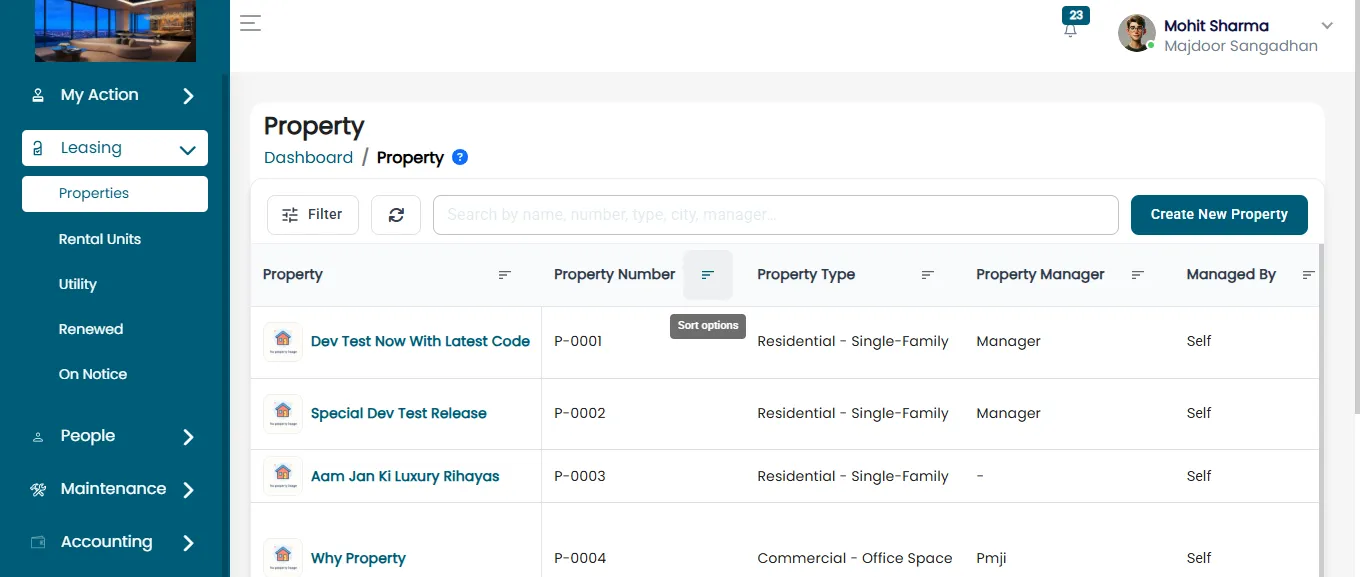
- Under the Leasing Menu, select Properties.
- Click the Create New Property button.
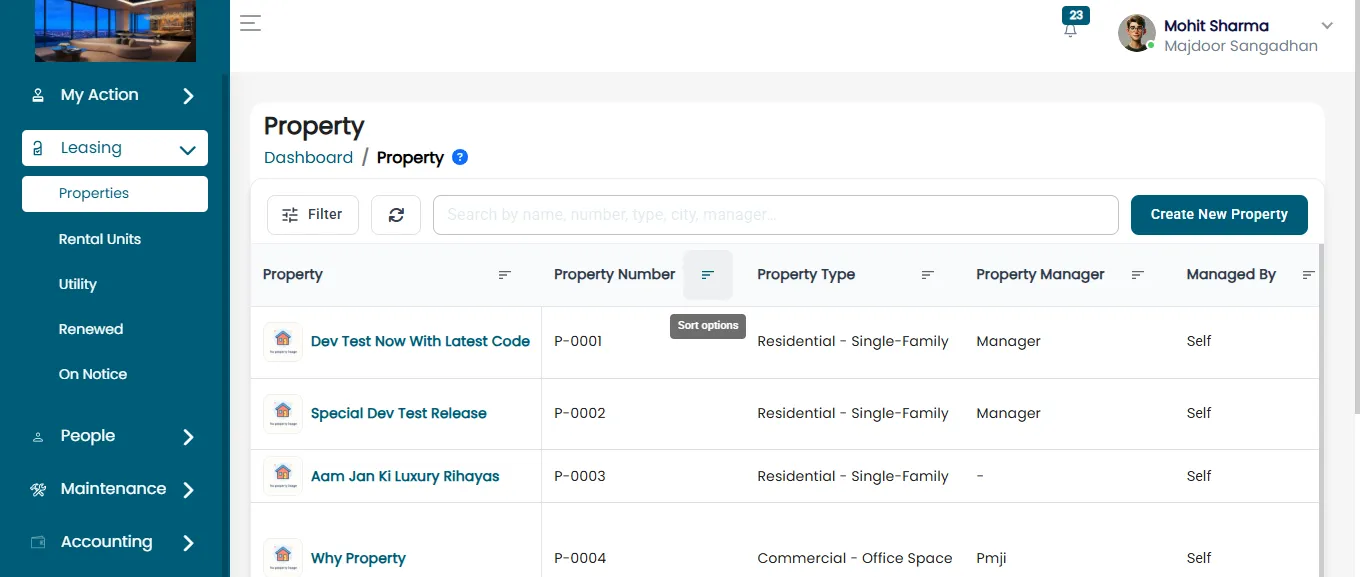
- Add Property Details
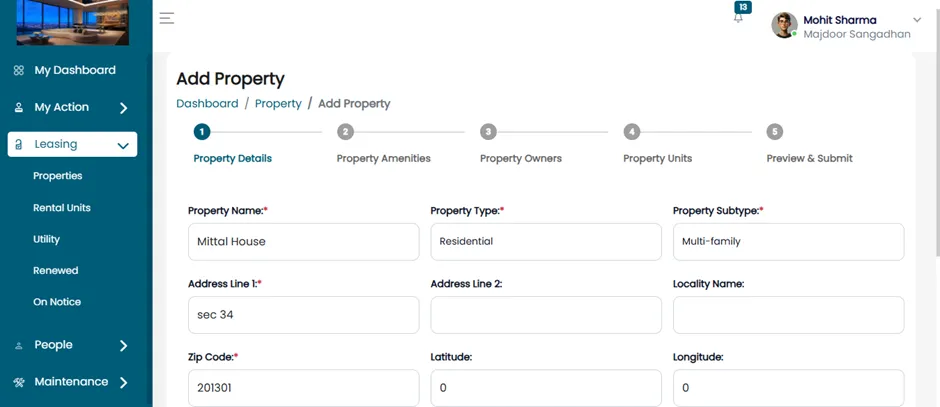
The Add Property page will open. Fill in the following details:
- Property Name
- Property Type
- Property Subtype
- Address Line 1
- Address Line 2
- Locality Name
- Zip Code
- Latitude & Longitude
- Country, State, City
- Billing Method
- Billing Frequency (Monthly or Yearly)
The billing frequency setting allows you to choose between monthly and yearly payment options.
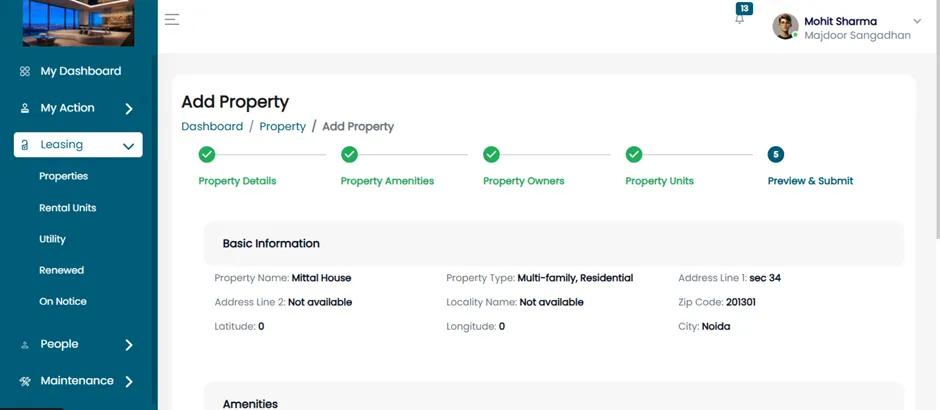
Preview & Submit
After filling all the details, on the last page review all entered details:
- Personal Information
- Amenities
- Owner Information
- Unit Details
Submission
- Click Next to proceed.
- Click Submit to confirm.
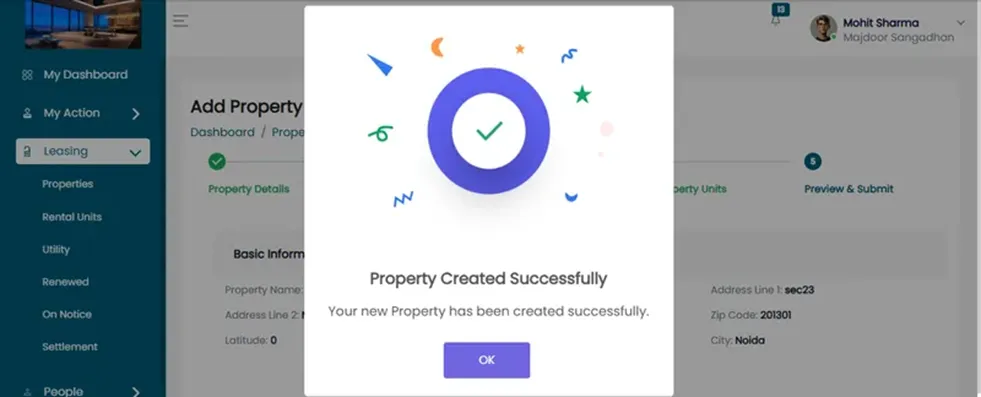
Confirmation
- A pop-up will appear stating “Property Created Successfully”. Click OK to finalize.
On Add Lease
- Click on Add Lease.
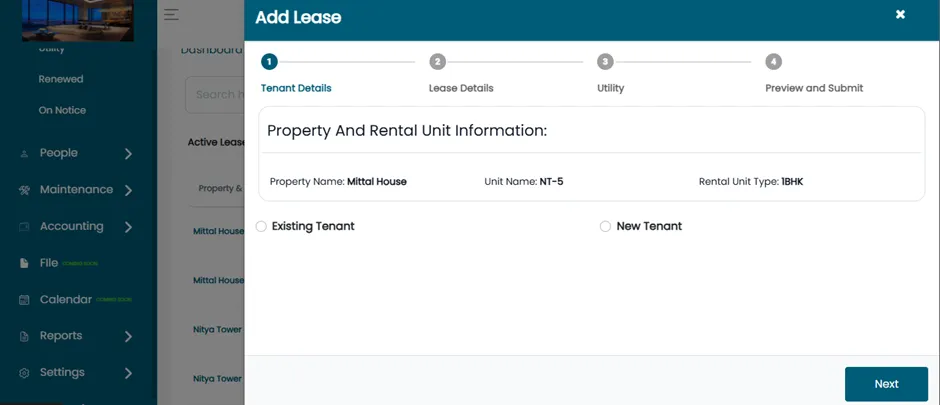
- You will be directed to the Tenant Details section.
Tenant Details
Choose between:
- Existing Tenant
- New Tenant
For Existing Tenants
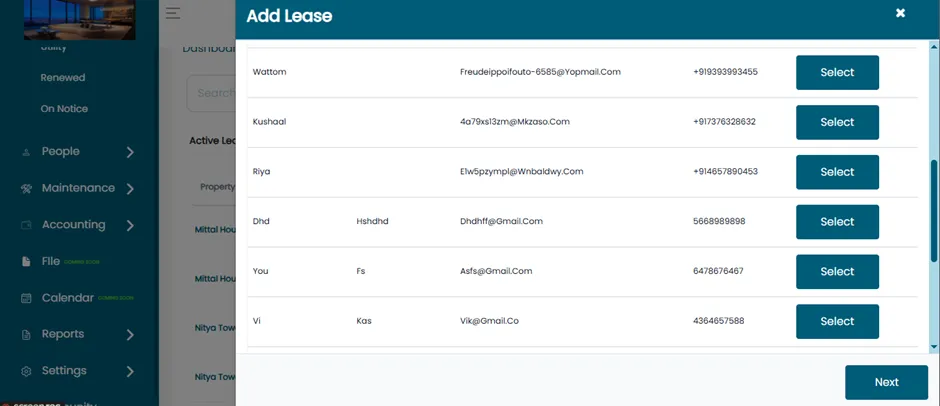
- Select Existing Tenant to view a list of registered tenants.
- Use the search box to find a tenant.
- Click Select next to the appropriate tenant.
For New Tenants
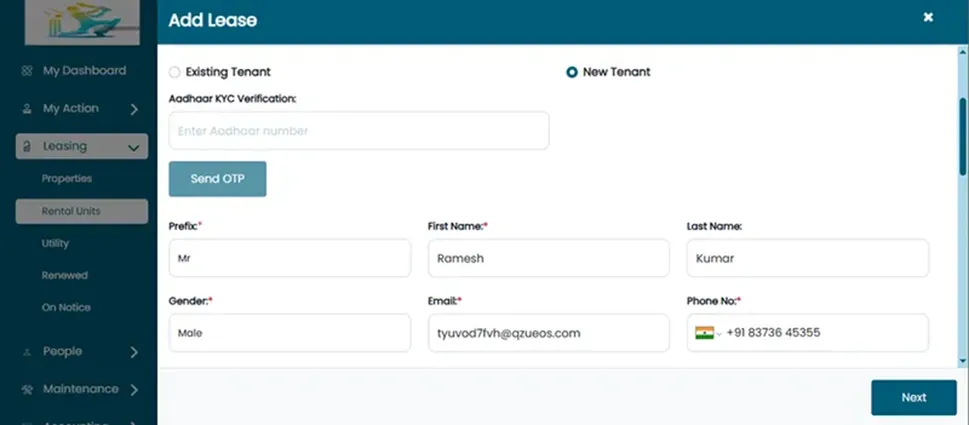
Fill in the following personal details:
- Prefix (Mr./Ms./Mrs.)
- First Name, Last Name
- Gender
- Email Address
- Phone Number
Lease Details
After clicking Next, the Add Lease page will open. Fill out the given sections. The fields include:
- Lease Start Date and Lease End Date
- Tenure Period (Months)
- Monthly Rental Charge
- Discount Amount (if applicable)
- Discount Period (Months)
- Security Deposit Amount
- Late Fine (per day)
- Lock-In Period (Months)
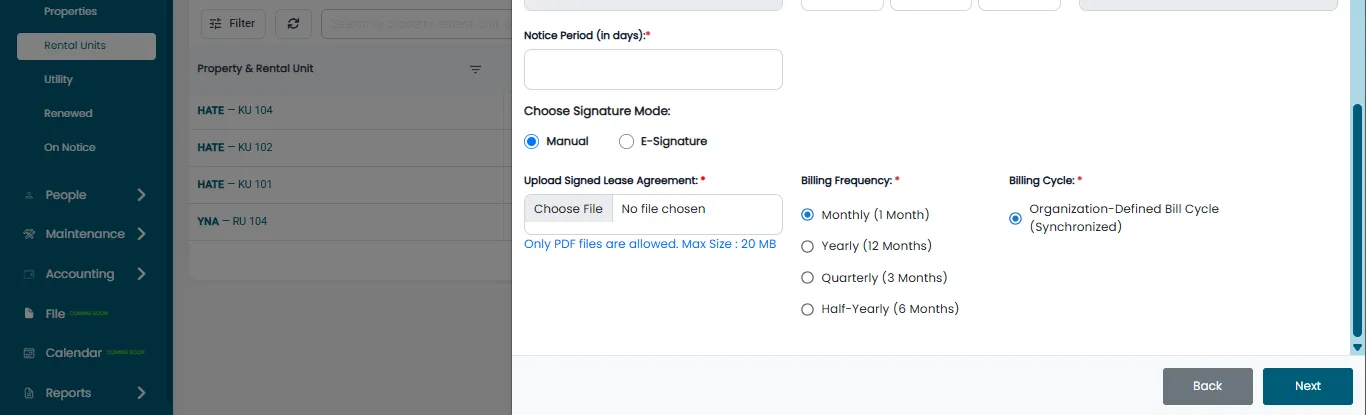
- Choose Signature Mode (Manual or E-sign)
- Billing Frequency (Monthly or Yearly)
- Upload the Lease Agreement
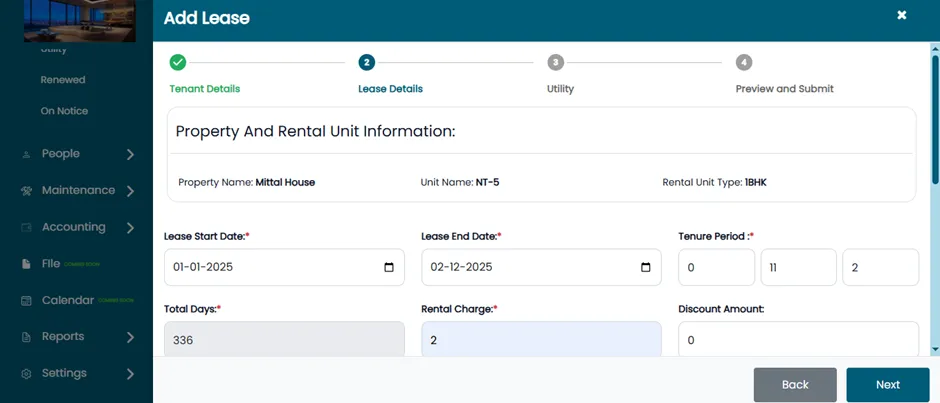
- By scrolling down, you will see billing frequency option.
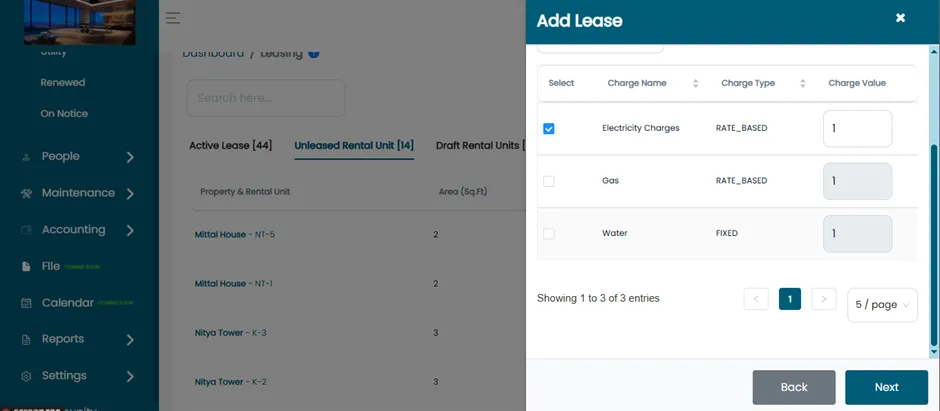
Energy & Other Charges
Click Next to open the Energy & Other Charges page.
Enter the required fields.
- Charge Name (e.g., Power Backup)
- Charge Type (Fixed or Rate-Based)
- Default Value (e.g., rate per unit)
Review & Submit
Select "Next" to proceed to the Preview & Submit page.
Review all details including:
- Property Information
- Tenant Details
- Lease Details
- Lease Agreement
- Additional Charges
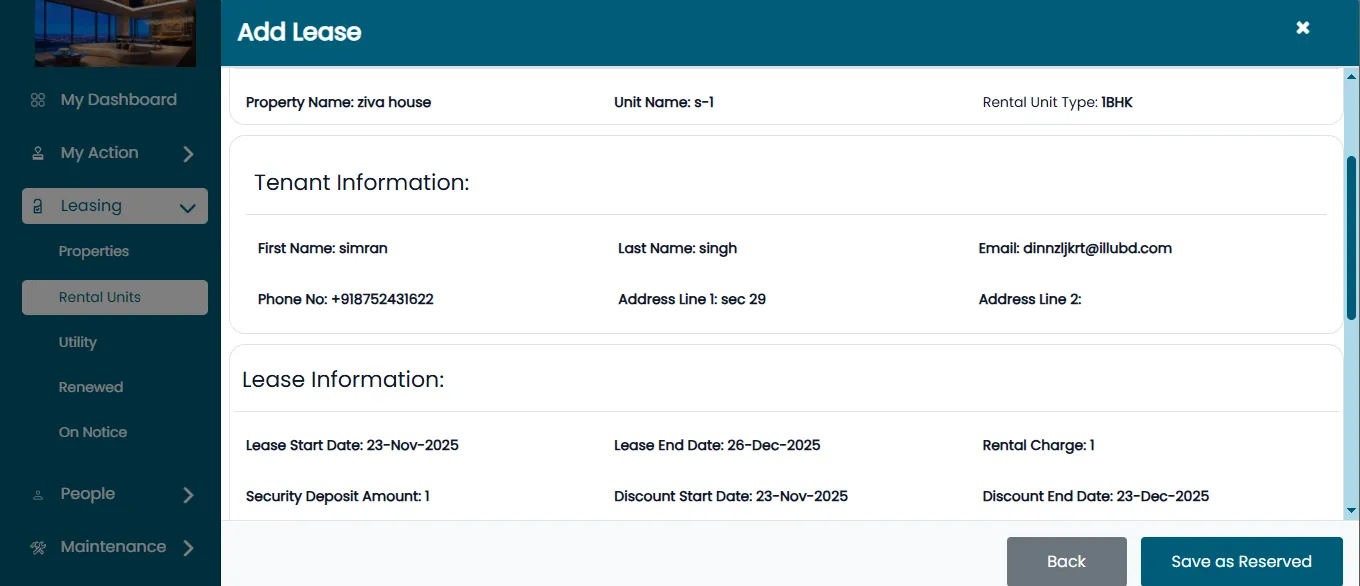
- Save the lease as a draft by clicking "Save as reserved".
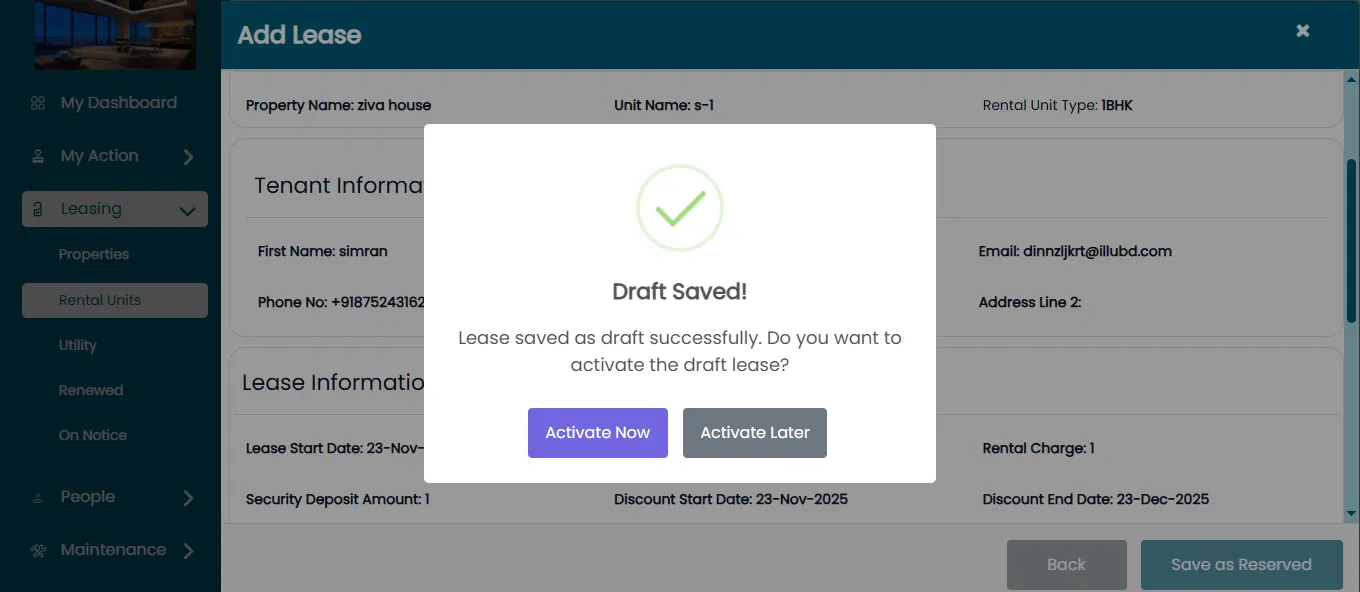
- Click Activate Now to activate the lease.
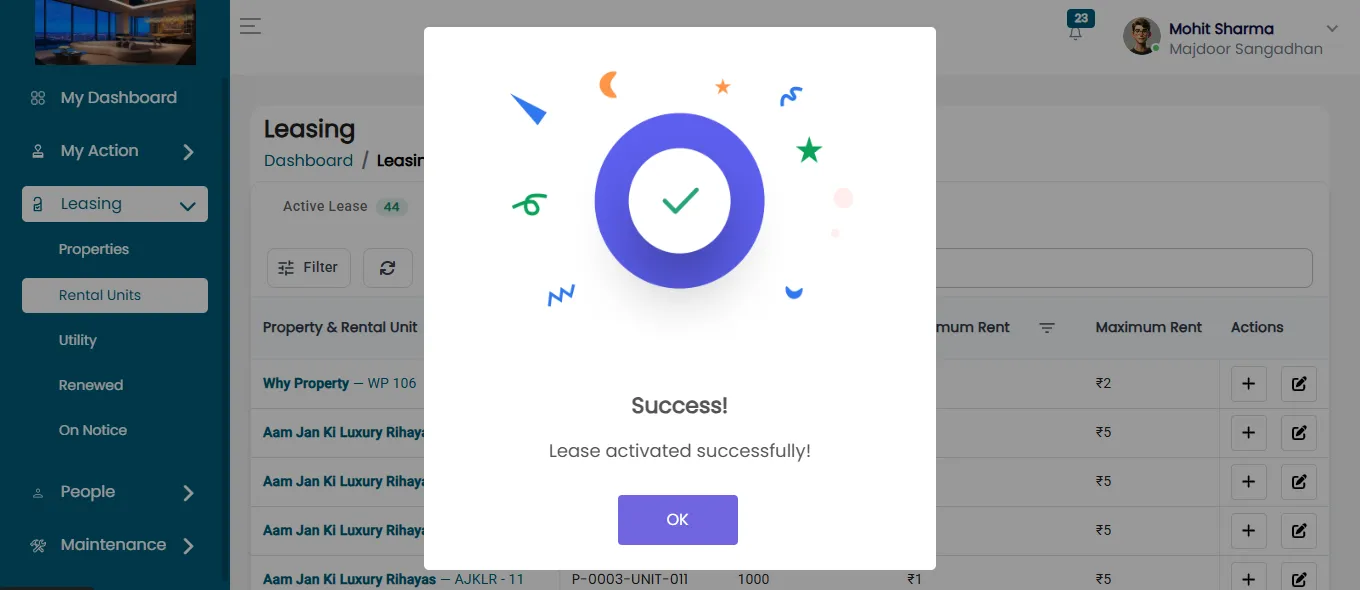
View Active Lease Status
- Go to the Active Lease section.
- Select a tenant (e.g., Priya Jain).
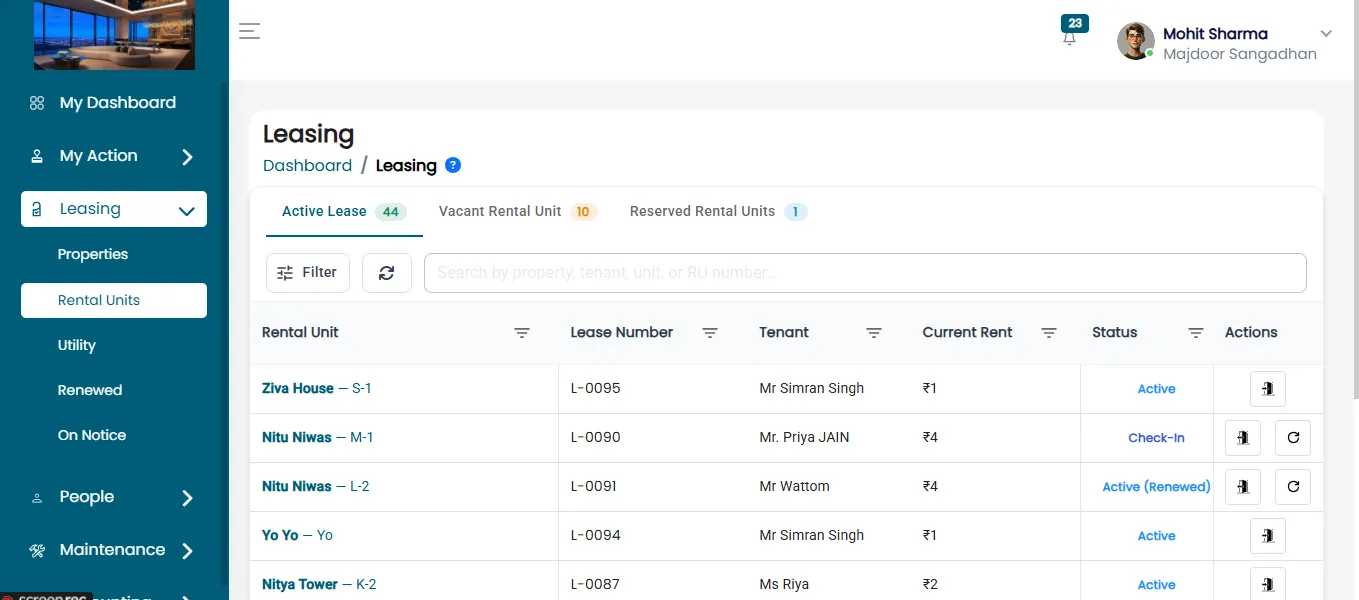
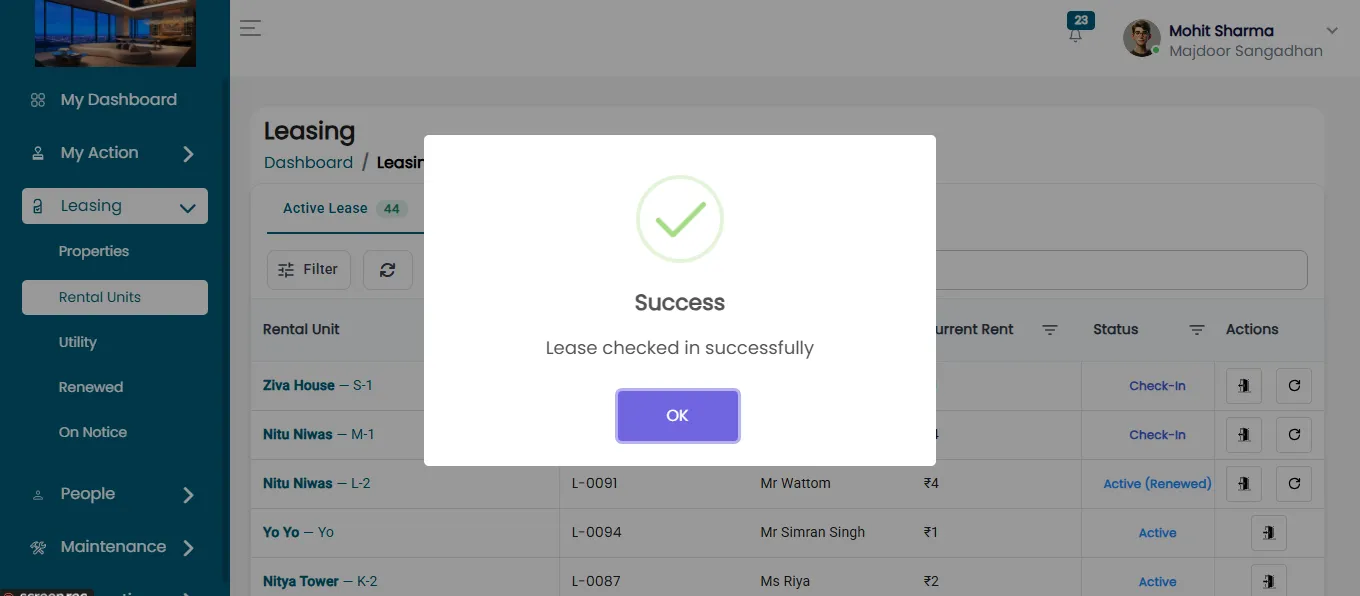
- Click Check-in. A message will confirm the lease has been checked in successfully.
Generating Tenant Invoice
- Go to the Accounting section.
- Click on Billing.
- Select the tenant (e.g., Priya Jain).
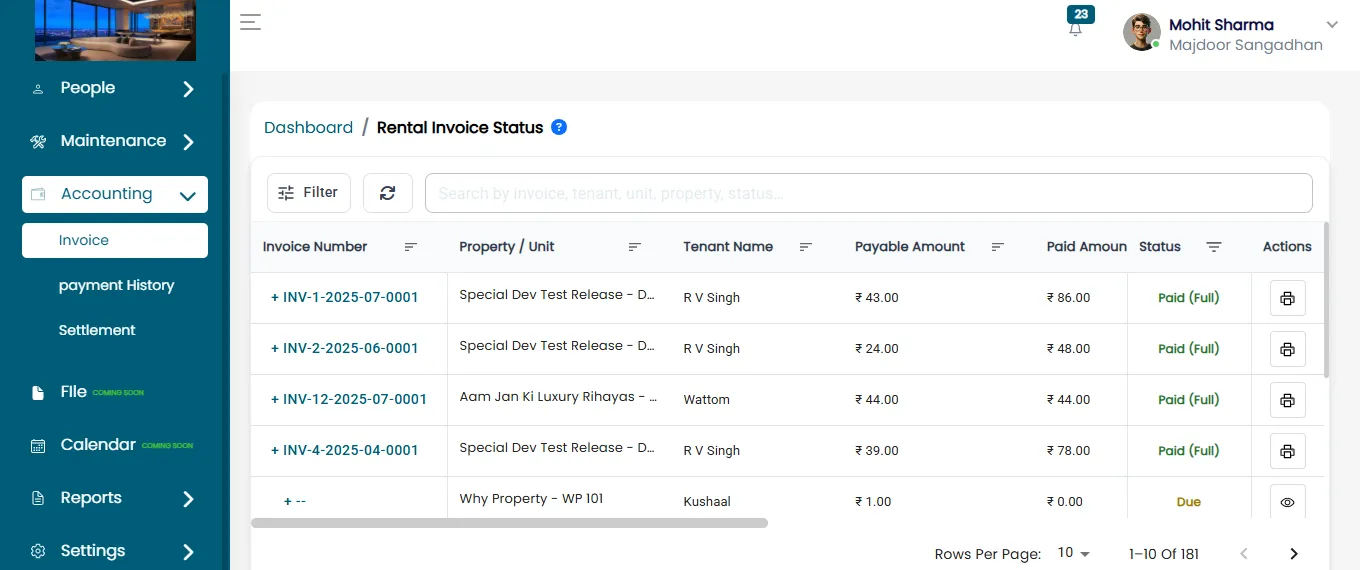
- Click Preview & Generate to generate the invoice.
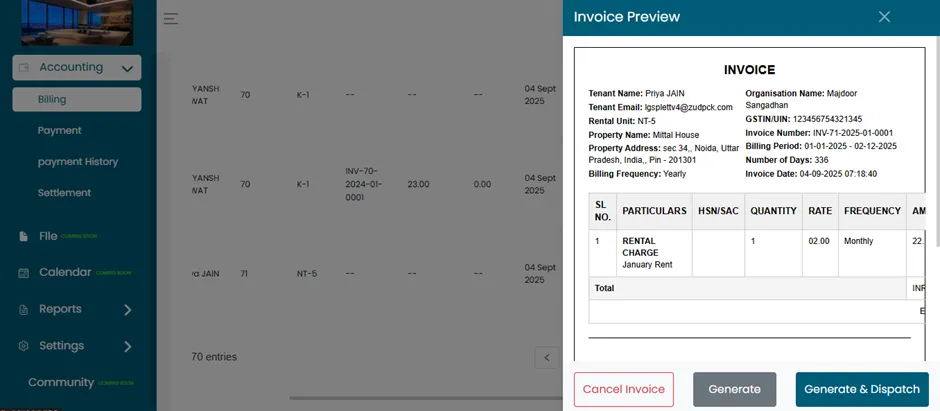
- Click Generate to finalize.
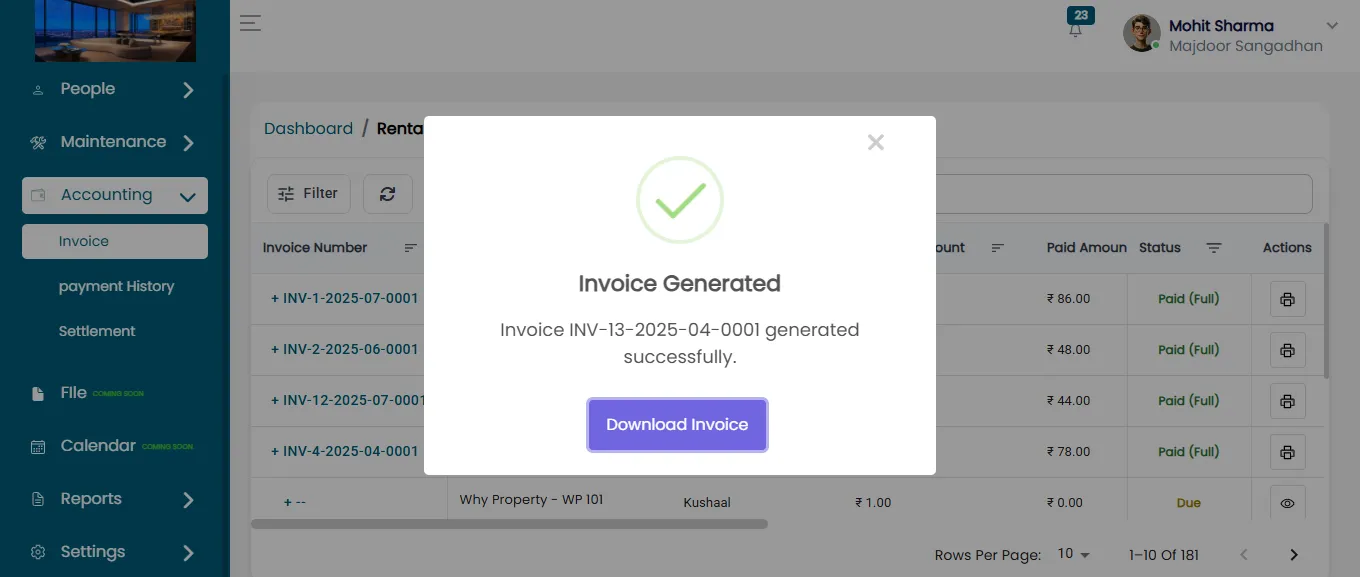
- Click Download Invoice to save the receipt.
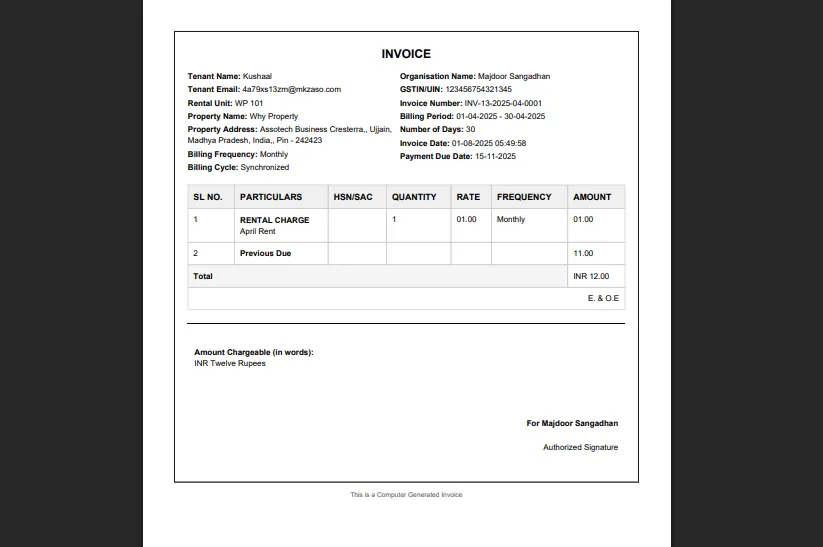
- The generated invoice will show calculations based on the Yearly Billing Frequency selected earlier.