Optional Payment Proof
8 min
Keeping payment records up to date is essential for accurate financial management. This document provides a quick and easy way to update payment details within the system. Whether you're managing rental payments or updating tenant records, this step-by-step document will help you complete the process smoothly.
Log in to Your Account
- Open the application. Enter your credentials.
- Click the “Login” button.
- After successful login, you will be redirected to your Dashboard.
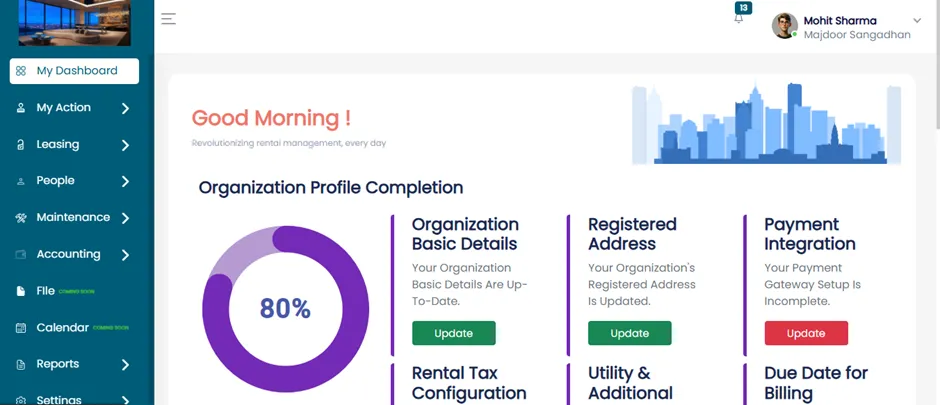
Navigate to the Accounting Section
- On the Dashboard, ocate the main navigation menu.
- Go to the Accounting section.
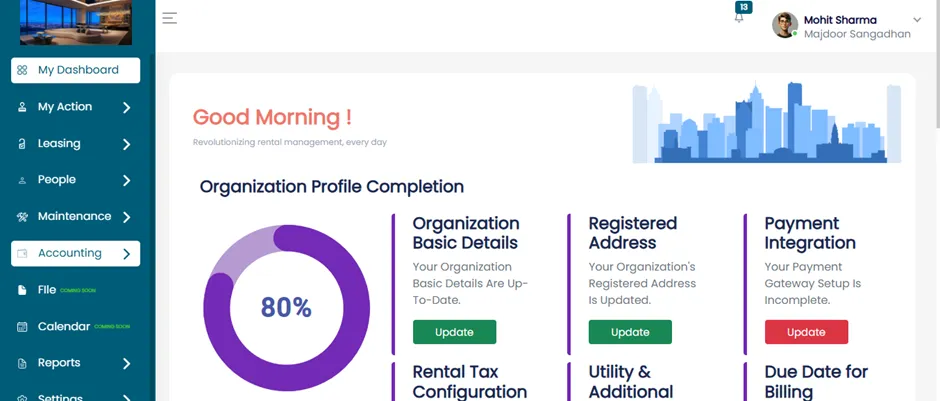
Move to Billing
Click to expand the Accounting section. You will see the following options under Accounting:
- Invoice
- Payment History
- Settlement
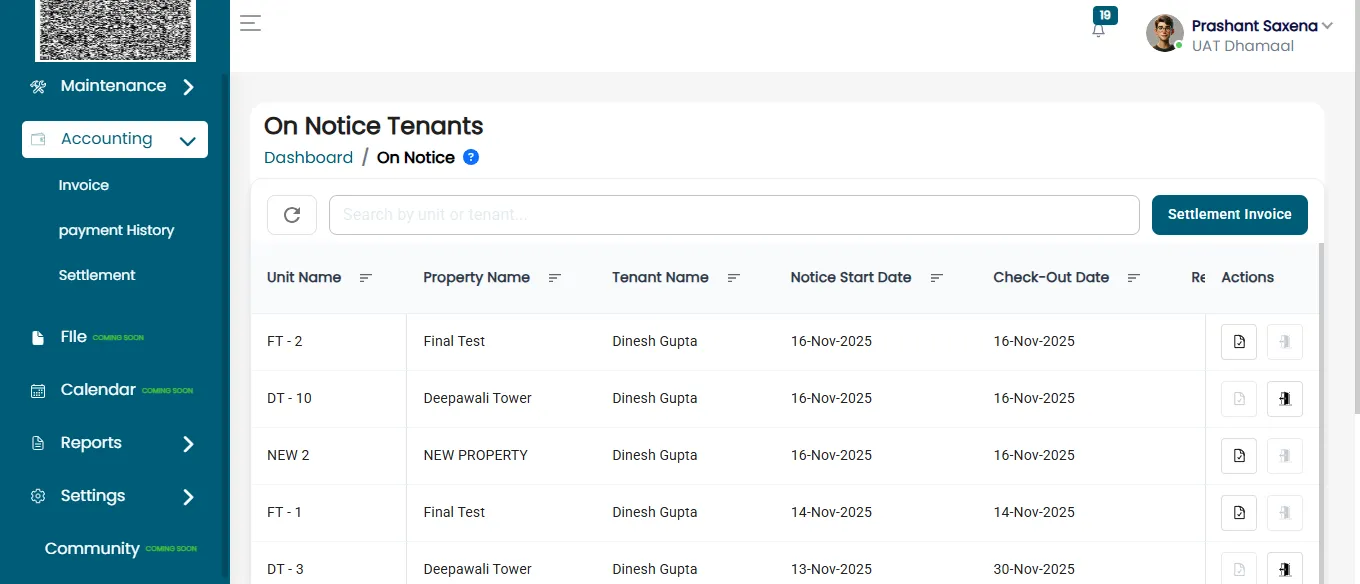
Move to the Settlement Section
- Click on "Settlement" under the Accounting section.
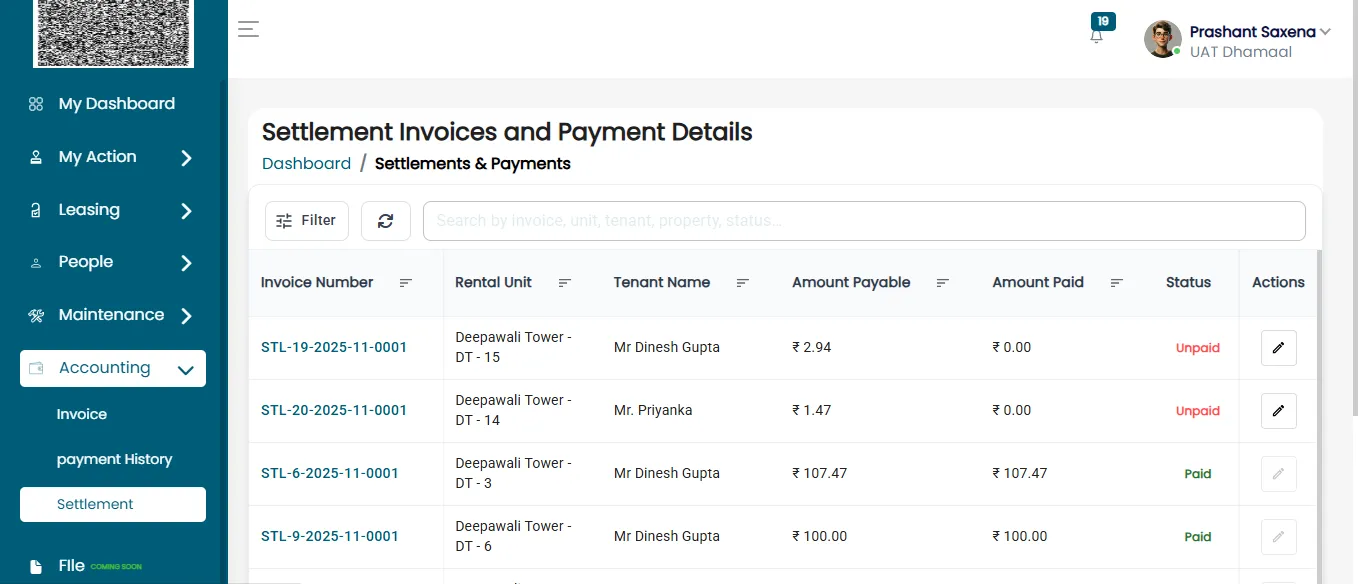
- This will open the Invoices and Payment Details page.
View Invoices and Payment Details
On this page, you will see a list of all payment records. Each record includes:
- Rental Unit: The unit associated with the invoice.
- Tenant Name: Name of the tenant responsible for payment.
- Invoice Number: Invoice number.
- Amount Payable: Total amount that is due.
- Amount Paid: Amount already paid by the tenant.
- Payment Method: Method used for the payment (e.g., Bank Transfer, Cash).
- Status: Indicates whether the invoice is Paid, Partially Paid, or Unpaid.
- Invoice Date: Invoice date.
- Actions: A clickable Update button to edit payment details.
Update Payment Information
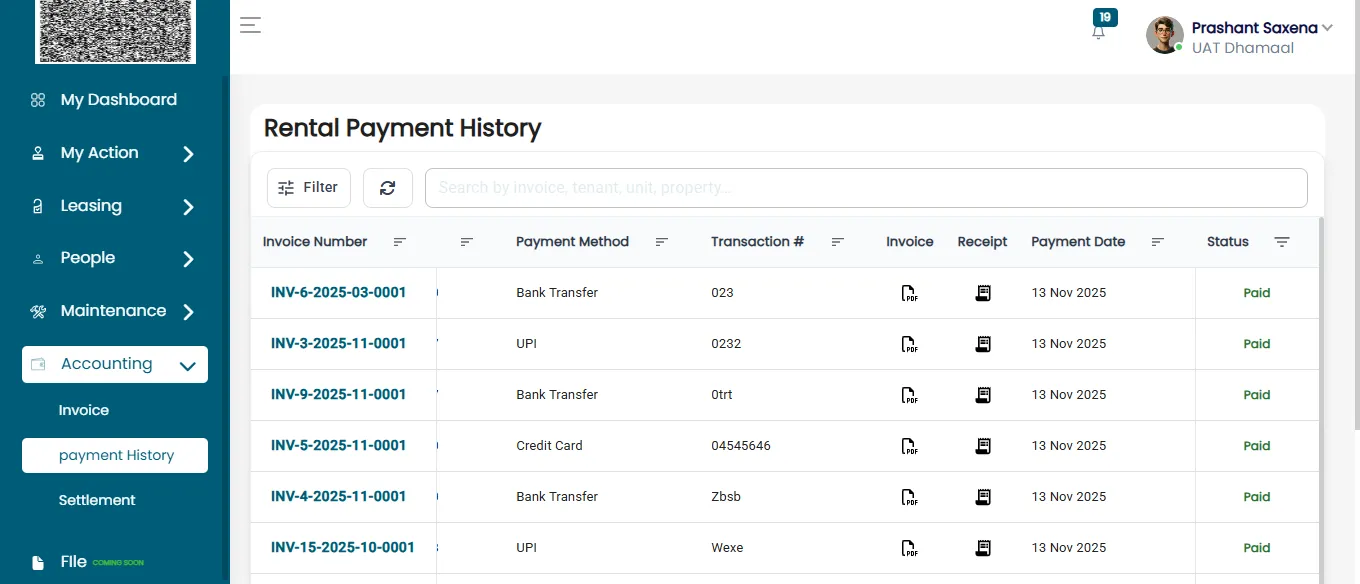
- Click the “Update” button.
- You will be taken to the Add Credit page.
Add or Edit Payment Details
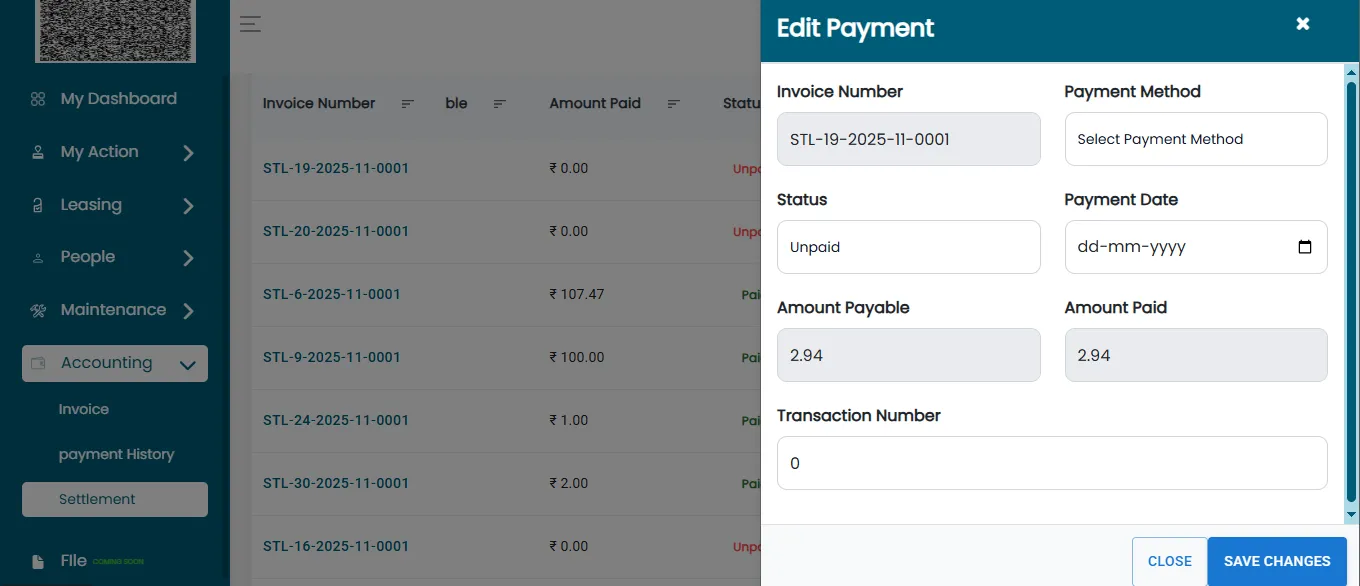
On the Add Credit page, you will be able to edit the following fields:
- Invoice Number (auto-filled, not editable)
- Payment Method (e.g., Bank Transfer, Cash, Online Payment)
- Status (Paid, Partially Paid, or Unpaid)
- Payment Date (Select the date of payment)
- Amount Payable (Total amount of the invoice)
- Amount Paid (Enter the actual amount received)
- Transaction Number
Attach Payment Proof
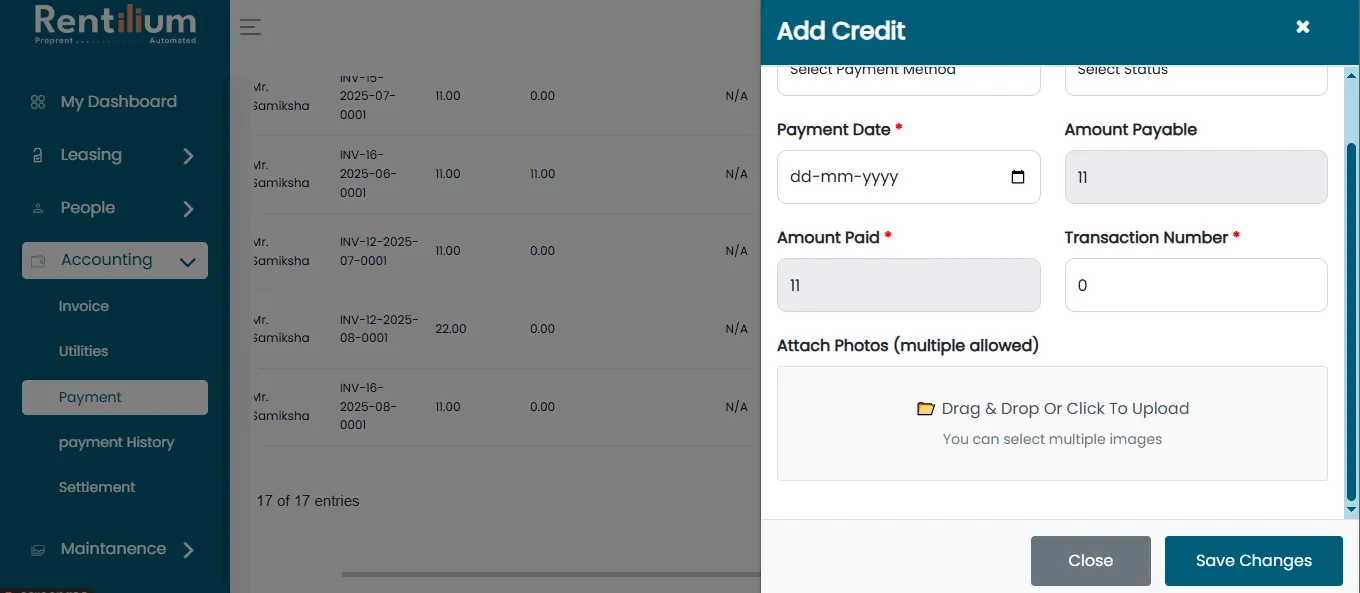
- Scroll down to the Attach Photo section.
- If you have a receipt or payment proof, you may upload it here.
Save Changes
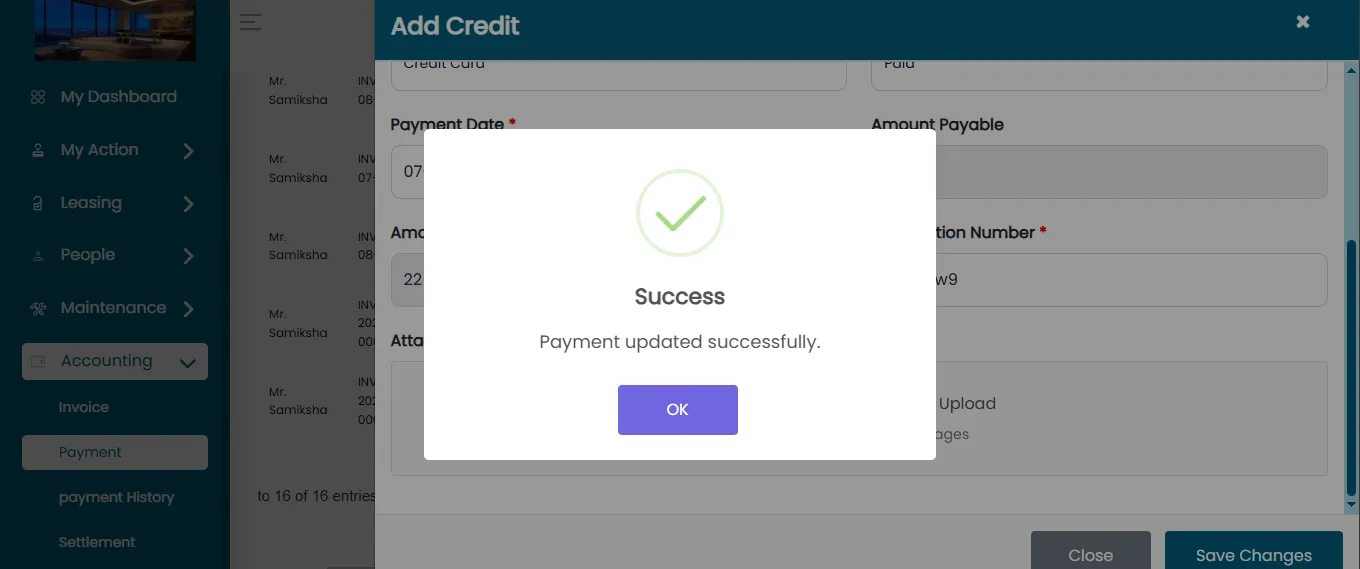
- After entering the required details (and optionally uploading the photo), click the “Save Changes” button.
- You will see a confirmation message indicating that the payment has been successfully updated.