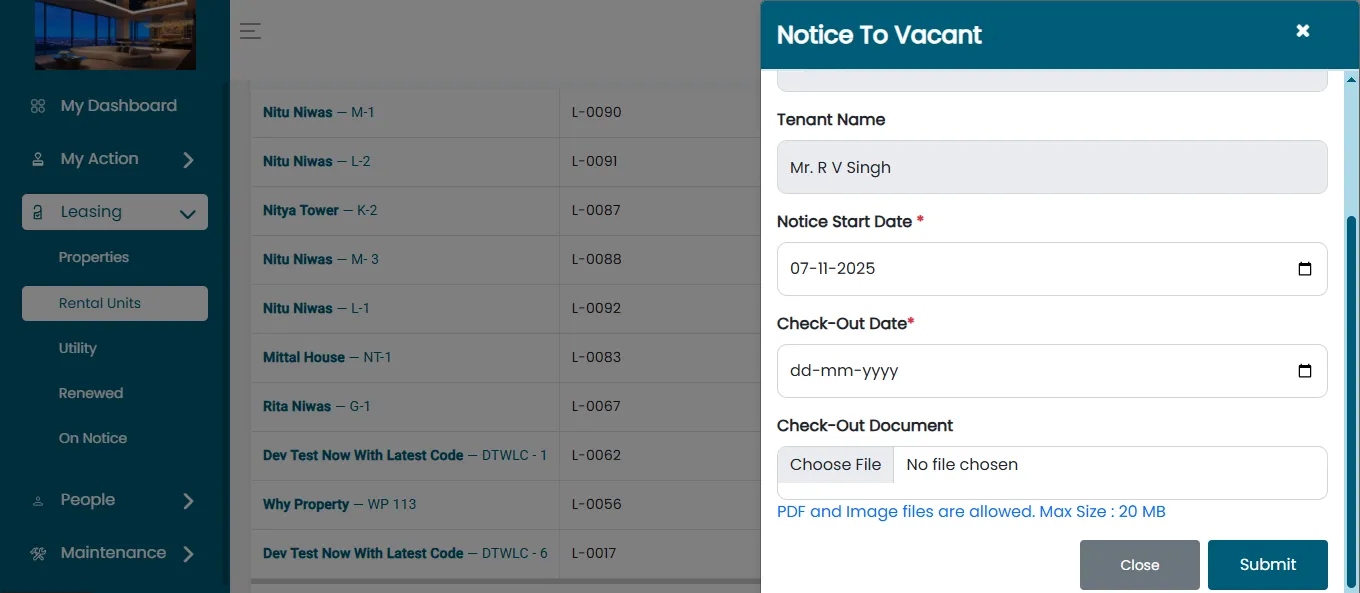
Check-Out Document Optional
Managing tenants is important for ensuring the smooth operation of a property. To support this goal, a new enhancement has been introduced. Property Managers and Admins can now complete the tenant move-out process without being required to upload a Move-Out Document.
The following guide provides step-by-step instructions on how to process a tenant move-out procedure.
For Organisation Admin
Login To Your Account
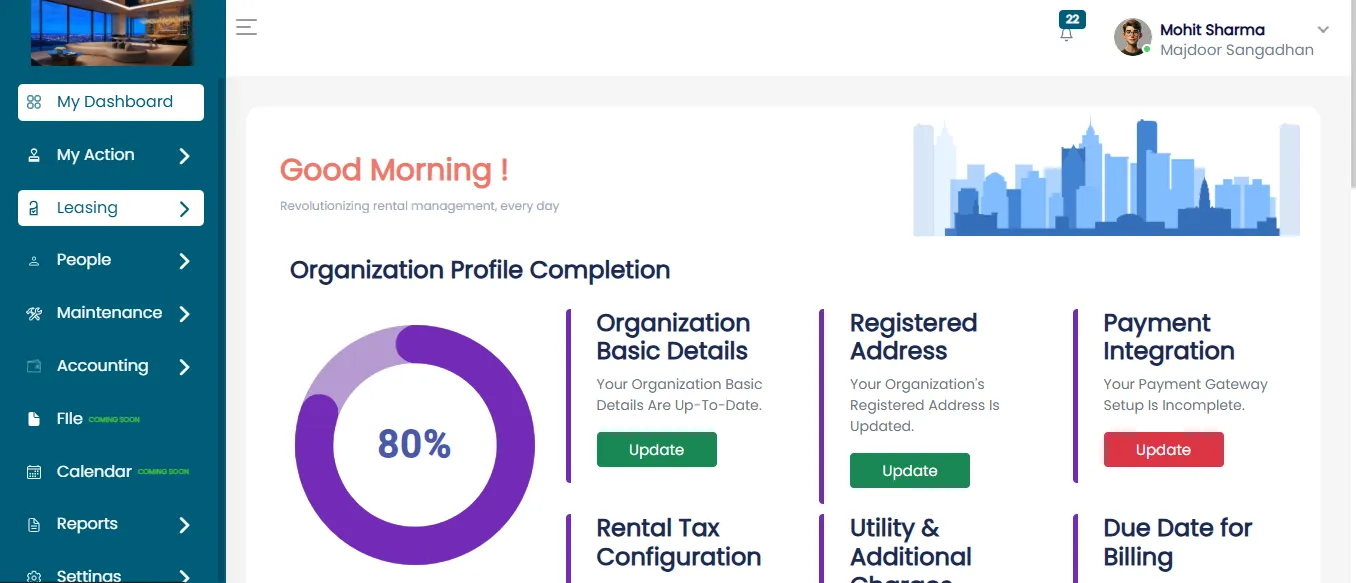
- After logging in to the dashboard, click on Leasing from the main menu.
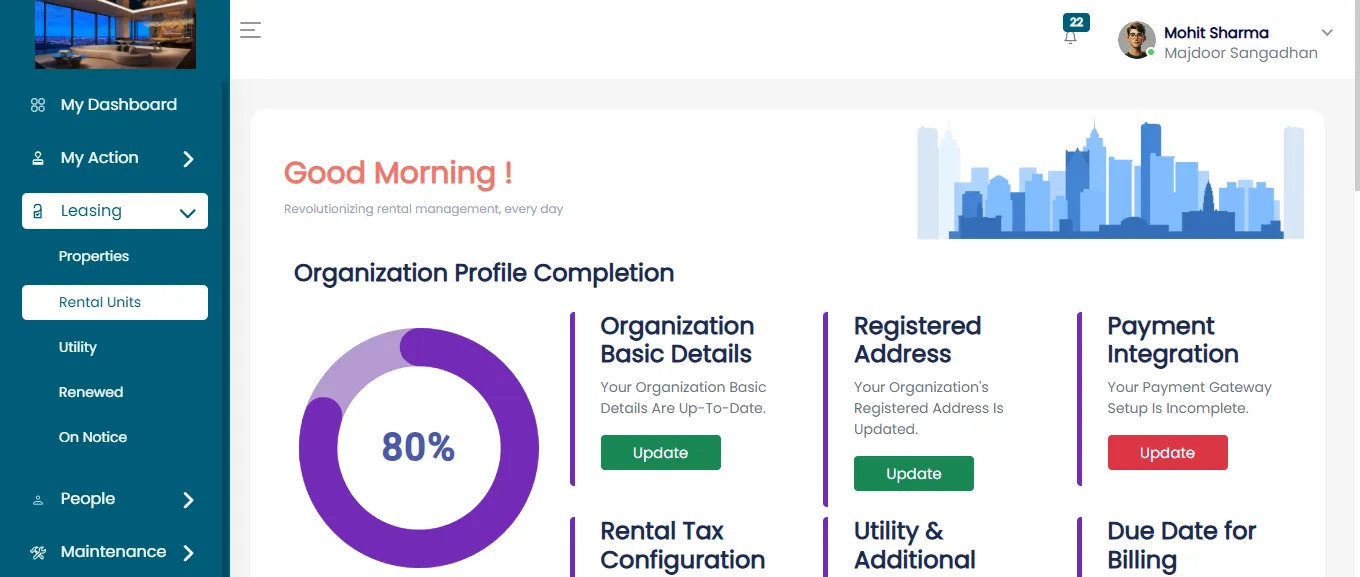
- Then click on the rental unit.
Locate The Leased Rental Unit
You will see three categories:
- Active Lease
- Vacant Rental Units
- Reserved Rental Unit
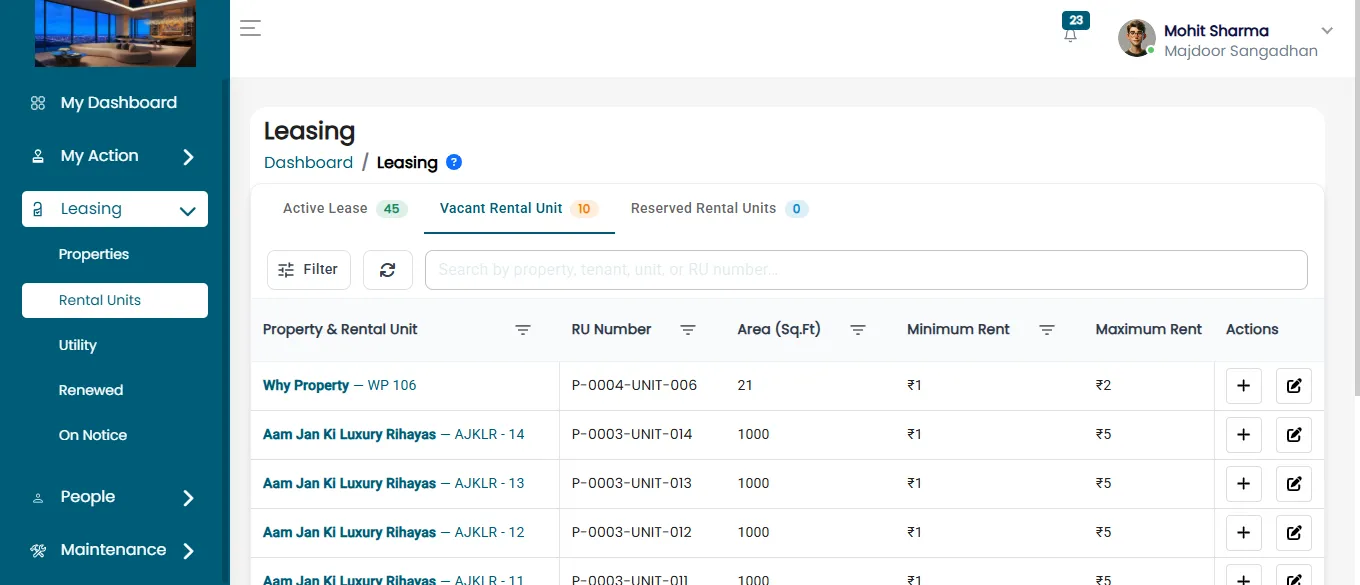
- Click on Leased Rental Units to view units with active leases.
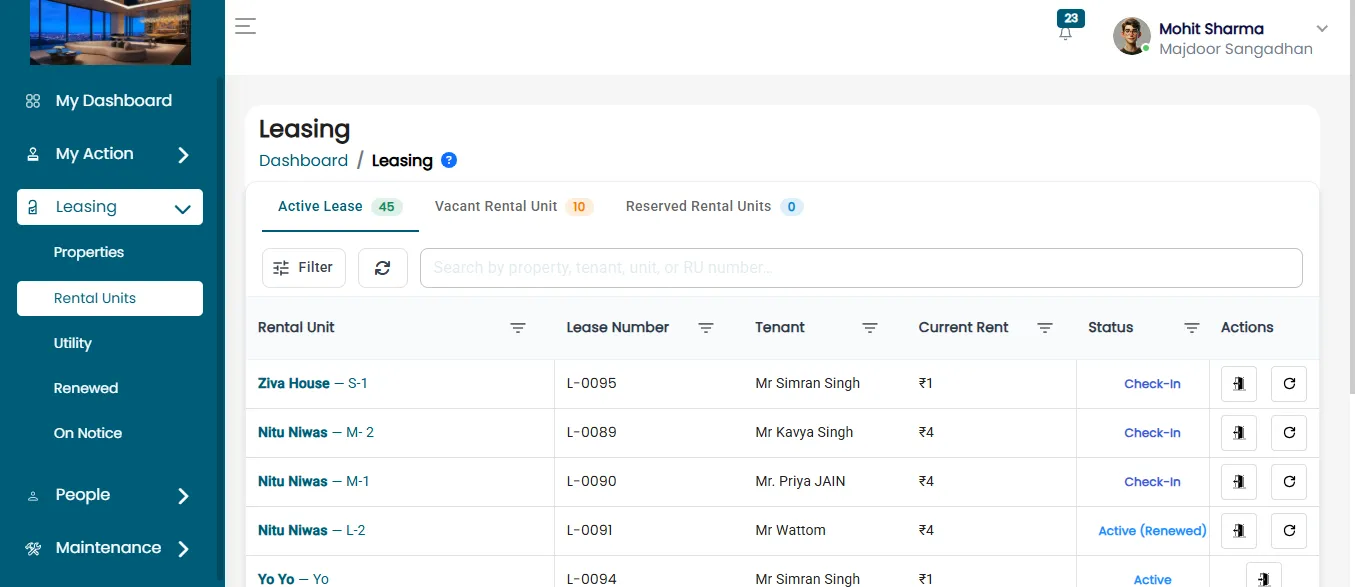
- Locate the specific unit where the tenant's notice to vacant is to be processed.
Initiate The notice to vacant Process
You can still proceed with the check-out process even without the move-out document.
- Find and click on the “Check-out” button.
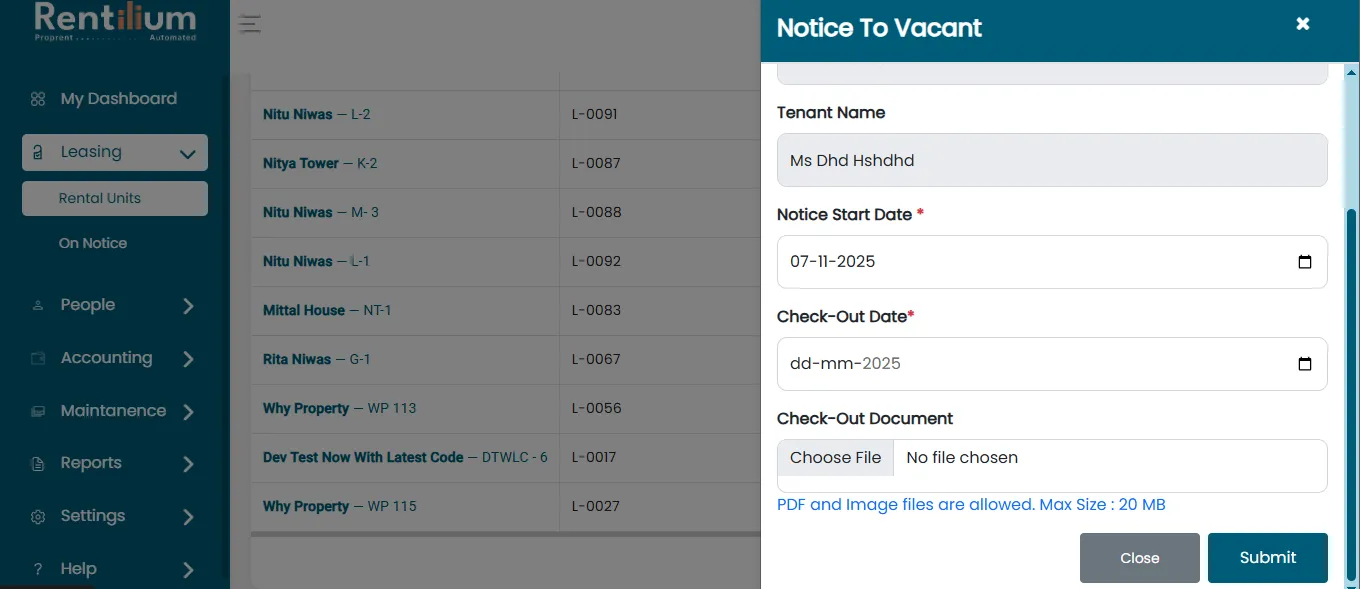
- A form will appear, and you need to provide the following details such as Unit Name, Property Name, and Tenant Name. Notice Start Date, Check-Out Date, and check out Document.
- Fill in the necessary information.
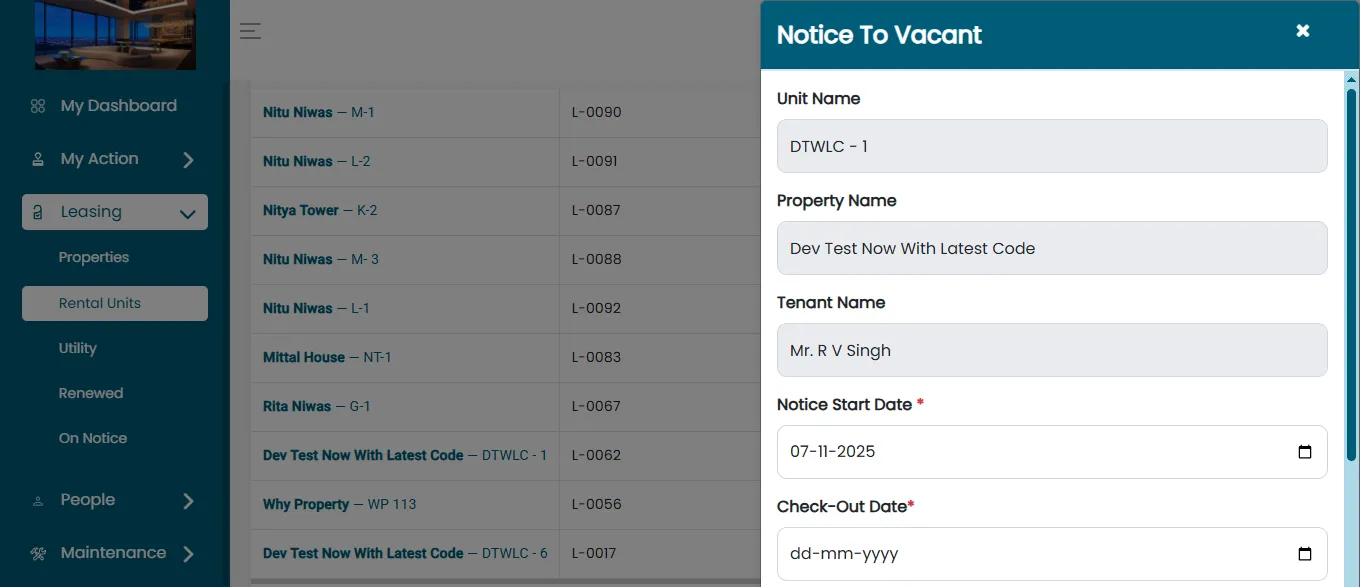
- Once all details are completed, click on the Check Out button at the bottom of the form.
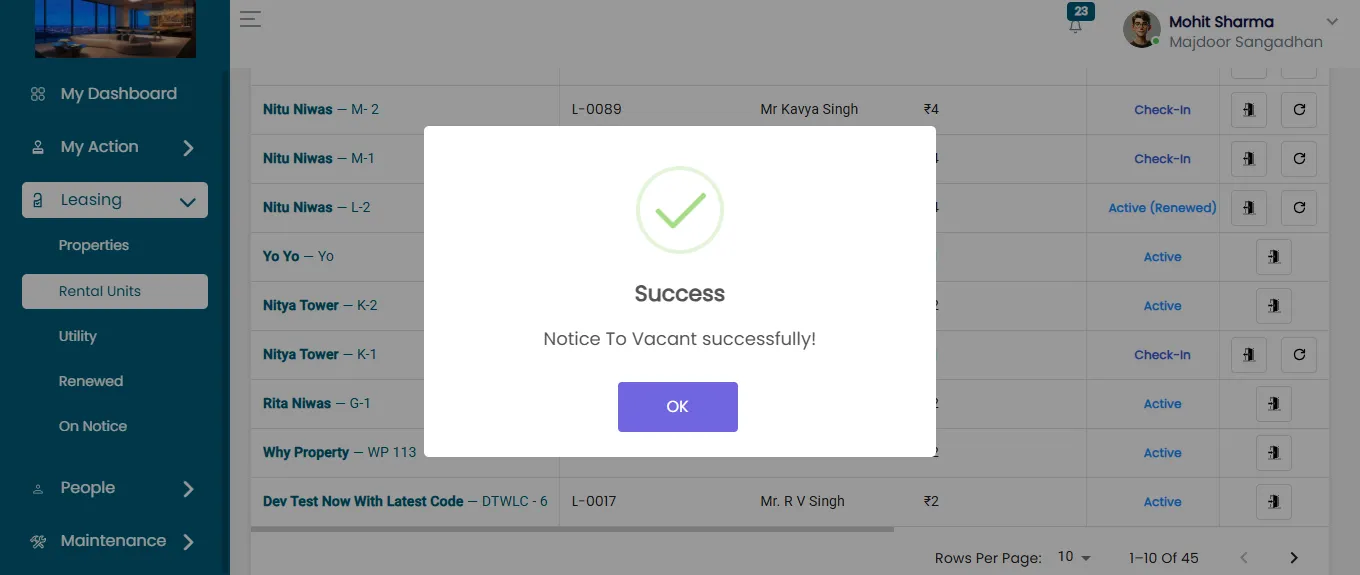
Confirmation
After clicking check Out, the system will confirm that the tenant's check-out has been successfully processed.
For Property Manager
Property Managers can now complete the tenant move-out process without uploading a Move-Out Document. Below is a step-by-step guide to help you through the process.
Log In To Your Account
- Once you're on the dashboard, go to the Leasing section from the main menu.
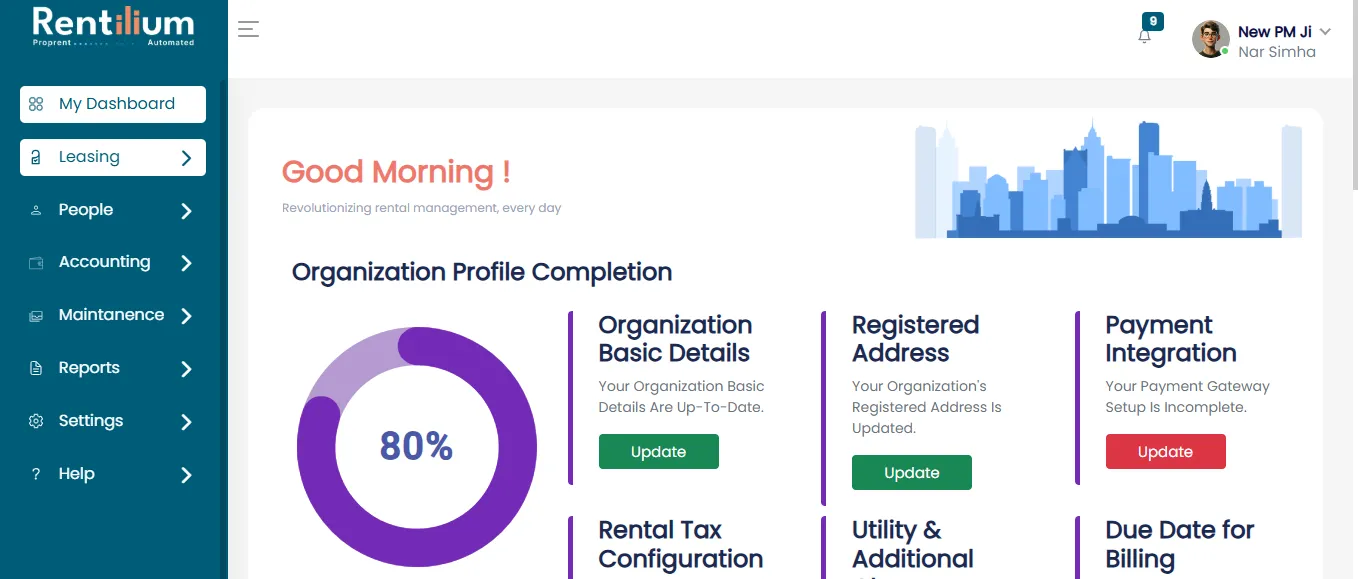
- Click on Rental Unit.
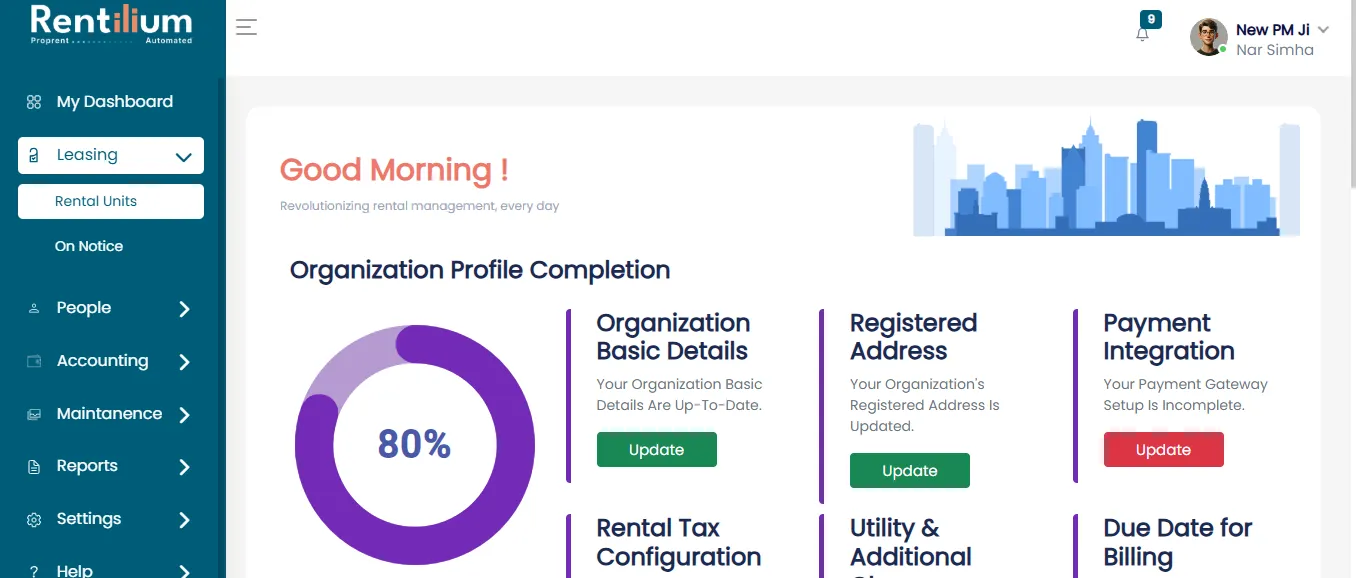
Access The Rental Units
You will see two categories:
- Active Lease - units currently occupied by tenants.
- Vacant Rental Units - vacant units.
- Reserved Rental Unit- Unit That are in draft.
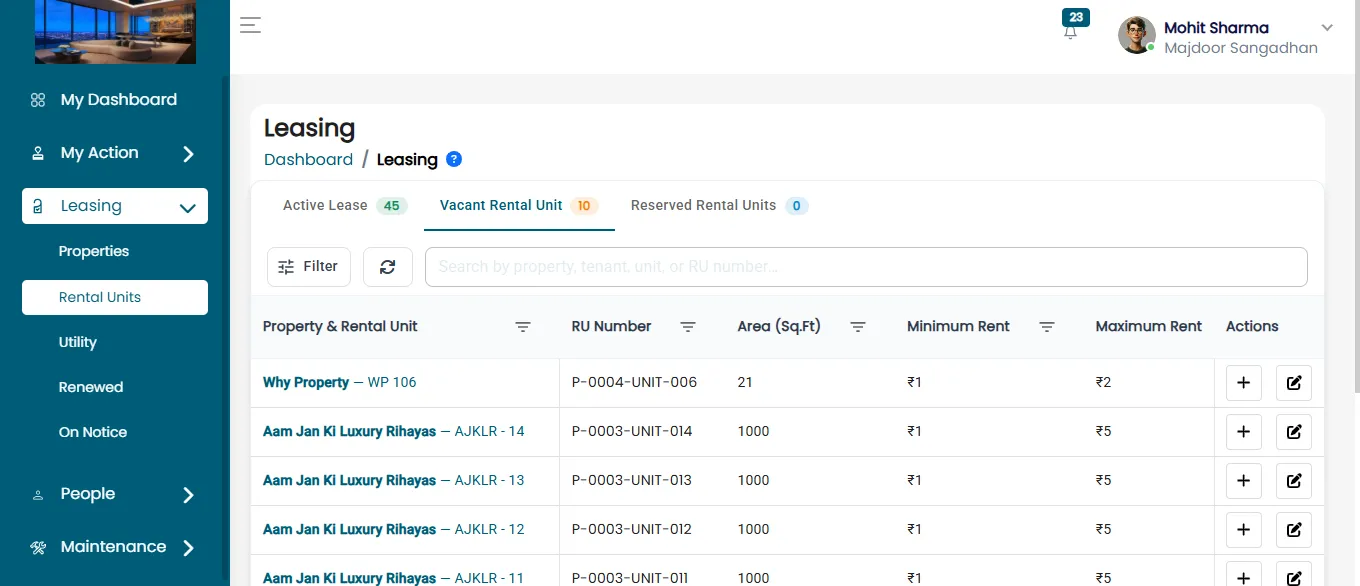
Proceed To Check-Out
You can still proceed with the move-out process even without the Check-out document.
- Find the leased unit you want to process.
- Click the Check Out button next to that unit.
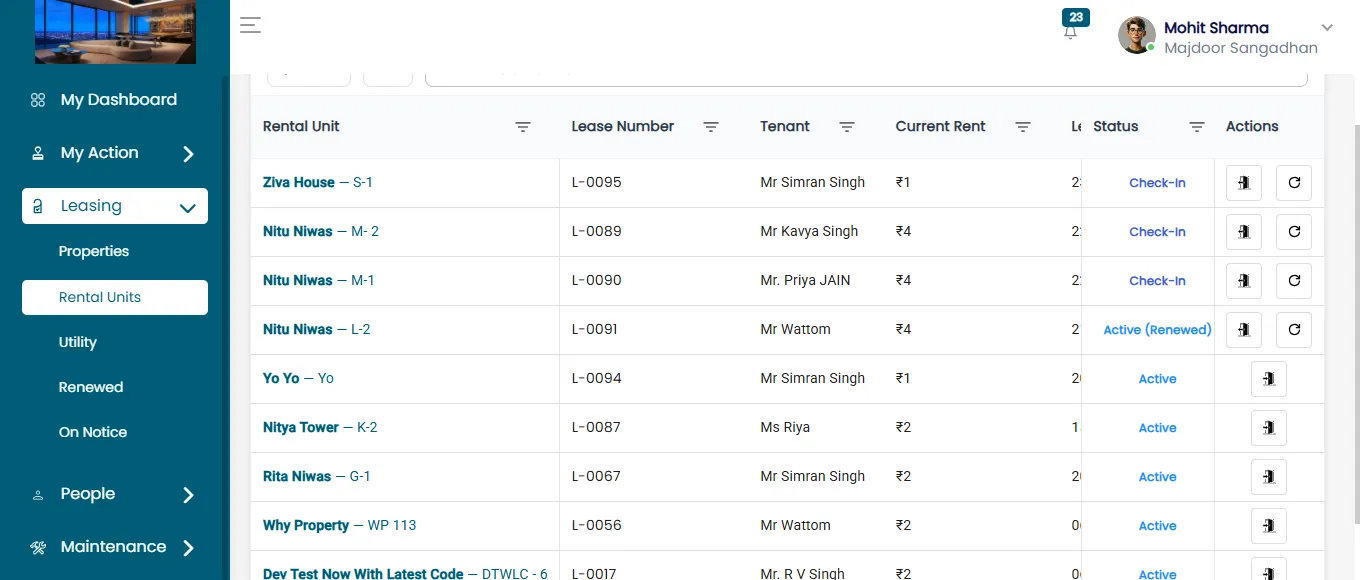
Enter Check-Out Details
After clicking on the move-out button, you need to fill in the required details like Unit Name, Property Name, Tenant Name, Notice Start Date, check-Out Date, and check-Out Document.
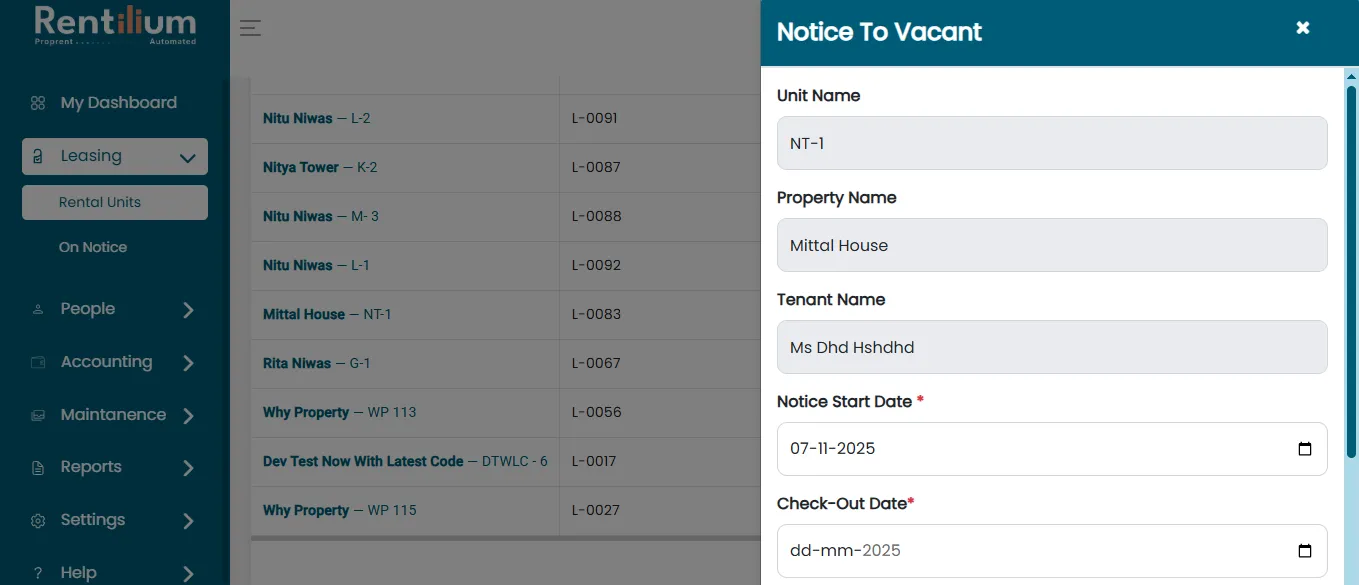
Submit Check-Out Request
Once all required details are entered. Click on the Check Out button.
- After Clicking On Move-out: "Tenant Move-Out Successfully!"