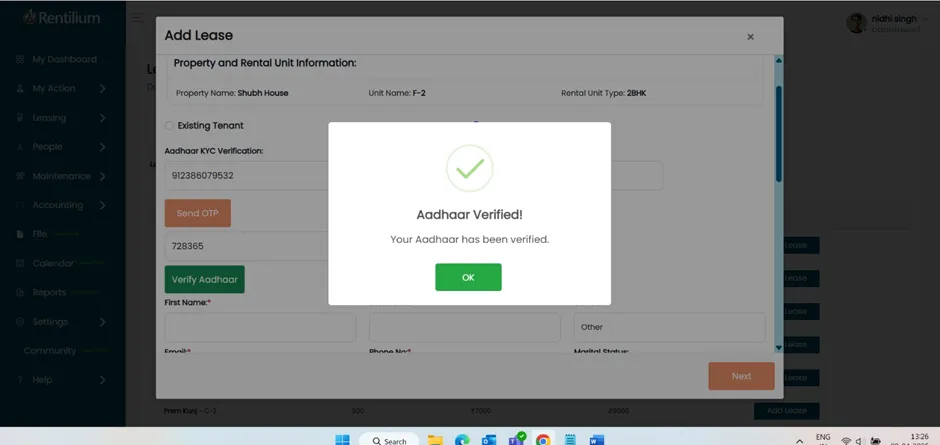
Tenant Aadhar KYC Verification
5 min
Tenant Aadhaar KYC (Know Your Customer) is a process where the Organisation Admin and Property managers of that particular property verify the tenant’s identity using their Aadhaar details.
Purpose Of Aadhaar KYC
- Identity Verification: Aadhaar KYC helps Owners & Property Managers to confirm tenant’s identity by matching their Aadhaar details with the UIDAI database.
- Preventing Fraud: It’s a safety check against dishonest tenants.
Steps - Aadhaar KYC
For Aadhar KYC for the Tenants, First of all, we have to add a new tenant on the ERP.
Step 1 - Log In To Your Account
- Open the Rentilium app or Rentilium website.
- Enter your Login Credentials.
Step 2 - Move To The People Section
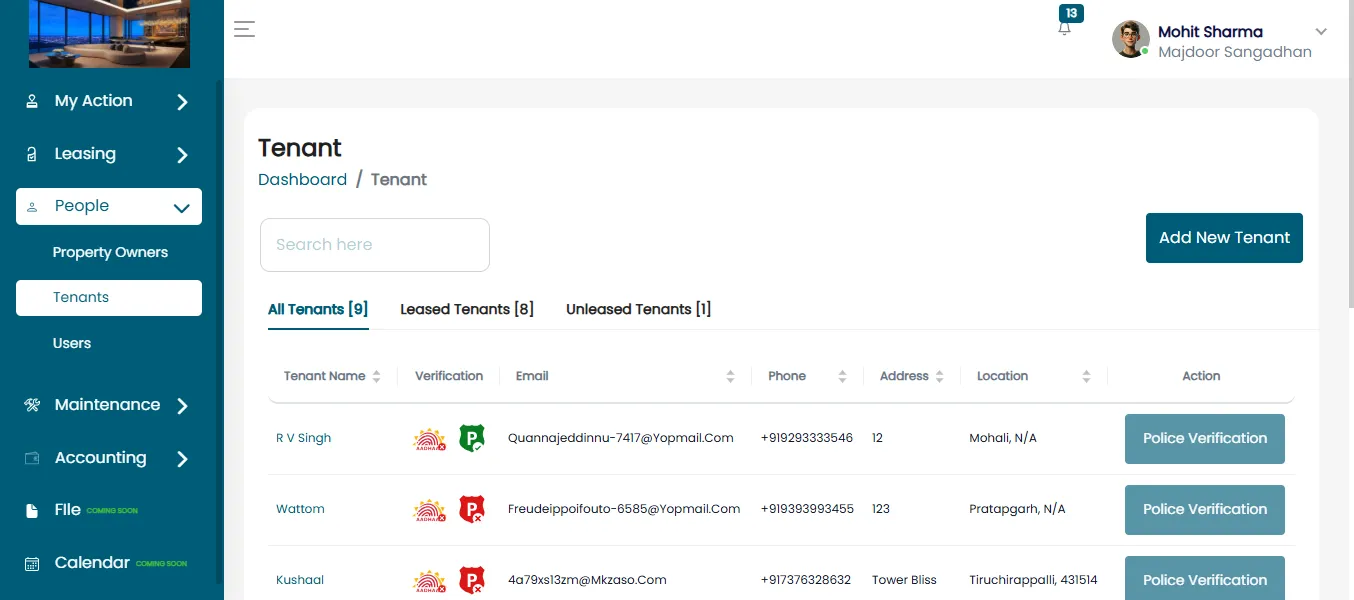
- From the ERP dashboard, click on the "People" section
Step 3 - Access The Tenants Section
- Within the People section, select "Tenants".
- After that, click on the “Add New Tenant” Section and enter the tenant details.
Step 4 - Collect & Enter Tenant Information
Gather and fill in the required tenant details, including:
- Tenant Name: Full name of the tenant.
- Phone Number: Mobile and/or home contact number.
- Email Address: For sending notifications and reminders.
- Gender, Father Name, Mother Name, DOB
- Address
- Aadhaar card
- Complete the KYC verification.
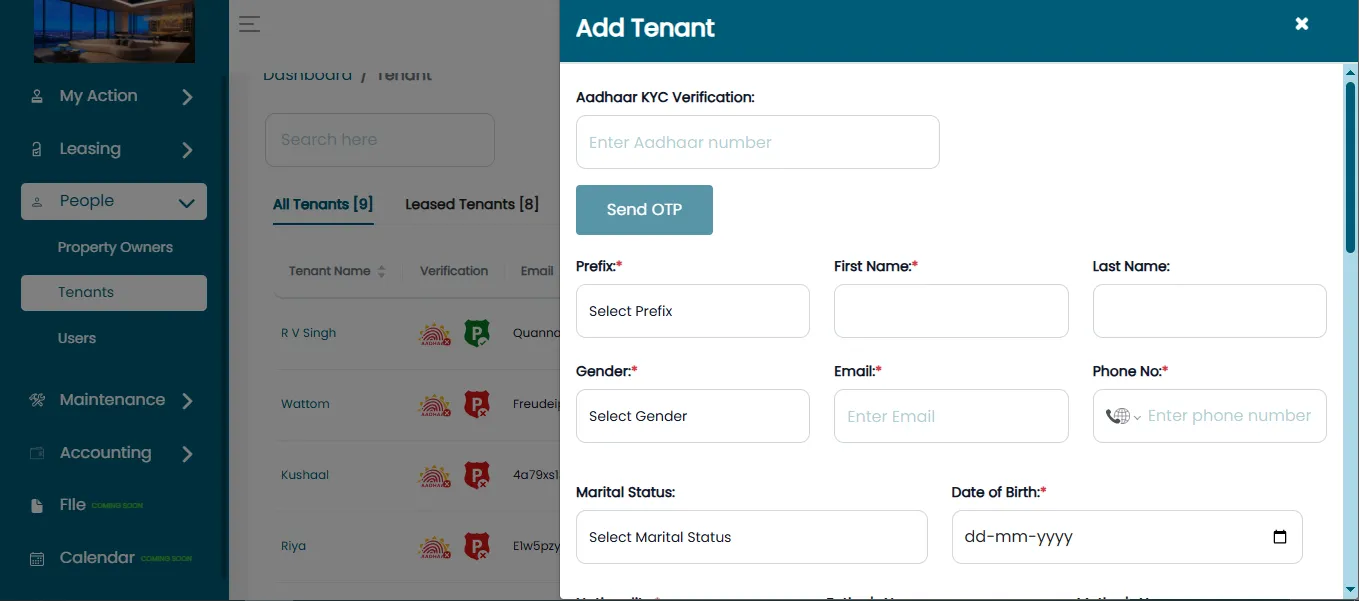
After adding the tenant's information, now we need to do Aadhar Verification.
Step 5 - For Aadhar Verification
- Now, to add Aadhaar KYC, first, we have to put the Aadhaar Number.
- Then OTP will be sent to the registered Aadhaar number. If the Aadhaar Number and OTP are correct, then the Aadhaar will be verified.