Email trigger To OA On New Property Creation
This email notification is sent to the organization as soon as a new property is created within the system. It not only confirms the successful creation but also provides key property details, enabling the organization to take immediate action, such as assigning a Property Manager, updating financial records.
This document walks you through the step-by-step process of setting up that email trigger, from account registration to system configuration, ensuring your organization remains aligned and responsive to new property entries.
An email trigger can be implemented to inform the organization each time a new property is created.
Begin The Signup Process
- Open your web browser and go to Rentilium.ai.
- Click on the Sign-Up button to start the onboarding process.
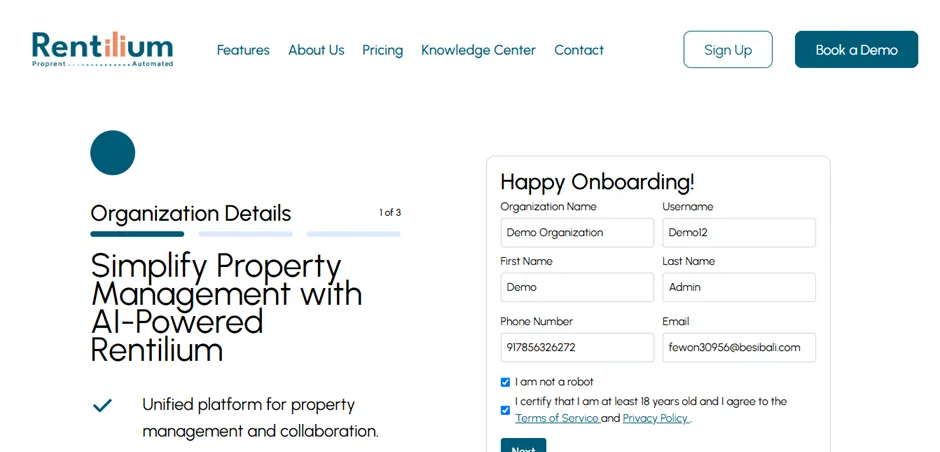
- You will be directed to the Onboarding Form, where you need to enter your organization’s basic details.
Fill-in Organization Details
- After clicking on Sign Up, the Organization Details Form will appear.
- Provide the necessary informations.
Email Verification
After submitting your organization details:
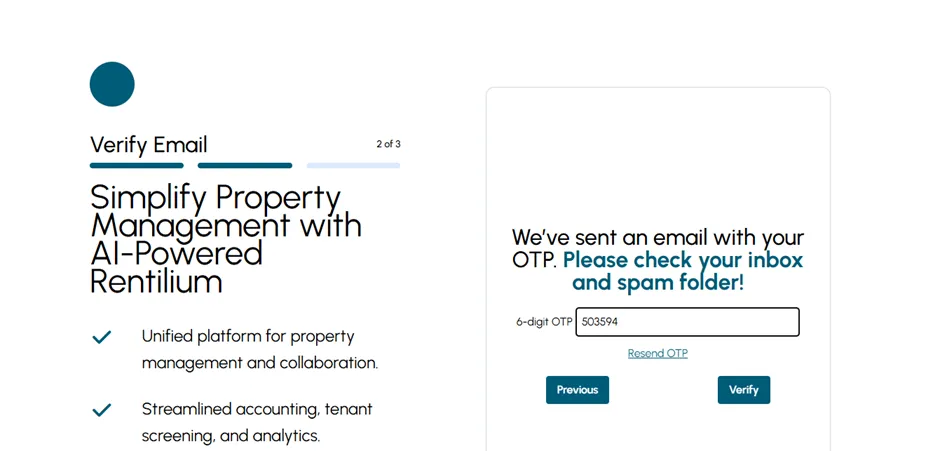
- Check Your Email: Look for an email titled “Complete Your Registration” that contains a 6-digit OTP
- Enter the OTP: write otp in the verification field on the website.
- Resend if Needed: Didn’t receive the code? Click Resend OTP. Make sure to check your spam or junk folders as well.
- Verify: Once you’ve entered the correct OTP, click Verify to proceed.
Confirmation Of Organization Registration
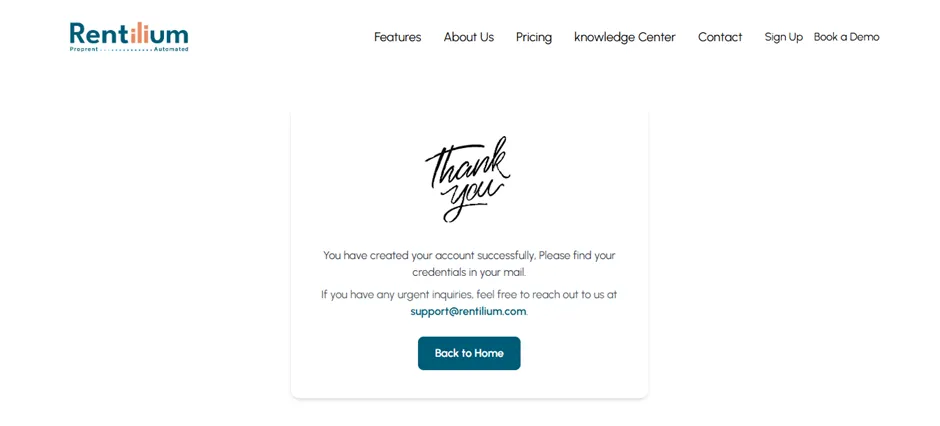
After OTP verification, a message will appear confirming that your organization has been successfully created in Rentilium.
Login To Your Account
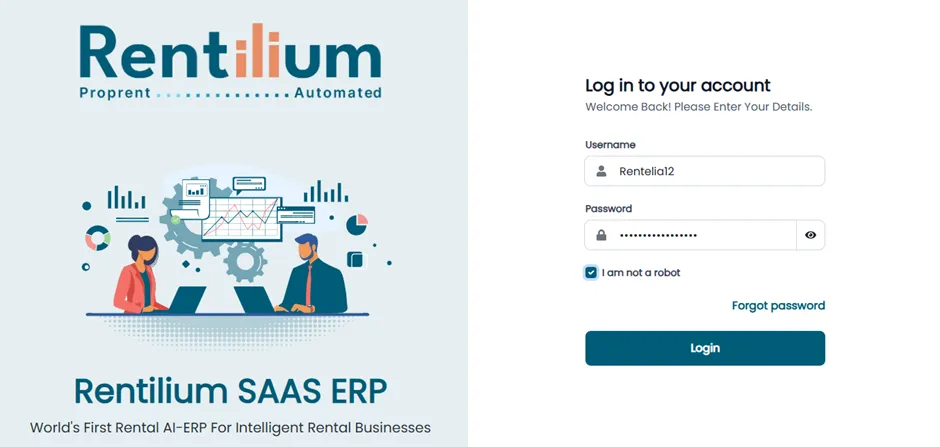
- Move to the Login Page by clicking Login on the homepage or using the link in the confirmation email.
- Enter the username and password received via email.
- Select Forgot Password to have a reset link sent to your registered email address.
- If needed, click Forgot Password to receive a reset link.
- Click the Login button to access your Rentilium dashboard.
Update Organization Time Zone, Currency, & Fiscal Year
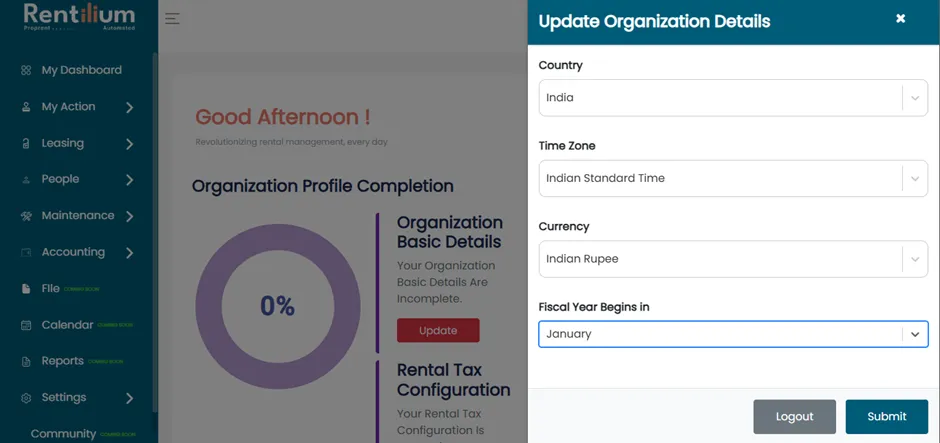
From the Dashboard, go to the Organization Profile Completion section. Click Update under Organization Basic Details. Complete the following:
- Time Zone: Select the appropriate time zone (e.g., Indian Standard Time).
- Currency: Choose the operational currency (e.g., INR).
- Fiscal Year: Select the starting month of your fiscal year (e.g., April).
- Click Submit to apply changes.
If not completed, admins will see a reminder each time they log in. Once updated, this section will turn green and contribute 20% toward profile completion.
- After Filling all the required details, click on Submit Button and the ORG will be created successfully.
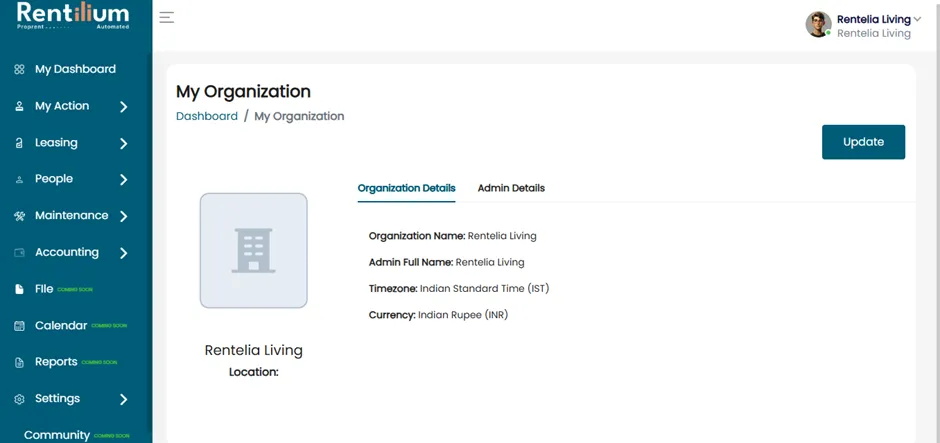
Add/Update Organization Address
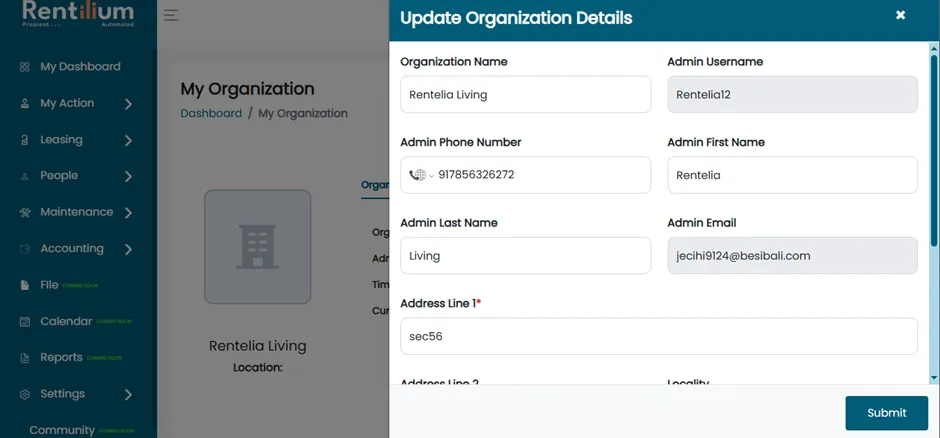
Click on the Update option to add the address details. Complete the form with the following:
- Address Line 1: (e.g., Rentelia Living)
- Country: Select your country (e.g., India)
- State & City: Based on the selected country
- Zip Code: Enter the correct postal code
Trigger Activation: New Property Creation
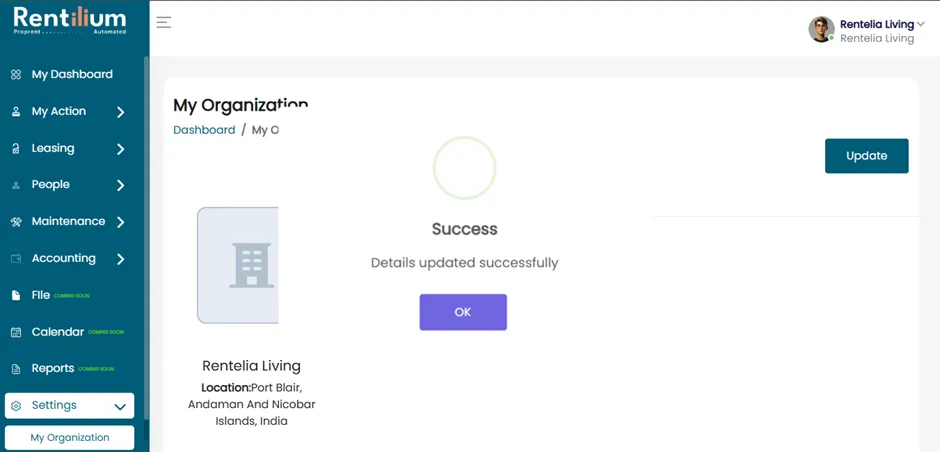
Click Submit. A message will confirm: "Details Updated Successfully."